Image Resizer
Subscription to Image ResizerImage Resizer is a subscription-based option.
➡️ For more information, please contact your Customer Success Manager.
The Image Resizer page allows you to define profiles for transforming your Quable PIM assets of type "images".
The first page includes a brief description of the feature, a link to this documentation page, and a list of existing transformation profiles.
-
If no transformation profiles have been created yet, a Create New Transform Profile button is displayed in both the Existing Profiles section and the top right corner of the page.
-
If transformation profiles have already been created, a list is displayed with: the Name of the profile, the profile's Code, and the image Width and Height (in pixels). The Create New Transform Profile button is only displayed in the top right corner of the page.

At the end of each line of a profile is an icon to Delete the profile.
Transformation Profiles
Transformation profiles allow you to define the type of transformation with its specific size along with the format to apply to your image assets in Quable PIM's integrated DAM. These profiles can be easily identified and used by all users via the :
- Quable PIM Interface - By selecting a profile when downloading an asset from the Assets page or the Asset Sheet.
- Quable PIM API - By calling the asset's URL that includes the profile's code.
By default, Quable PIM includes two standard profiles:
- Original - The original image asset, in its original format.
- 600x600 - The standard profile used for thumbnail images.
The number of profiles you can create without affecting your billing depends on your sales plan. If you need more profiles, please contact your Quable sales representative.
Defining transformation profiles by intended distribution channel increases performance and simplifies developement!
Creating Profiles
To create a transformation profile click the Create New Transform Profile button. The New transformation profile form is displayed:
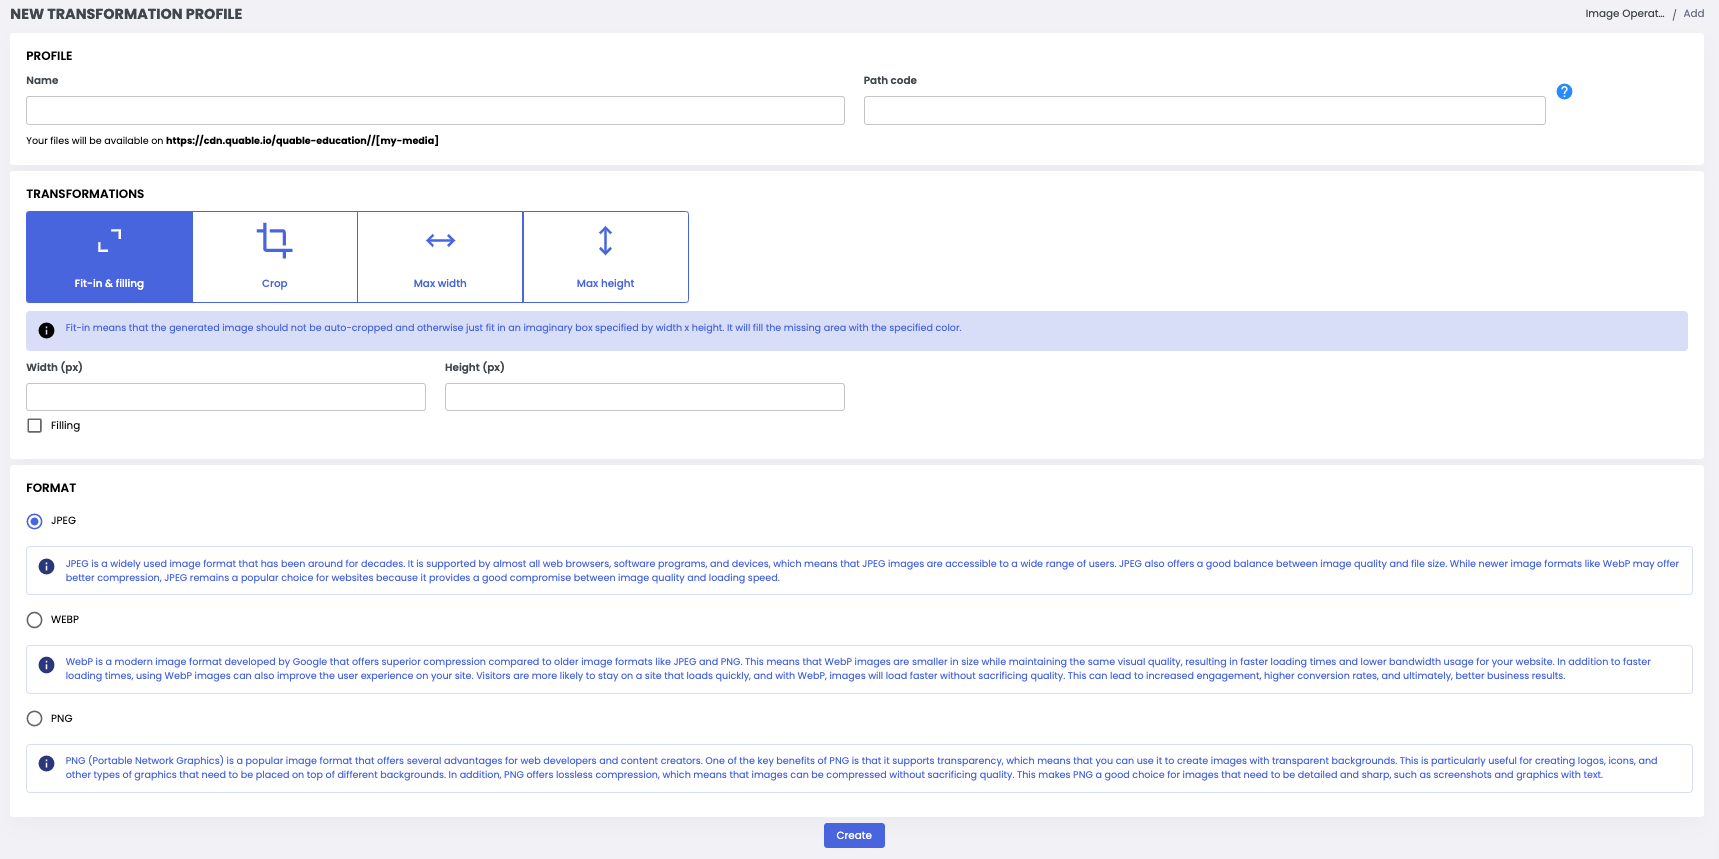
The form is divided into three sections: Profile Identity, Transformations and Format. These are described in detail below. When you've completed the sections, click the Create button to save the profile or the Return link (at the top of the form) to return to the Image Resizer page without saving the new transformation profile.
If the creation of your profile results in your contracted number of profiles being exceeded, a confirmation window will appear to confirm the creation. Your billing will automatically be affected.
Profile Identity
This section is used to distinguish each tranformation profile.

Enter the following information:
| Information | Description | Mandatory |
|---|---|---|
| Name | The name of the transformation profile. Examples | Yes |
| Path code | The code of the profile which is included in the URL path for transformed images.
| Yes |
You'll then see a line that dynamically changes to show you the CDN URL where you can retrieve your files.
Transformations
This section is used to specify the type of transformation to be applied and the desired dimensions (in pixels).
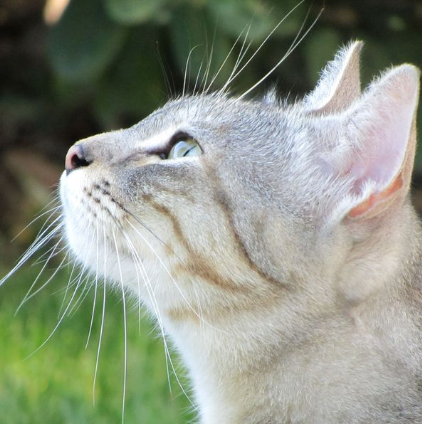
Let's take the following 4000x3000 image as an example :
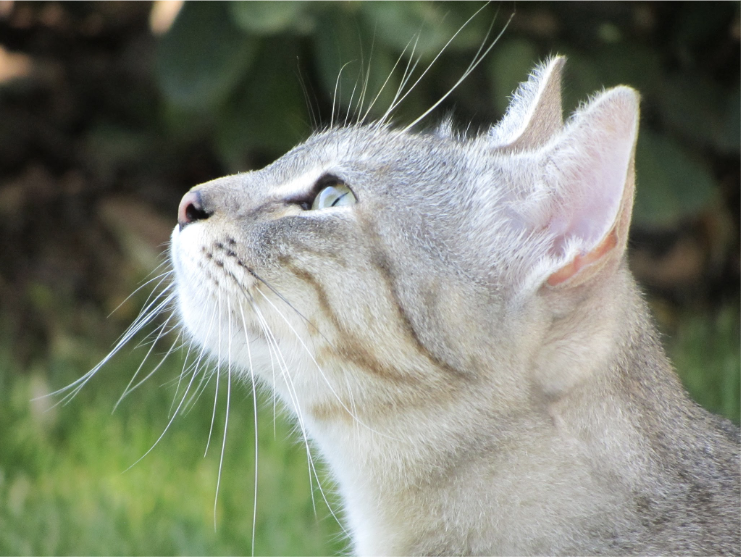
You can transform it in several ways :
-
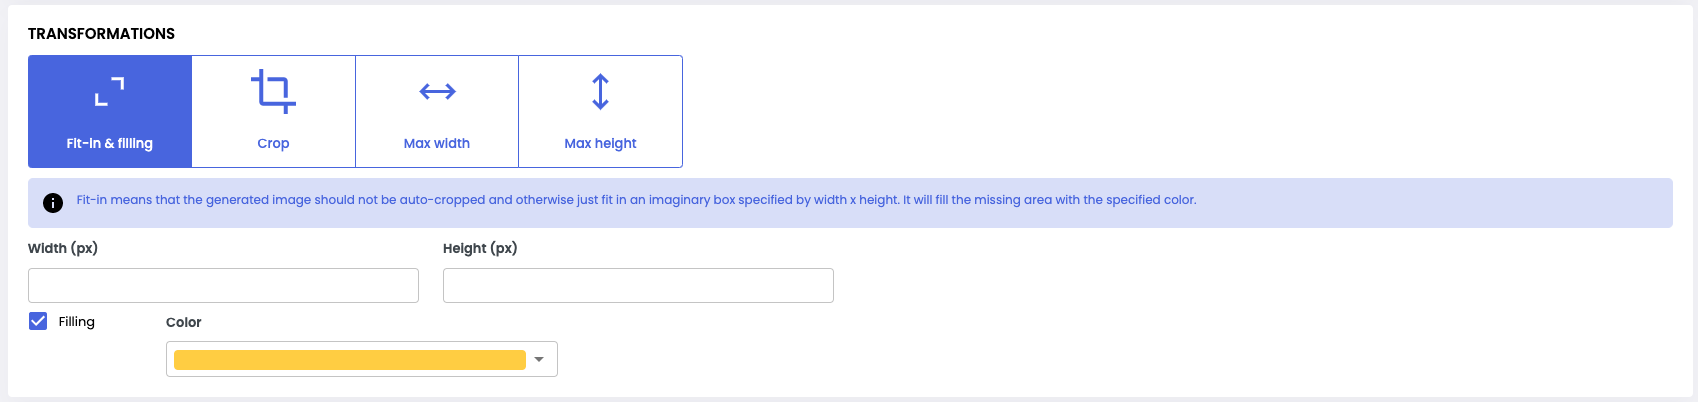
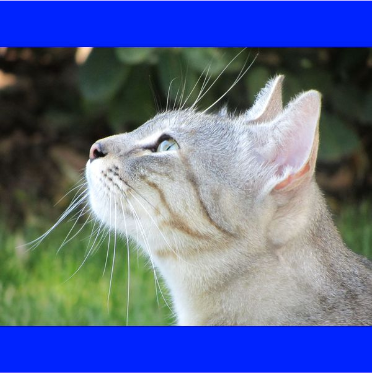
Fit-in & filling : This type of transformation allows you to define a frame, of the desired dimensions, into which the image should fit. If any areas of this frame remain empty, they will be filled with the color specified via the "Fill" option.
-
In our example, if we apply this transformation, with dimension 600x600 and a blue filling, we should obtain the following result, with dimension 600x600 :
-
-
Crop : This type of transformation allows you to define dimensions outside of which the outer edges of the image will be removed. This modifies the original image, but can be very useful!
-
In our example, if we apply this transformation, with dimension 600x600, then we should obtain the following result, with dimension 600x600:
-
-
Maximum width : This option lets you define a width that your images must not exceed. The width will adjust automatically, and the image will keep the same ratio.
-
In our example, if we apply this transformation, with max width = 600, then we should obtain the following result, of dimension 600x450 :

-
-
Maximum height : This option lets you define a height that your images must not exceed. The height will adjust automatically, and the image will retain the same ratio.
-
In our example, if we apply this transformation, with max height = 600, then we should obtain the following result, of dimension 800x600 :

-
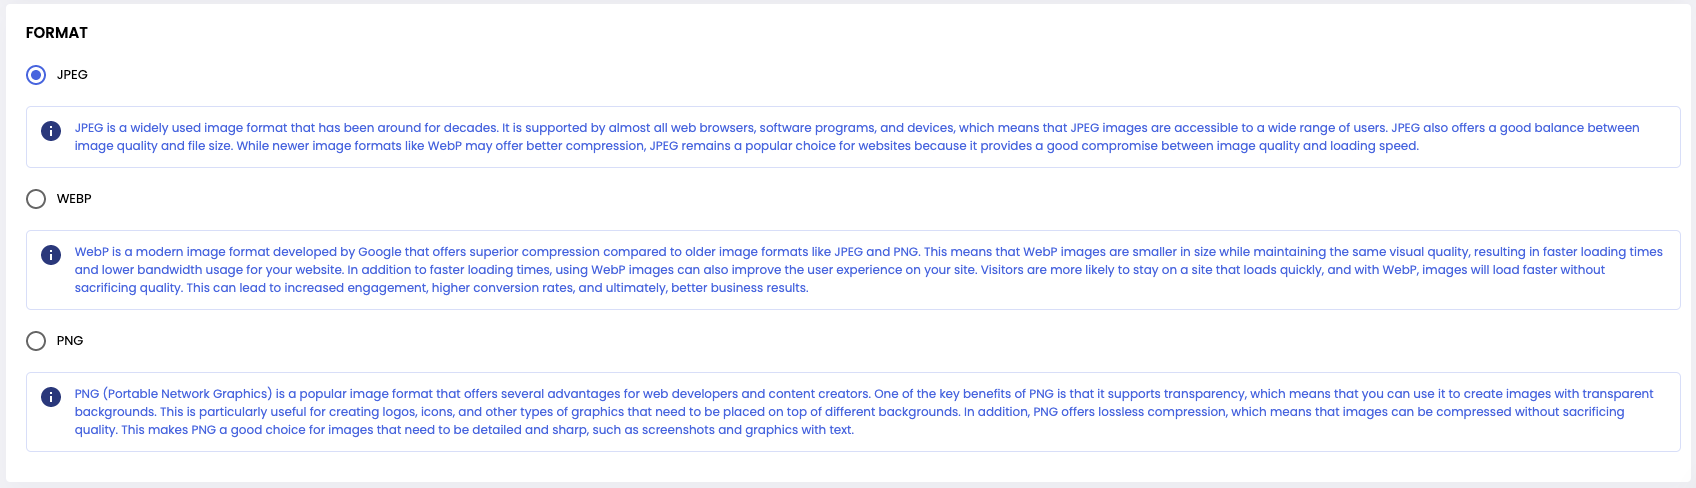
Format
Cette section vous permet de définir le format dans lequel vous souhaitez transformer vos images. 3 formats vous sont proposés : JPEG, WebP et PNG.
Deleting Profiles
To delete a transformation profile, click on a profile's Delete icon on the Image Resizer page. A dialog is displayed to cancel or confirm the deletion.

AttentionThis action is irreversible. Once a transformation profile has been deleted, it can't be recovered.
Updated 10 months ago