Classification Access
Classifications are used to organize the content stored in the PIM. They represent an organization hierarchy for your documents.
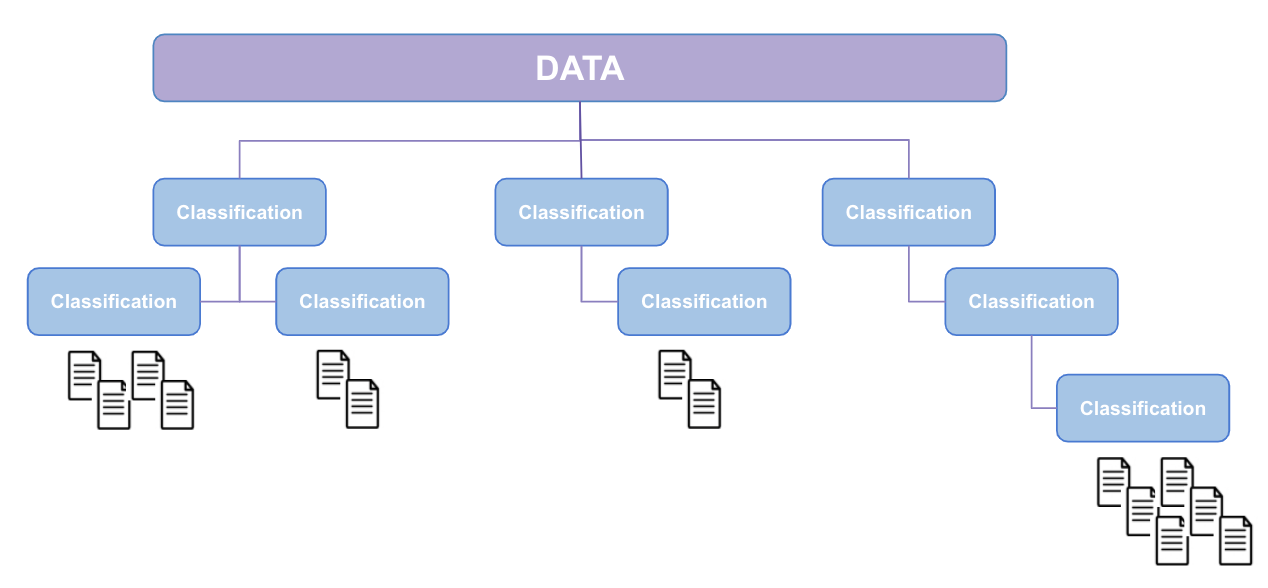
Classification Access profiles allow you to control the classifications users can access, view, and/or edit.
Important note about Users and Classification Access ProfilesA user can only have one Classification Access profile. If a profile is not defined for a user, they have access to all classifications and can view and/or edit everything.
Classification Access profiles also apply to "Administrator" users.
When you click on Classification Access from the sidebar, the Classification Access Profiles page is displayed. The page includes:
- a brief description of the feature,
- a link to this documentation page, and
- a list of existing profiles, if any.
If no profiles have been created yet, a Create A Profile button is displayed in both the Current Classification Access Profiles section and the top right corner of the page.
If profiles have already been created, a list of profile names is displayed with colored icons of the initials of the users associated with the profile. The Create A Profile button is only displayed in the top right corner of the page.
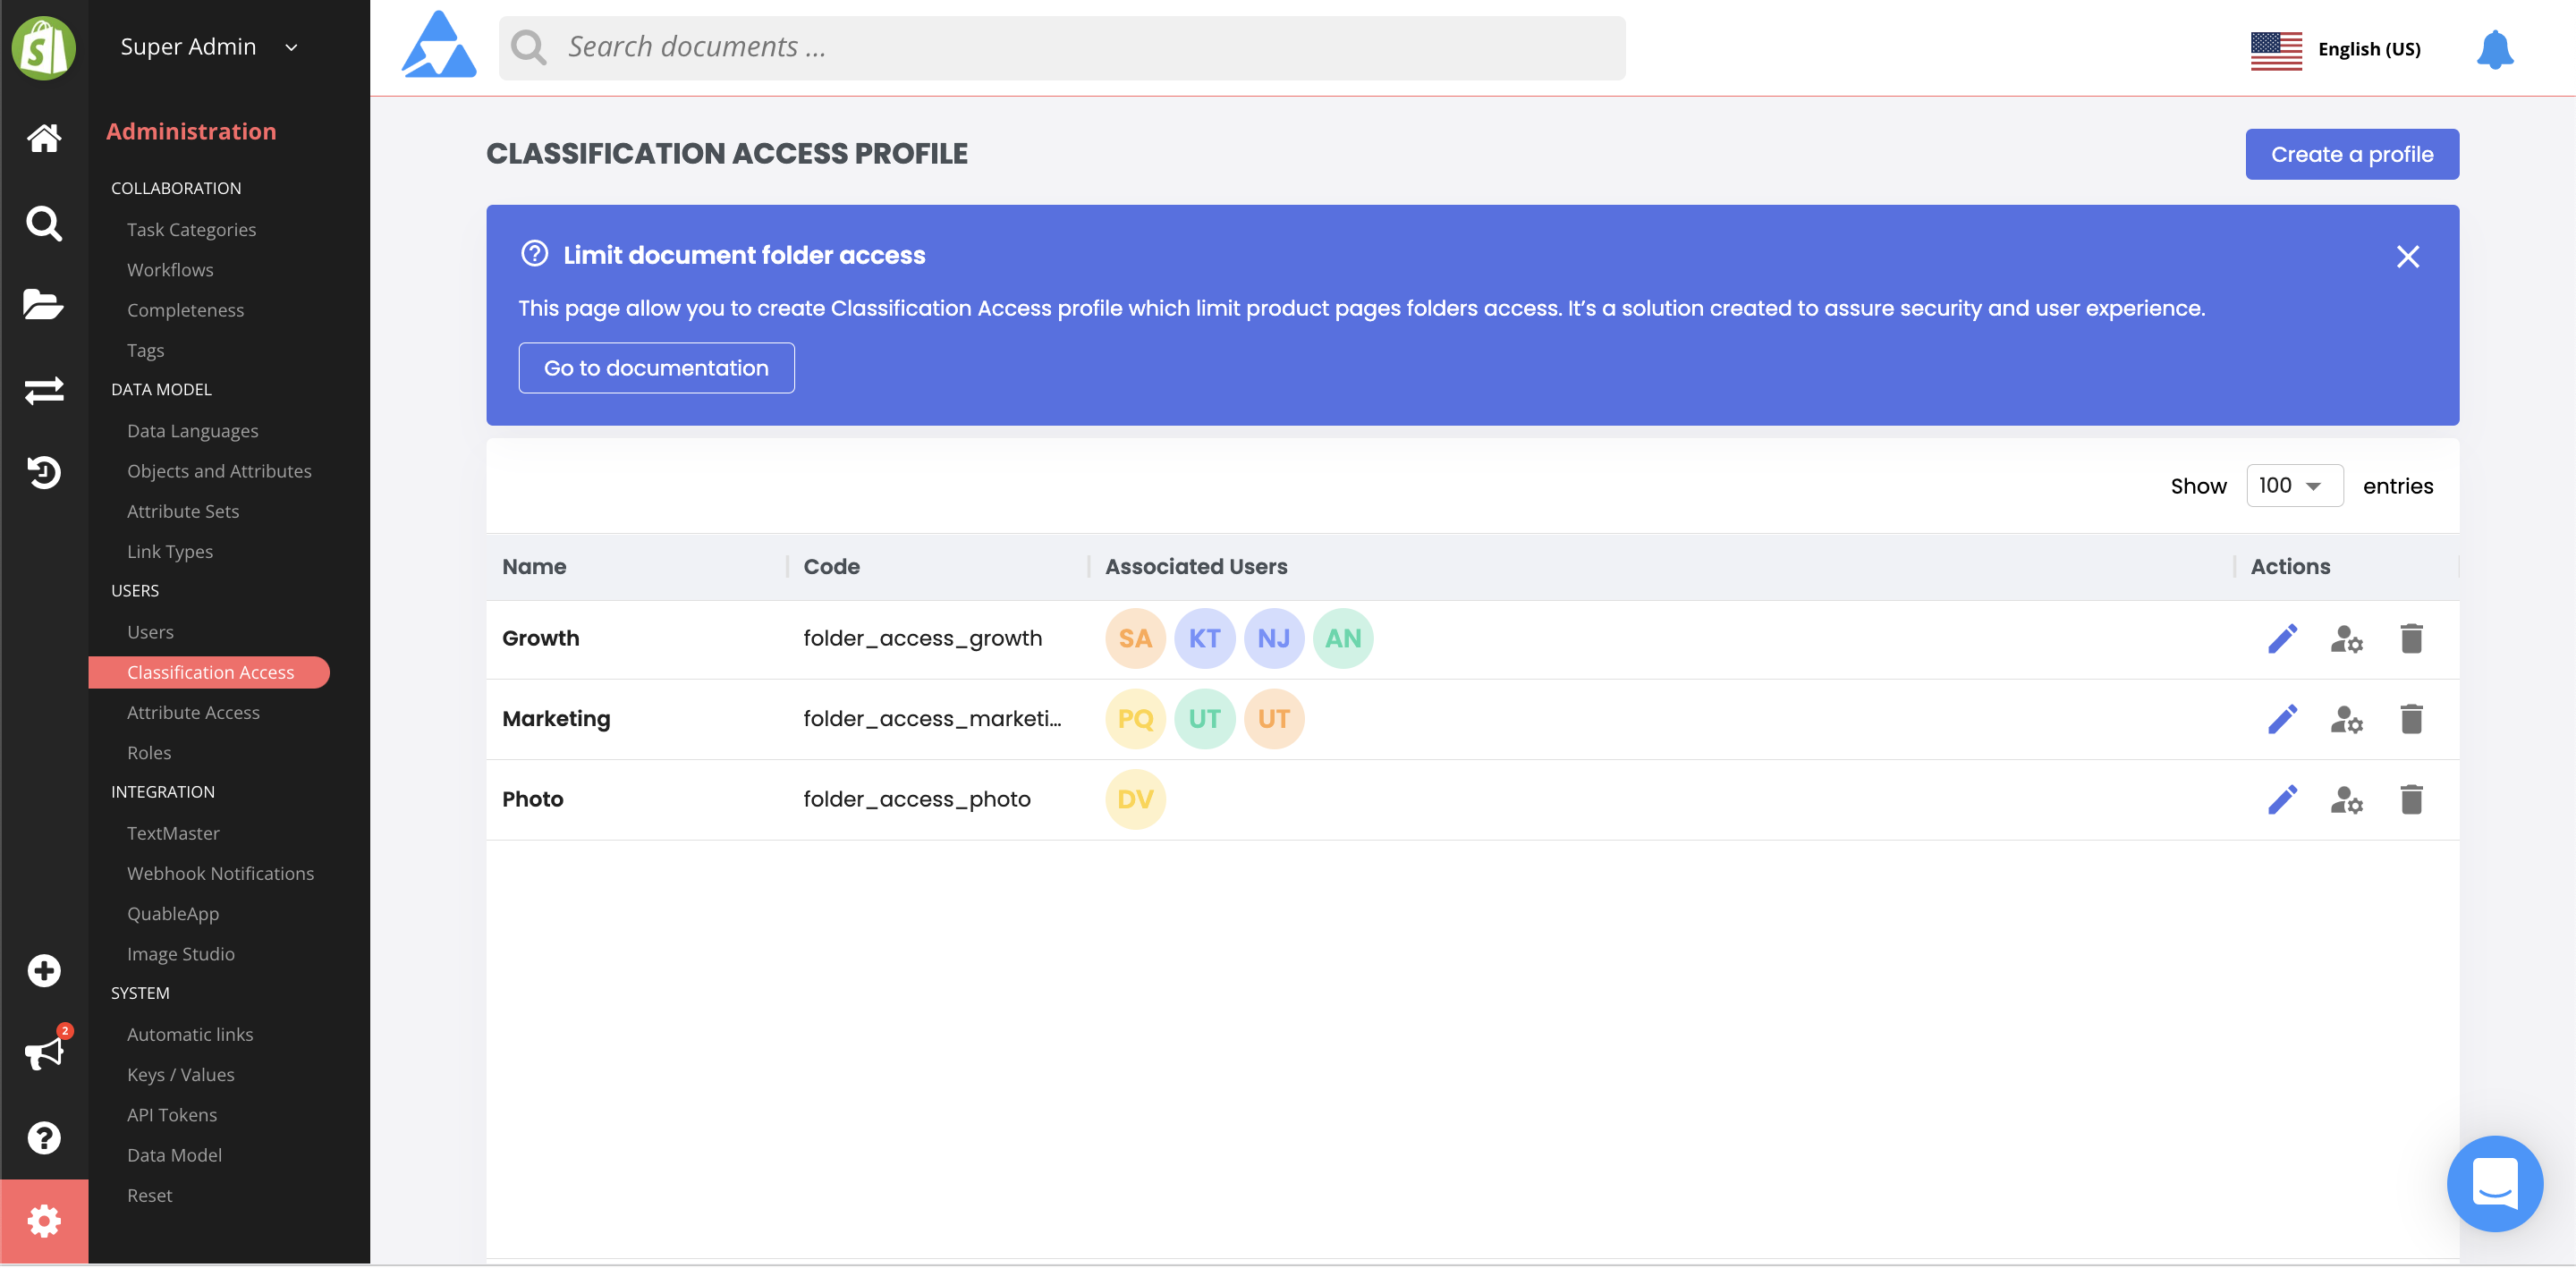
At the end of each line of an import profile are icons to Edit or Delete the profile, as well as More actions. Clicking on More actions displays:
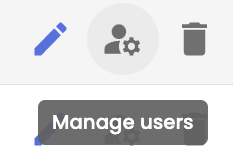
When you click the Manage users button, the page for assigning users to the selected profile is displayed. This is described in the Associate a user with a profile section.
Creating a profile
To create a Classification Access profile, click on the Create A Profile button. The New Classification Access Profile form is displayed.
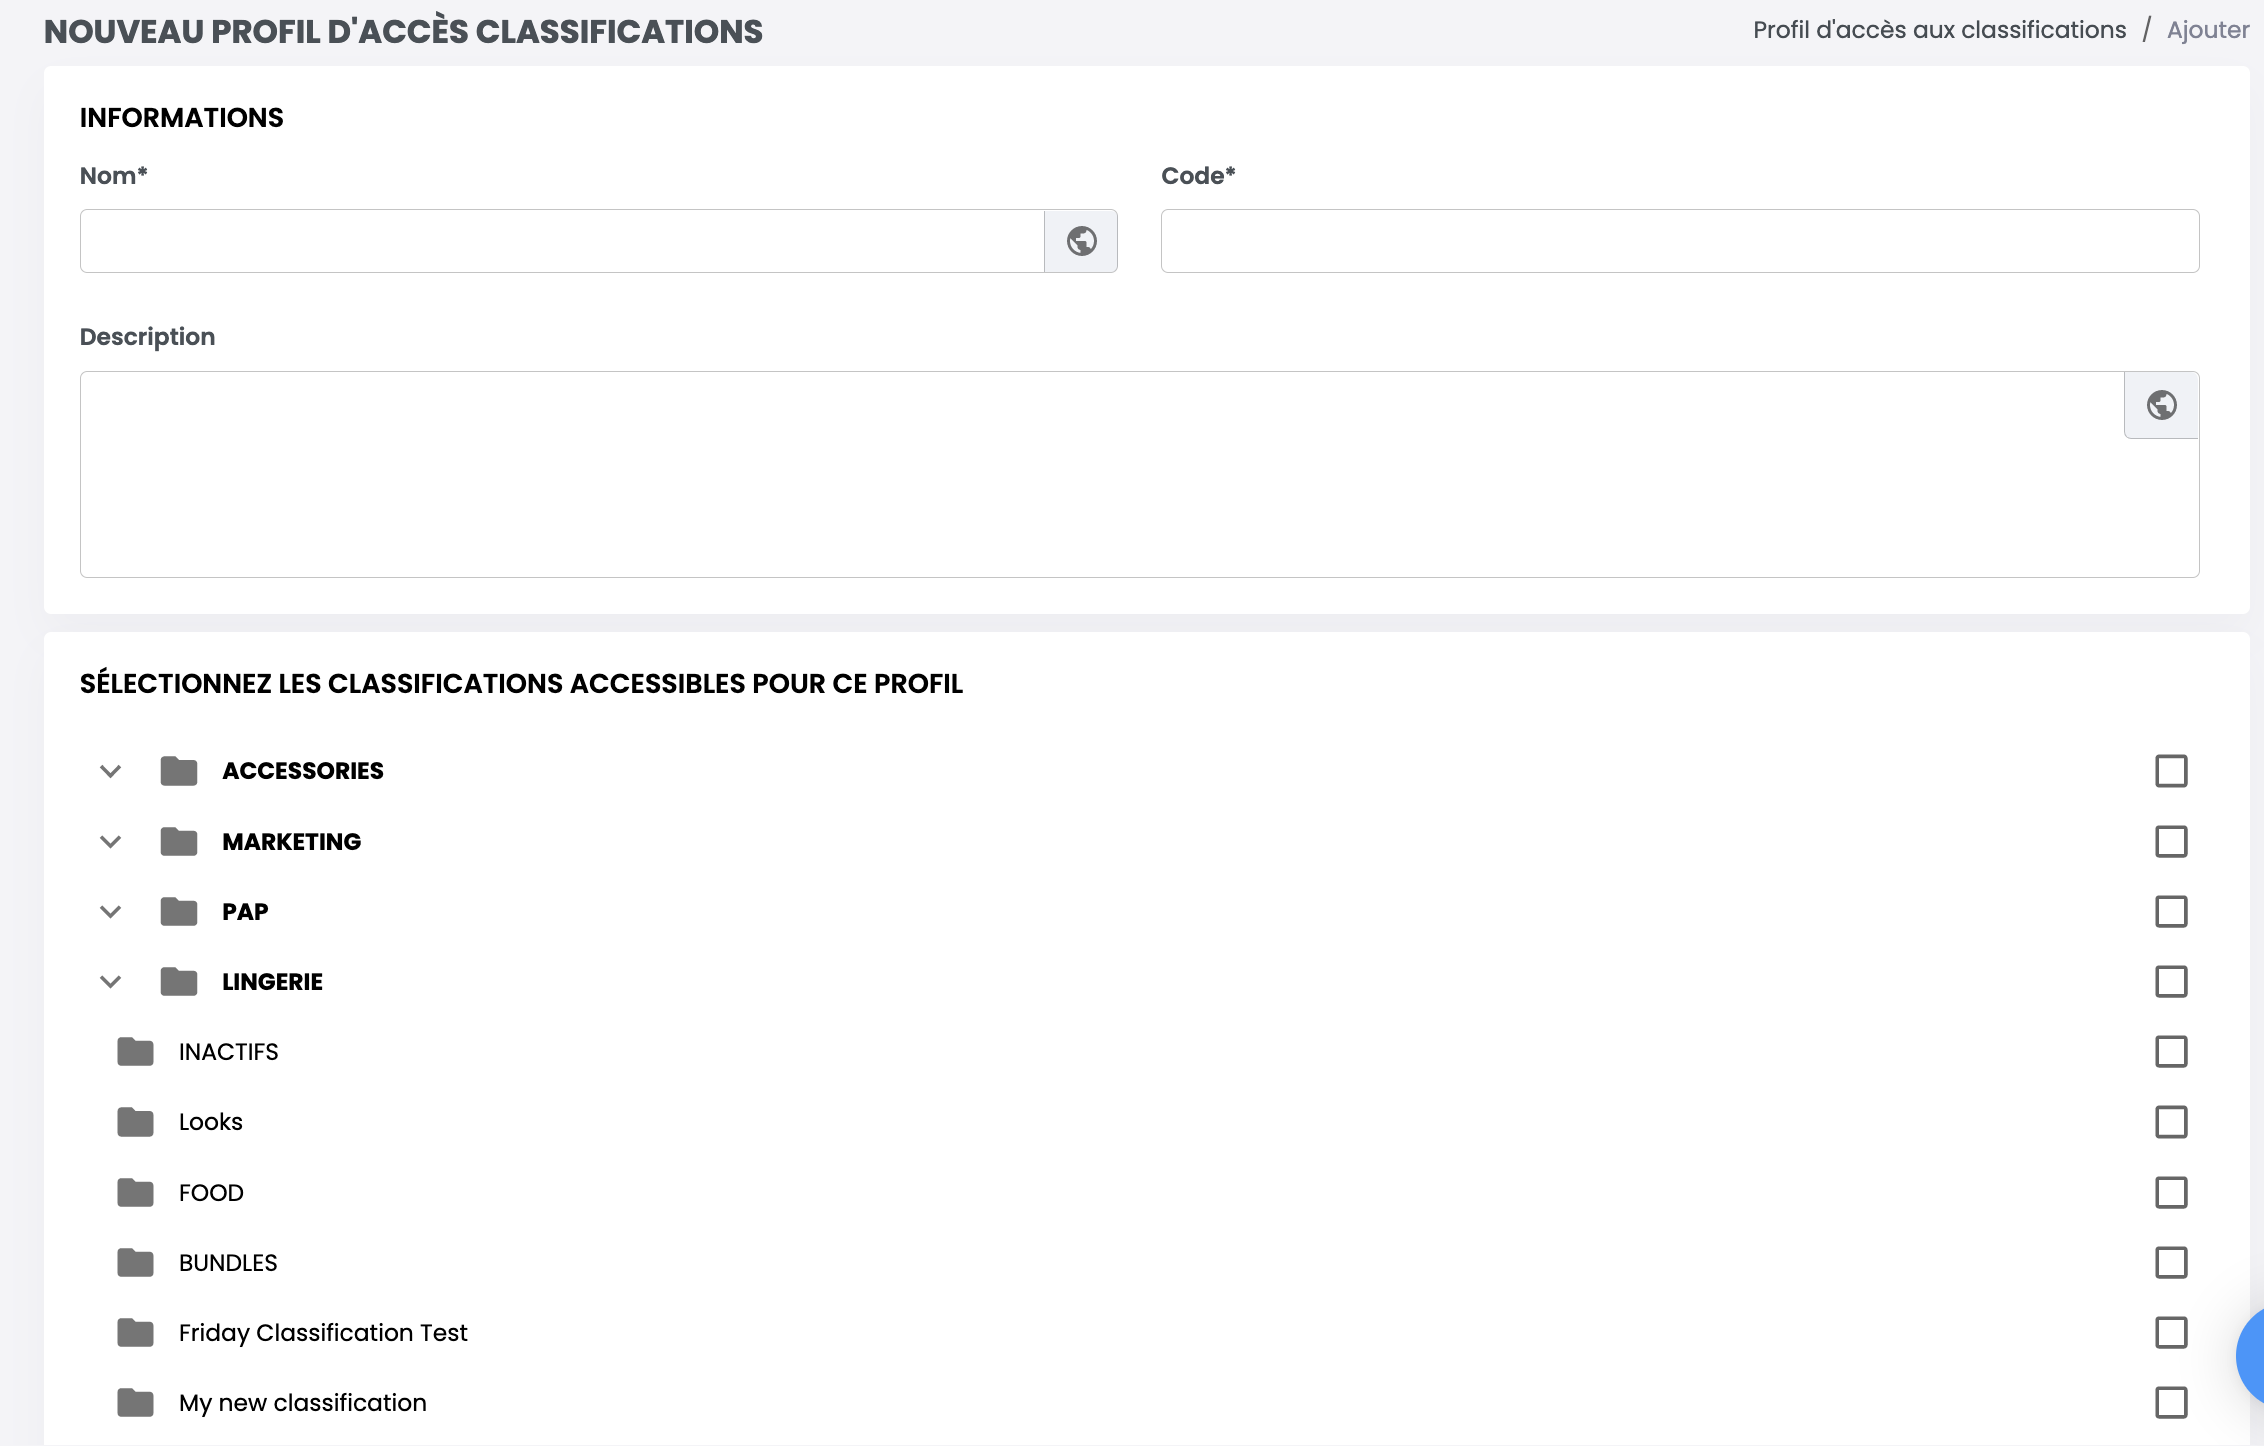
The page is divided into two sections: Profile Identity and Authorized Classifications. These are described in detail below. When you've completed both sections, click on the Create button to save the profile.
Profile Identity
This section is used to distinguish each profile.

Enter the Name, Code and Description for the profile. The asterisks (*) next to the Name and Code titles indicate that this information is mandatory, Description is optional (but highly recommended). Quable PIM automatically generates a Code for you. Note that the auto-generated Code can be modified only during profile creation.
The globe icon in the Name and Description fields indicates that they are localized. Clicking on the globe opens a form where you can enter translations for the selected field in all of the languages available in the application interface.
Authorized Classifications
This section displays all of the classifications and subclassifications available in the PIM. It allows you to explicitly designate which classifications and/or subclassifications that an associated user can access.
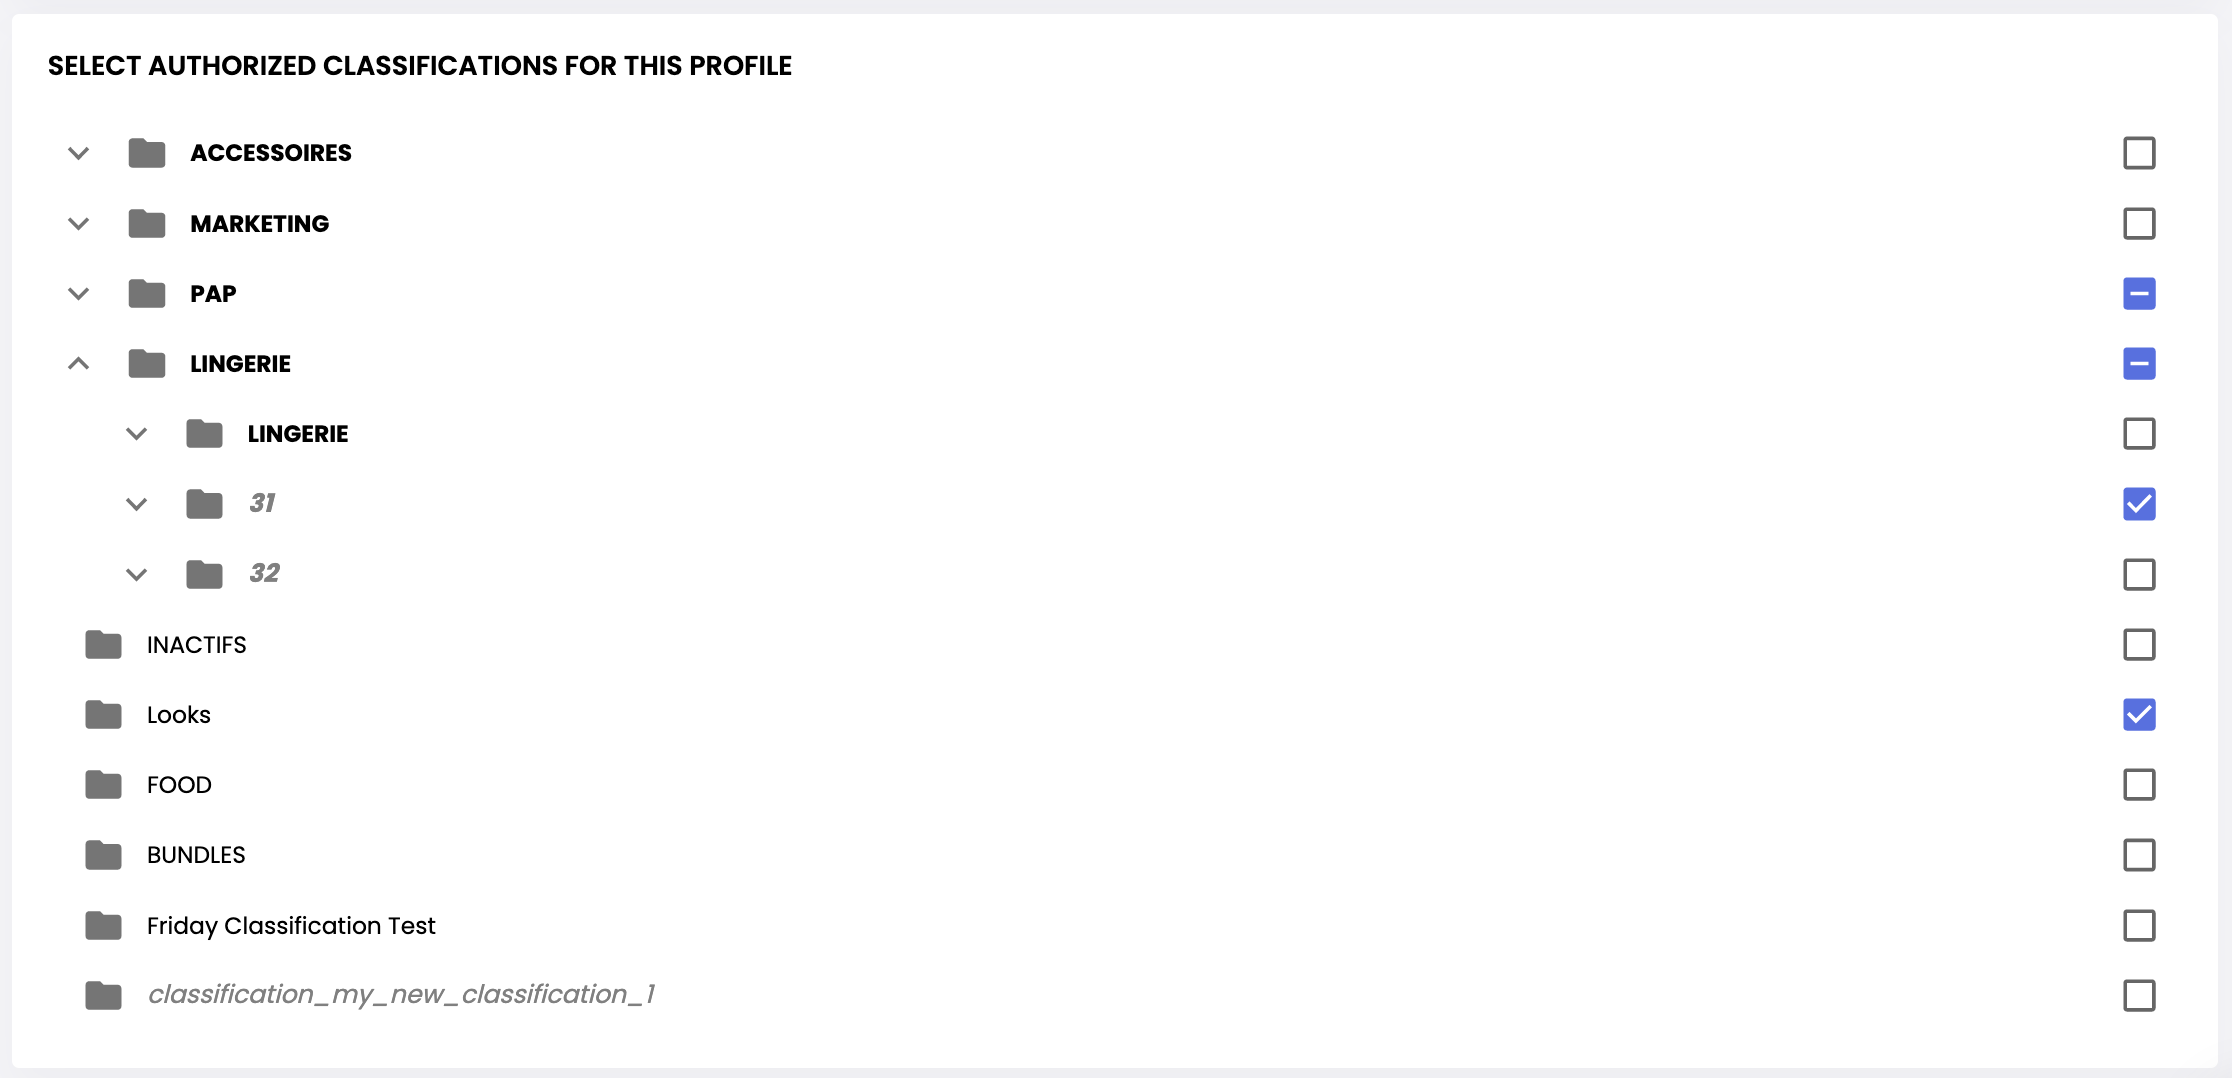
To select a classification, click on the:
- classification icon,
- classification name, or
- checkbox.
The checkboxes change to indicate the selected classification(s).
You can select all of the subclassifications within a classification by clicking on the top level (parent) classification.
Editing a profile
To edit a profile, click on the Edit icon on the Classification Access Profiles page. The Edit Profile form for the selected profile is displayed. You can edit the profile name, description, and authorized folders.
Deleting a profile
To delete a profile, click on the Delete icon on the Classification Access Profiles page. A dialog is displayed to cancel or confirm the deletion.
AttentionYou cannot delete an access profile if a user is associated with it.
Profiles and Users
After you've created your profile(s), you can:
- associate (add) users to them or
- disassociate (remove) users from them.
Associating a user
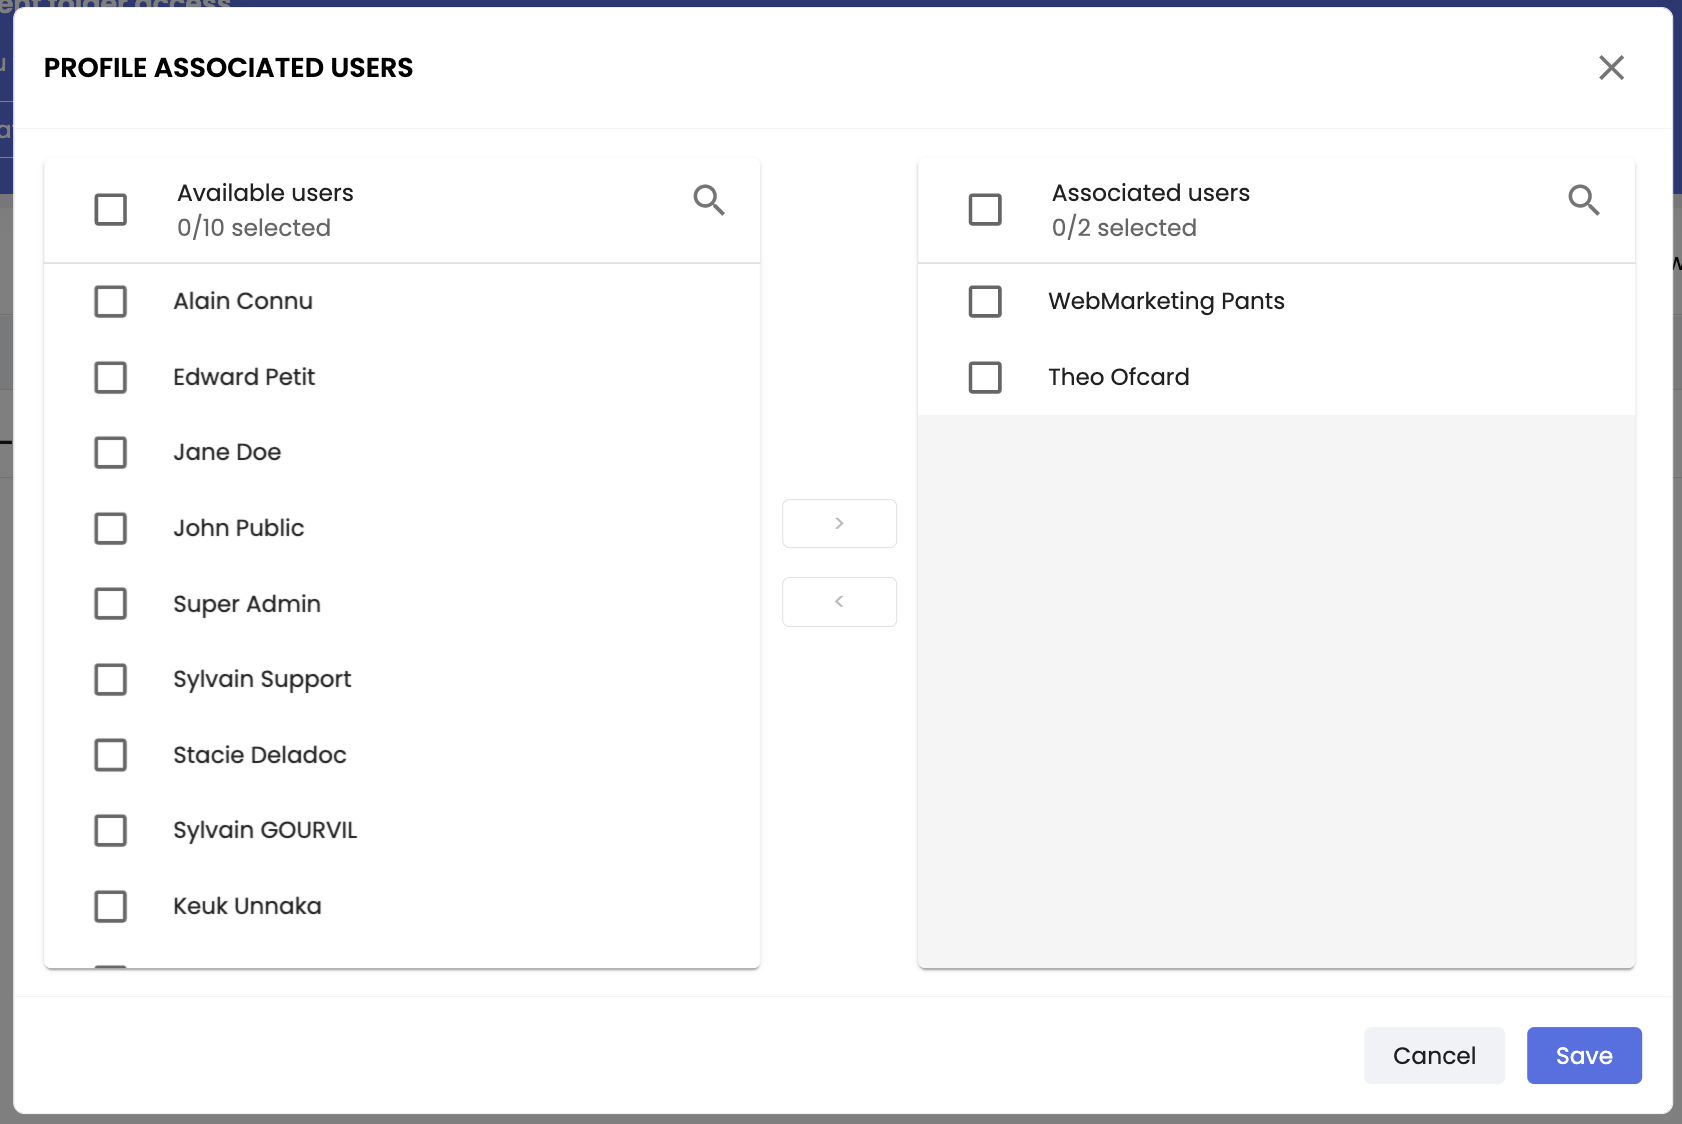
Associating a user with a profile gives them access to the classifications defined for that profile. You can associate a user with a profile by selecting Manage Users.
Clicking on the Manage Users button displays a Associated Users pop-up with a two-part table: on the right is a list of all users; on the left is a list of users associated with the profile. You can simply move one or more users from the right to the left of the table using the arrows.
AttentionWhen you disassociate a user from a profile, the user reverts to their previous access permissions by default.
Updated 5 months ago
