Guided Tour
You've dreamed about it, and now it's here: you have your Quable PIM! This page explains how to make it your best ally in just a few simple steps!
And since doing is the best way to learn, we let you realize these challenges by yourself!
Ready? It's time for takeoff! 🚀
Connect
Log in
Once you've received the URL and login details, you can connect to your Quable PIM. You can also use your Google or Microsoft account, as long as the email used is attached to a Quable account.
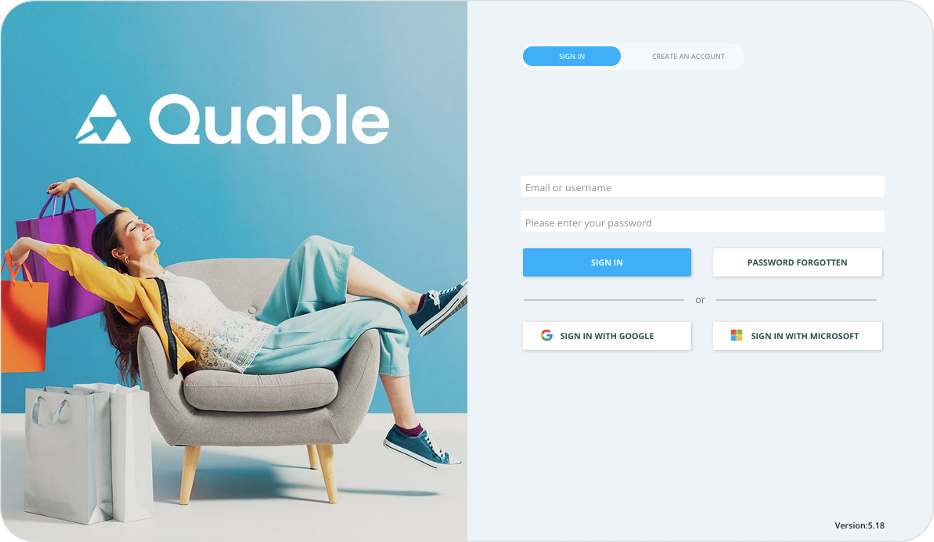
If you have trouble accessing your Quable PIM, be sure to check your spam or request a new password.
Customize your Quable PIM
Welcome aboard! You're now ready to customize your Quable PIM to suit your specific needs.
Modify classifications
Whether you want to organize your content by brand, by season, by type or by target, you have control over the classification of your products in Quable PIM. You can manage this hierarchy structure by creating levels and sublevels to fit your products.
Create classifications that fit your needs
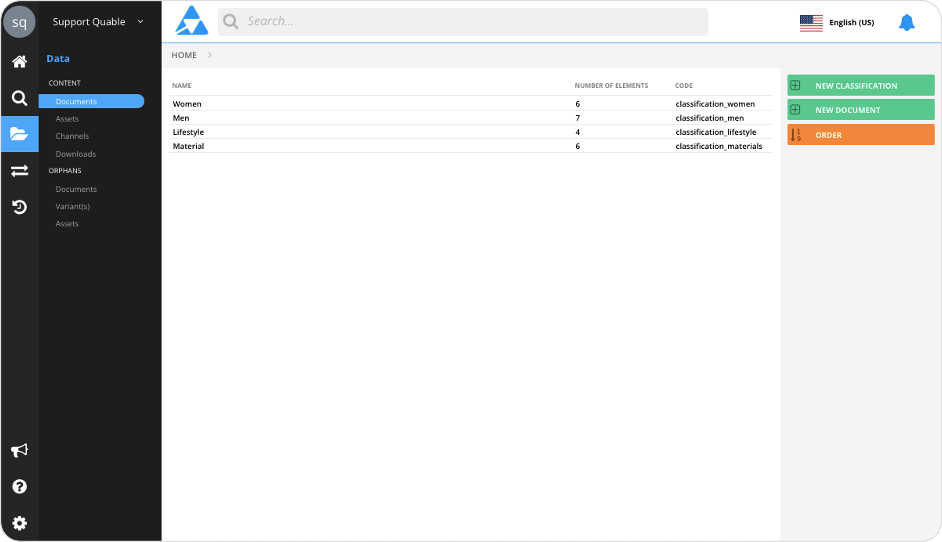
To do this, open the Data menu in the left sidebar and select Documents. Next, click the New Classification button to create a new classification.
Add attributes
With Quable PIM, your data model is not set in stone. Administrators can add, delete, and modify attributes at any time.
Simply open the Administration menu at the bottom of the left sidebar and select Objects and Attributes.
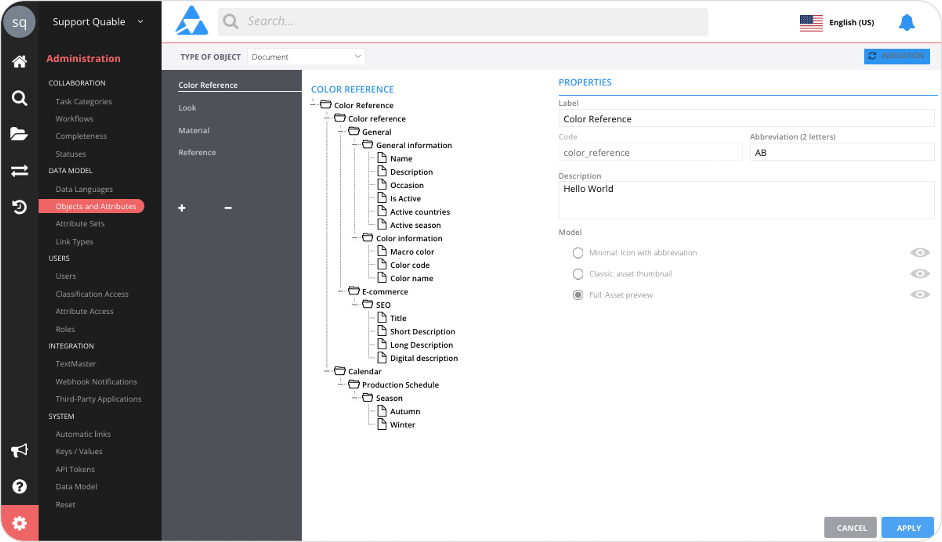
From here, administrators can add, rename, or delete attributes.
-
To add a new attribute, click on the top level of a group of attributes, then click the + button at the top of the list.
-
To rename, or delete an attribute, click directly on the attribute and make your changes to the attribute's Properties (on the right).
Enrich Your Content
Now that your Quable PIM is set up and functional, it's time to enrich it with your content!
Add Documents
You can manually enter your products in your Quable PIM by opening the Data menu in the left sidebar and selecting Documents.
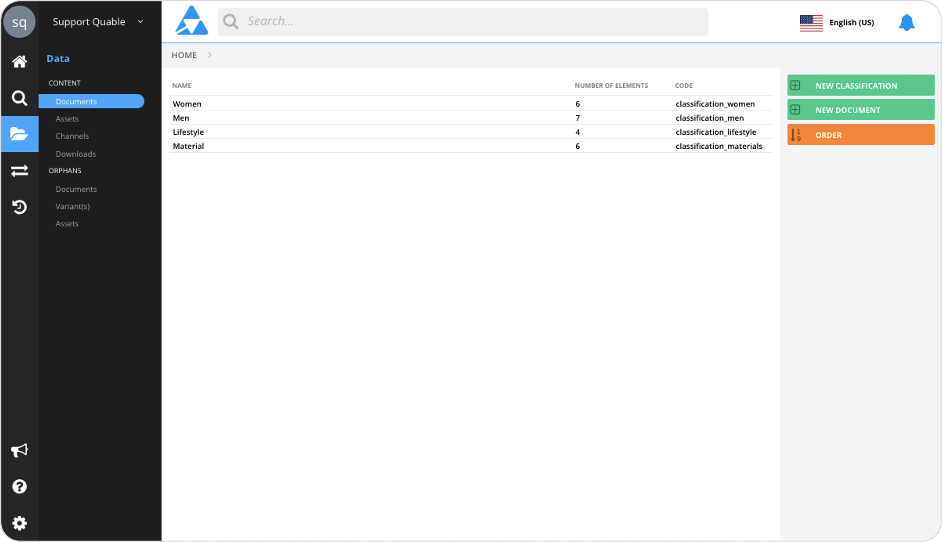
You can start by adding or modifying a product to become familiar with the Quable PIM environment.
Add Assets
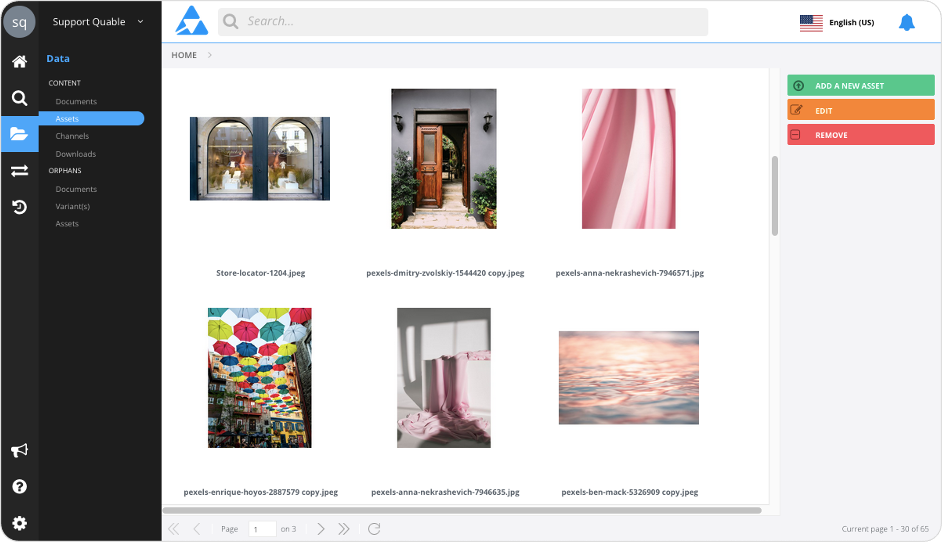
You can import any type of media format. Just open the Data menu in the left sidebar, then click on Assets.
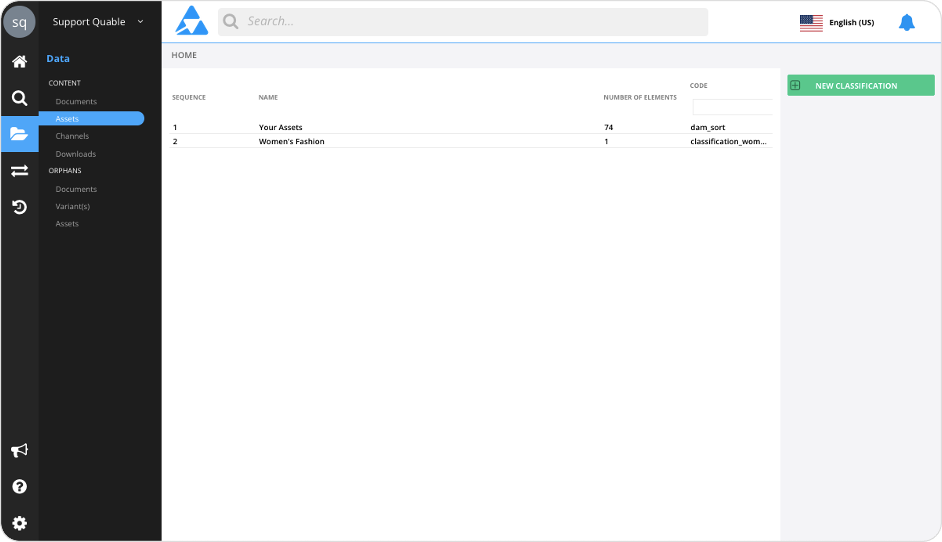
Select a classification, and click the Add a New Asset button to whatever asset you want (e.g., photos, videos, etc.).
Collaborate
Well done! Now you can switch over to collaborative mode and have your teams join you!
Add Users
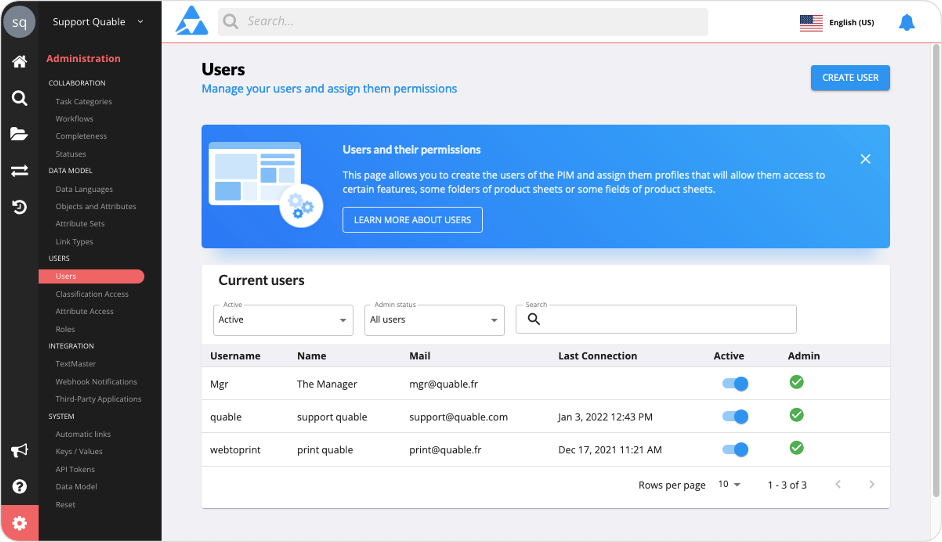
Administrators can create new users in Quable PIM and manage their rights and permissions so that all teams can contribute to your product enrichment.
To do so, open the Administration menu in the bottom left of the sidebar and select Users. Click the Create User button to add a collaborator. Don't forget to share this Guided Tour with them! 😉
Bravo, you've completed your mission! 🥇
You're now a seasoned - and happy - Quable PIM user. If you want to learn more or have questions, you can find the answers in the documentation.
See you soon!
Bonus
Imports & Exports
| Do you want to start using Quable PIM right away ... in a more advanced fashion? No problem! With Quable PIM, importing data in mass and making personalized exports in mass, it's simple and fast... and it's in the import or export section of the Data flow side menu. You can import/export multilingual data of various types: Classifications, Documents, Media, Variants, Links, List values (predefined values). You can also save import and export profiles so you can reuse them as much as you want! To learn even more, be sure to check out the documentation on imports and exports. | 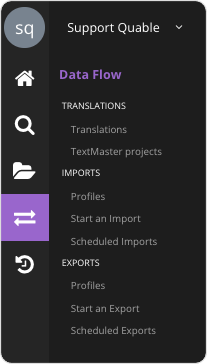 |
Now there's nothing stopping you from deploying your omnichannel and international strategy!
Updated 6 months ago
