Products classification
Organise your information in the PIM section
Accessing Product Classifications
The Products page is accessible in the Data > Products section. This is where you can create and manage your products and Quable PIM classifications. This page includes:
- your classification hierarchy,
- a button to add new classifications or products,
- options to edit or delete classifications,
- options to modify product display.

The Products page is divided into two panels:
| Left Panel | Right Panel |
|---|---|
The Left panel displays your classification hierarchy in a list that can be expanded and collapsed using the arrows ( > ) next to it. The list can be expanded until the lowest classification level is displayed. Expanding a classification level shows the content of that classification level in the Right panel. When you click on the lowest level, products within that classification are displayed in the Right panel. You can collapse the Left panel by clicking the left arrow ( < ) in the top right corner. The right arrow ( > ) will appear to allow you to expand the panel again. | Once a classification is selected in the Left panel, the content of the selected classification is displayed in the Right panel. You can navigate to lower classification levels by clicking on the classification in either the Left or Right panel. Once the lowest classification level is selected, the products within that classification are displayed. |
Limit on Number of Items in Classifications:The classification hierarchy can contain up to 10,000 items per classification node.
To ensure optimal performance, it is recommended to segment the classification hierarchy so as not to reach or exceed this limit.
Modifying Product Display
Once you have reached the lowest level of a classification, there are two ways to view your products:
- Gallery View - Products are represented in columns by their primary media and titles.

- You can activate gallery view by clicking the Gallery icon on the top right of the thumbnails.

- Table View - (default view) Products are displayed in table rows.

- You can activate table view by clicking the Gallery icon on the top right of the thumbnails.

When using table view, the Columns button allows you to specify which columns to display.
By default, all columns are enabled. You can enable or disable individual columns by clicking the toggle button next to them. To enable or disable all columns, click Show All or Hide All options.
You can search for a specific column by entering its title in the search bar. The list will display fewer results as you continue typing in the search bar until no matches are found.

Table view also allows you to click directly on a column header to change the sort order of the list and display an arrow indicating the column and direction of list sorting.
For even more control, you can hover over a column header to access a dropdown list where you can select the sort order or a submenu of columns to select displayed columns.

Create a New Classification
Limitations
- You cannot create a new classification level within a node that already contains content (product sheets or assets).
- In the PIM and DAM classification hierarchy, a node contains either sub-nodes or content — never both. As a result, content is always located at the lowest level of the hierarchy.
To create a new classification, click the + Add button and then select Classification or the + Classification button.
A window appears to define the new classification:

Enter the following information:
| Information | Description | Mandatory |
|---|---|---|
| Name | The name of the classification. | Yes |
| Code | It is automatically generated by Quable PIM when you click in the Code entry field. It can only be modified during the creation of the classification. Once the classification is created, it can no longer be changed. | Yes |
Classification CodeOnly the special characters "_" and "-" are allowed in the classification code. All other special characters, spaces, and accents are prohibited.
"
New Subclassification
To create a new subclassification, double-click on a "parent" classification. A list of its "children" (subclassifications) will be displayed. Continue navigating through the classifications until you find yourself in the desired parent classification. Once you have found the level for the new subclassification, repeat the process for the new classifications.
NoteThe breadcrumb at the top of the page indicates your position in the classification hierarchy.

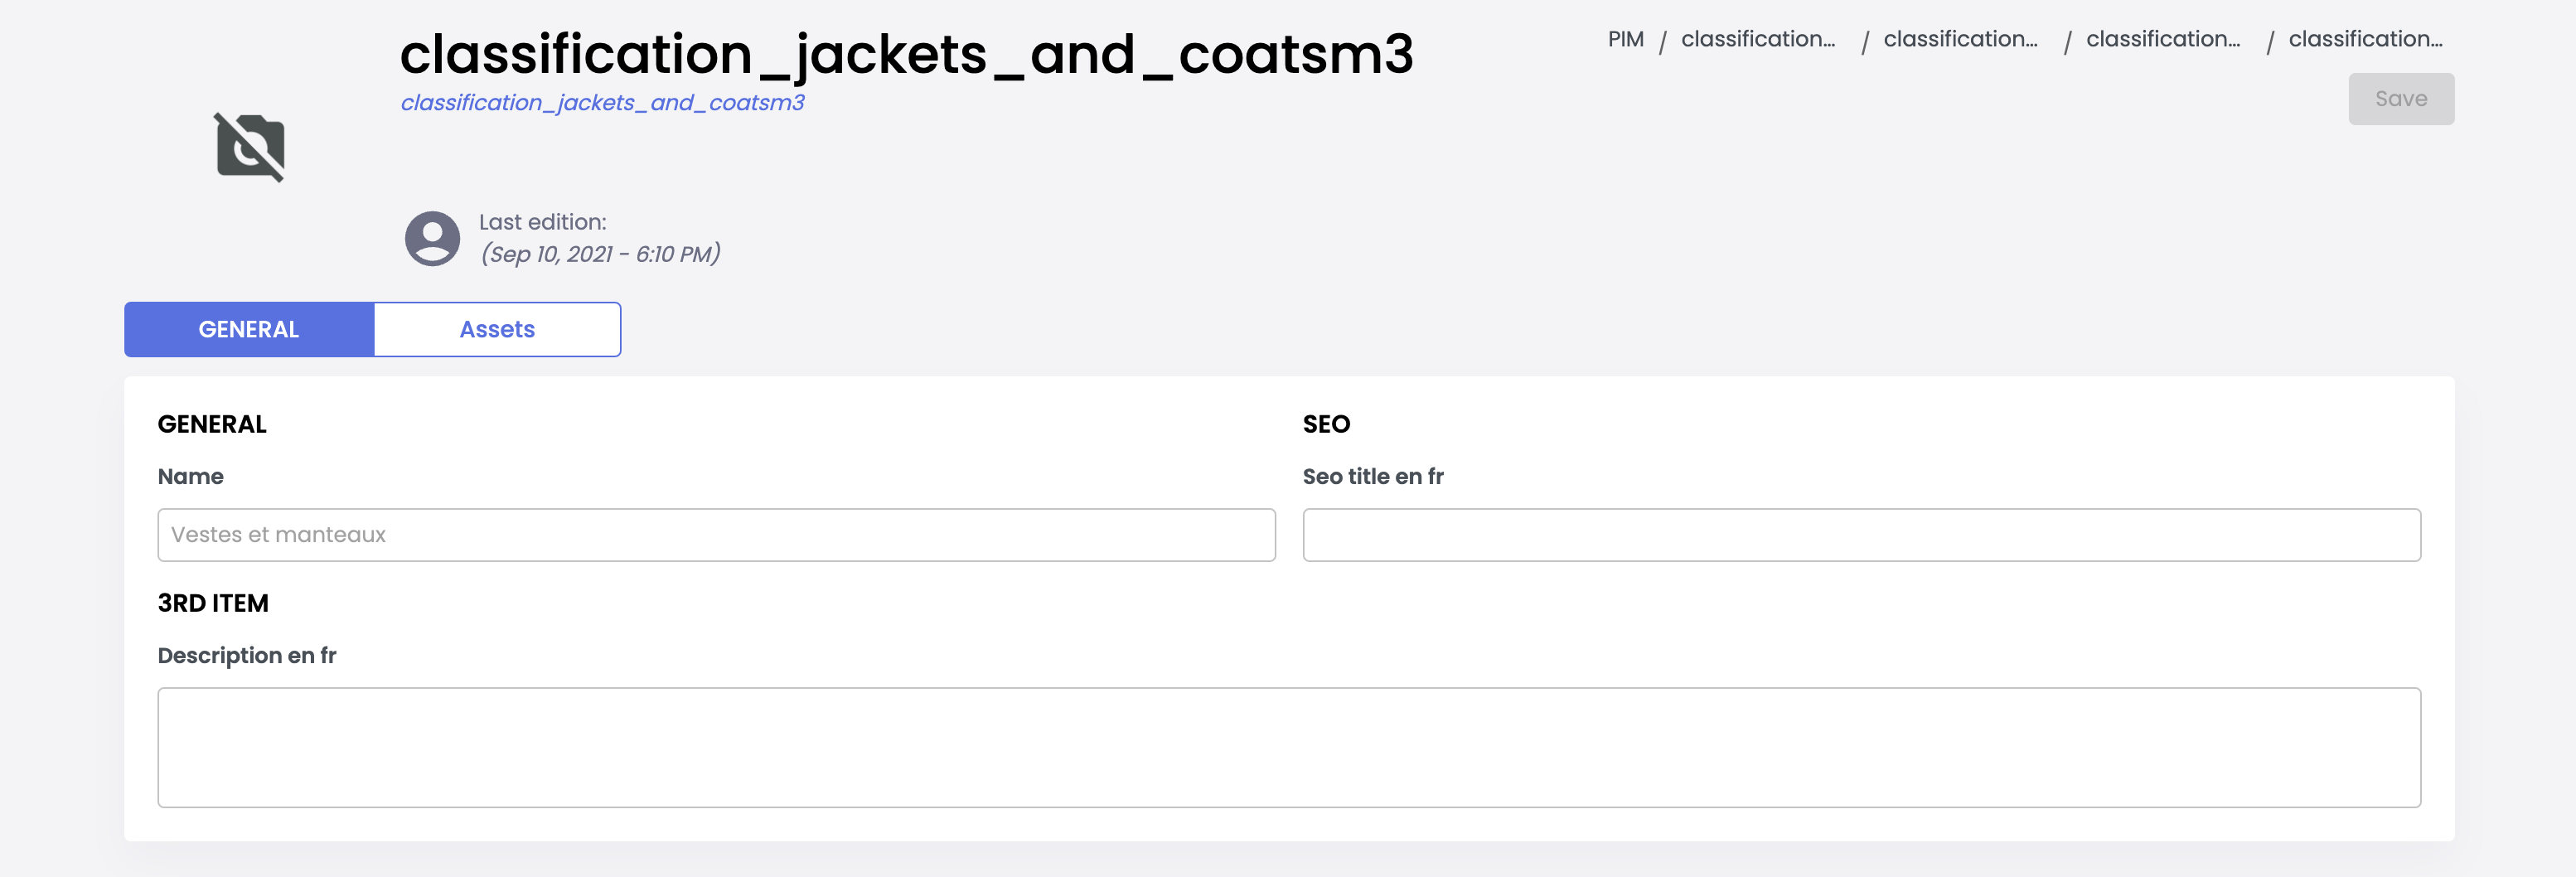
Edit a Classification
To edit a classification, navigate through the classifications until you find yourself in the desired parent classification. Once you have found the desired level, click on the pencil icon (next to the classification title, on top of the Right panel).

The classification editing page will be displayed. When you have finished modifying the classification, click on the Save button to save your changes or use the breadcrumb to go back and discard the modification.
Delete a classification
WarningThis action is irreversible. Once a classification has been deleted, it cannot be recovered.
To delete a classification, navigate through the classifications until you find the parent classification to delete. Once you reach the level, click on the three dots (...) next to the Edit button and select Delete classification.

Change the classification order
You can change the order of your classification hierarchy by dragging and dropping the levels into the desired order. The new position is saved automatically.
- Drag and drop classifications to arrange them in the desired order,
- Move a classification into another one to change its hierarchical level.
LimitationsIt is not possible to move a classification node into another node that already contains content (product sheets or media).
Manually Create a New Product
You can create new products from a classification. To create a new product, navigate through the classifications until you are in the desired parent classification, then click the Add button and select Product.
A window will appear to define the new product:

Good to KnowThe Classification and Product Type are automatically selected based on your current location, but you can change them by selecting from the dropdown lists.
Enter the following information:
| Information | Description | Required |
|---|---|---|
| Classification | The classification of the Product. | Yes |
| Product Type | The type of product to create. | Yes |
| Name | The name of the product. | Yes |
| Code | It is automatically generated by Quable PIM when you click in the Code field, but you can modify it.
| Yes |
| Attribute Set | The attribute set (if any) to apply to the product.
| No |
Once you have entered all the information for the new product, click the Add button to save your changes or the Close button to discard the creation of the new product.
Updated 8 months ago