Generative AI
This page provides you with the essential steps to set up and implement the AI feature in the administration settings.
This page guides you through the implementation of our generative AI solution to automatically fill in text fields in Quable PIM.
The new generative AI feature allows administrators to automate content generation, thus improving their productivity. This reduces the time spent on repetitive tasks and enhances the consistency and quality of product information.
Accessing the Generative AI Settings
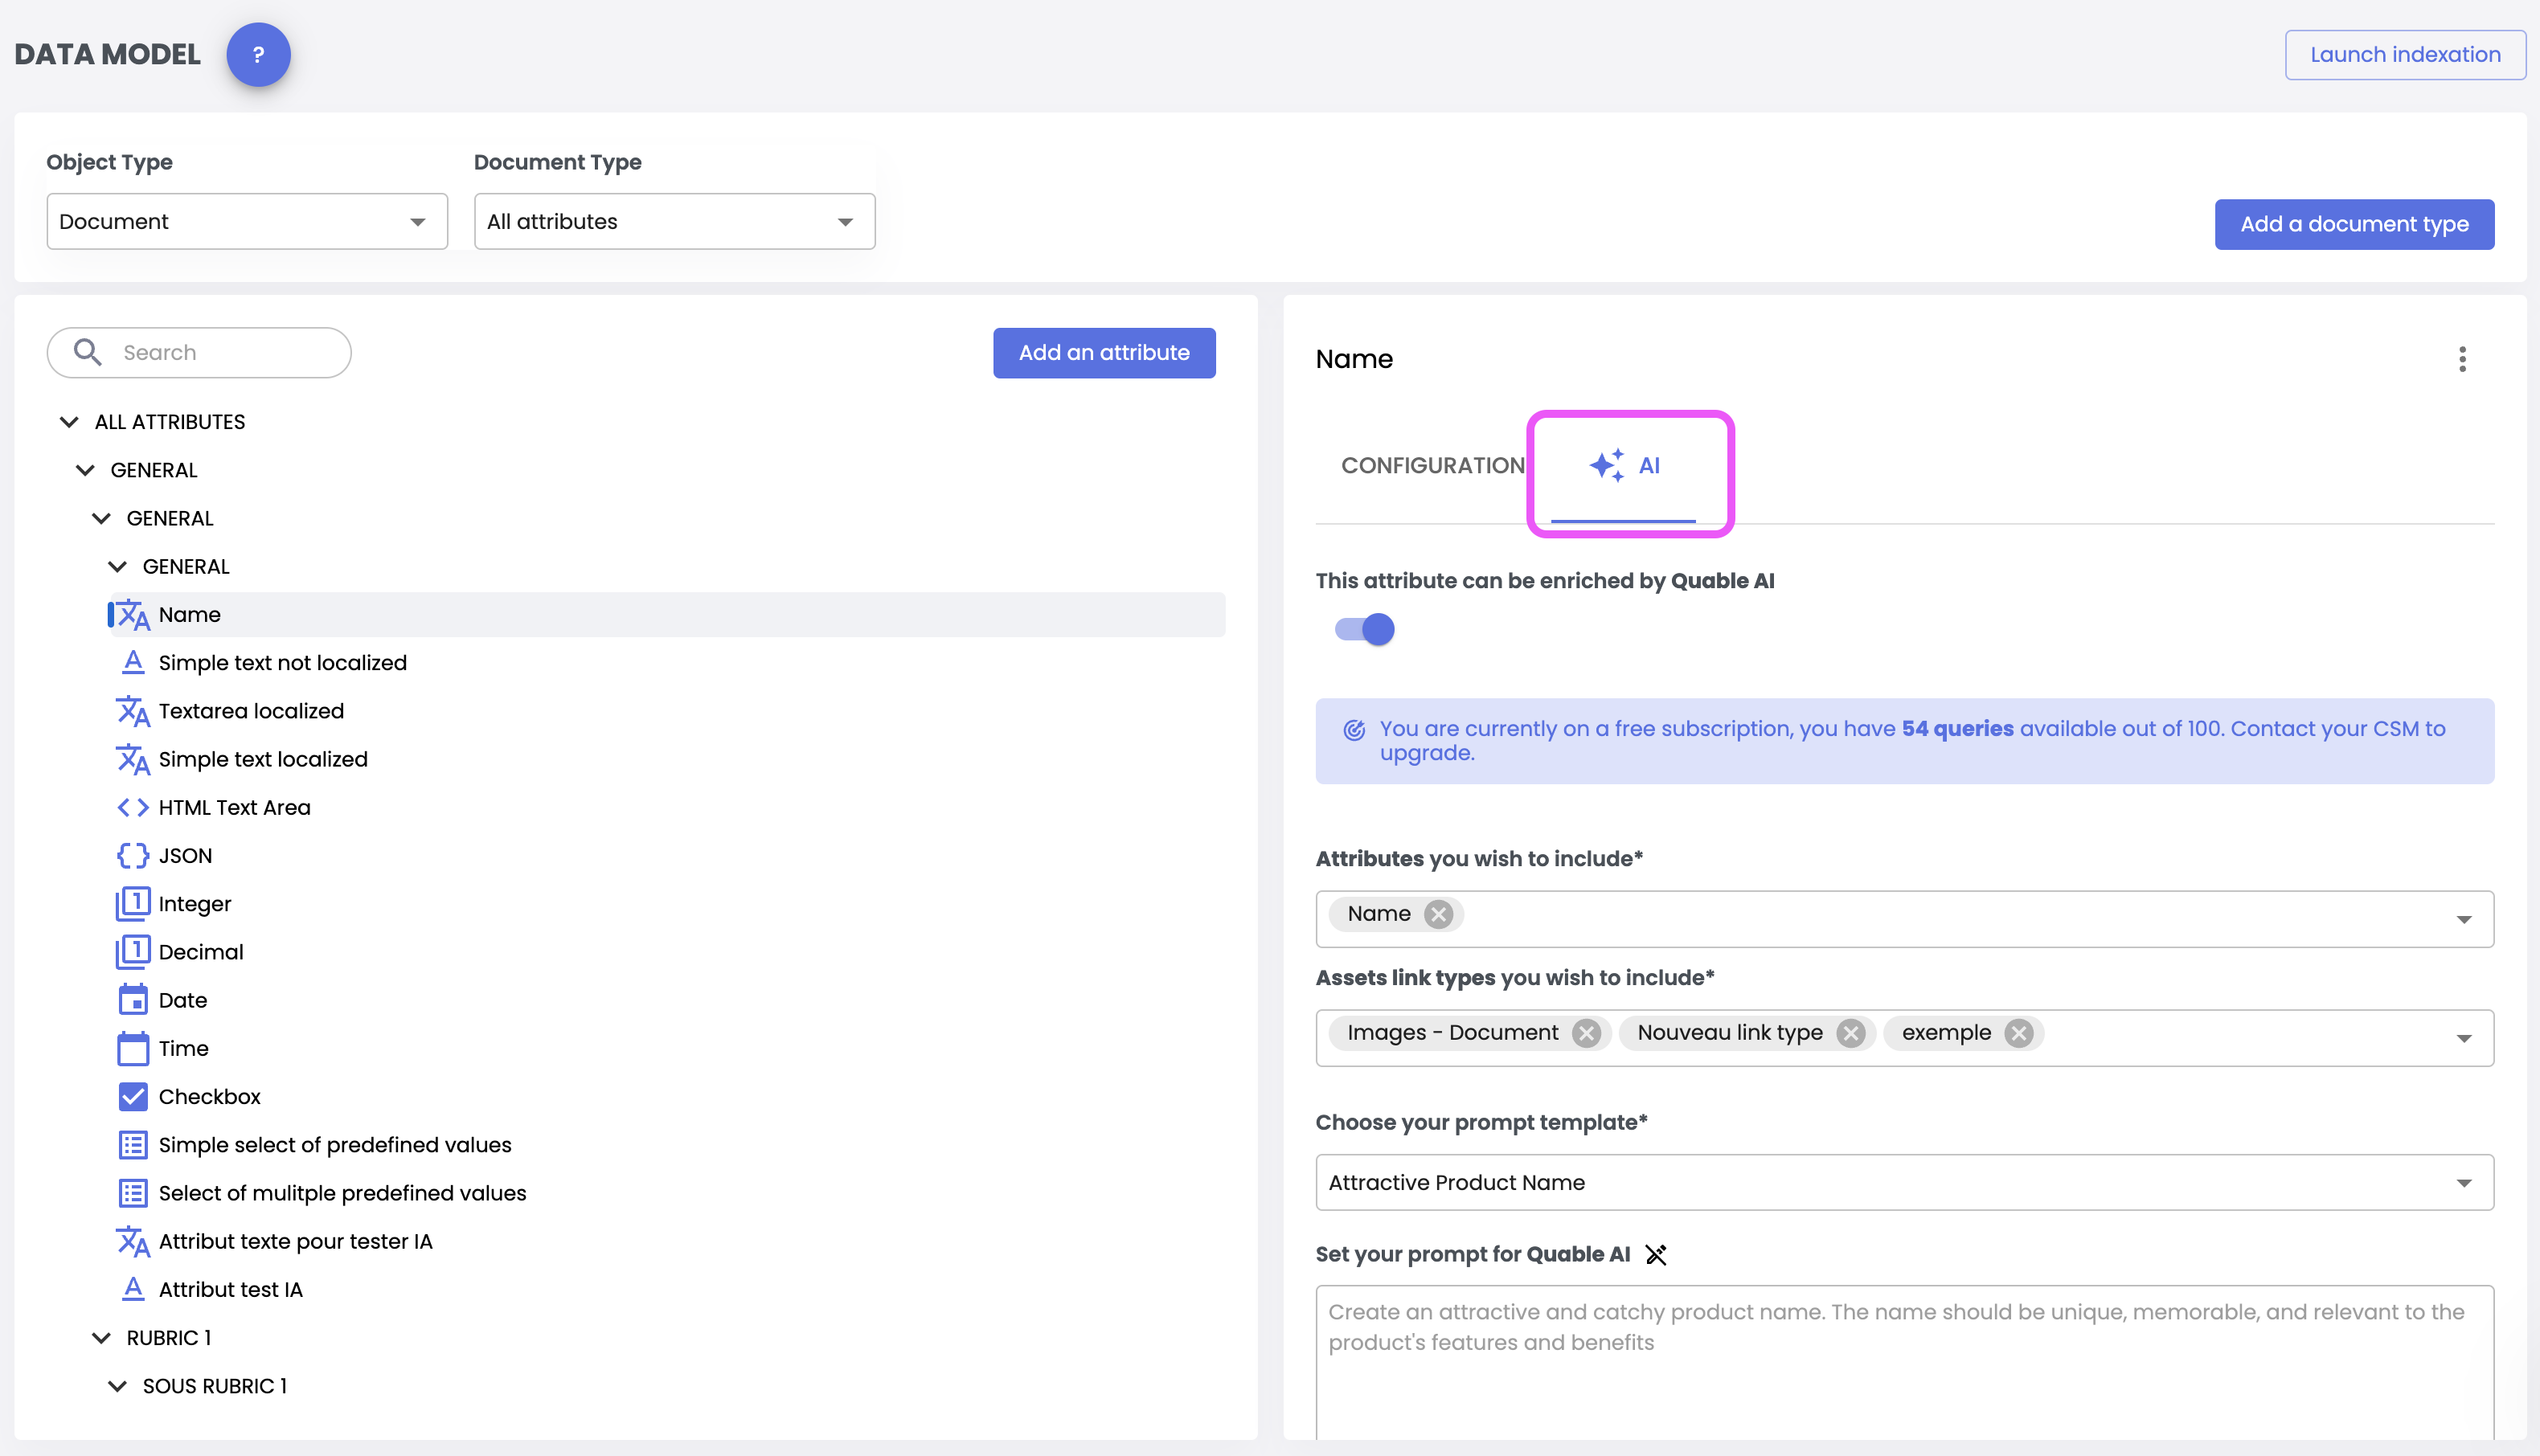
The AI settings tab is located in the attribute administration page.
- Once your Product Type is selected, choose the attribute on which you want to enable AI.
- Go to the "AI" tab in the right panel to configure the various generation settings.

Availability of Generative AIGenerative AI is only applicable to “Products” type objects on the attributes belonging to the following list:
- Simple text (non-localized)
- Simple text (localized)
- Text area
- HTML code
Generative AI settings
Enable AI Attribute Enrichment
- Use the switch button below in AI management to display additional parameters.

Track Free Trial Queries
If you have a free trial, you can track the remaining queries via the queries count section. This section displays the number of remaining trial queries.

Subscribe to the Generative AI optionPlease contact your CSM for more information about the Generative AI option.
Select Sources Attributes
Use the selection menu to choose the sources attributes that the AI will use for content generation. It uses these attributes as a basis to generate precise and relevant content.

Source Attribute Limitations
- Up to 10 source attributes can be associated per prompt.
- An AI-generated attribute cannot use a source that is itself AI-generated.
Select Sources Assets Link Types
- In the AI management section, select the sources media links to use for content generation.

Limitations
- A maximum of 2 source media links can be associated per prompt.
- Only the first 5 media files in a link are considered; subsequent files are ignored.
- Image file formats are supported by the AI. Other file types (PDF, video, audio, etc.) are ignored.
Select and Customize the Prompt
- Choose between an existing or customizable prompt. Existing templates offer quick generation without editing, while the customized prompt allows for detailed generation for specific needs.\

- Available prompt templates:
| Prompt Model | Prompt Objective |
|---|---|
| Attractive product name | Create a unique and memorable name |
| Long description | Provide a complete and detailed description |
| Marketing description | Write a convincing description to attract buyers |
| SEO-friendly description | Generate an SEO description with keywords |
| Short description | Provide a brief and engaging description |
| Technical description | Offer a description with technical specifications |
| Custom AI Teplate | Allows creating a customized prompt |
Generate Content Preview
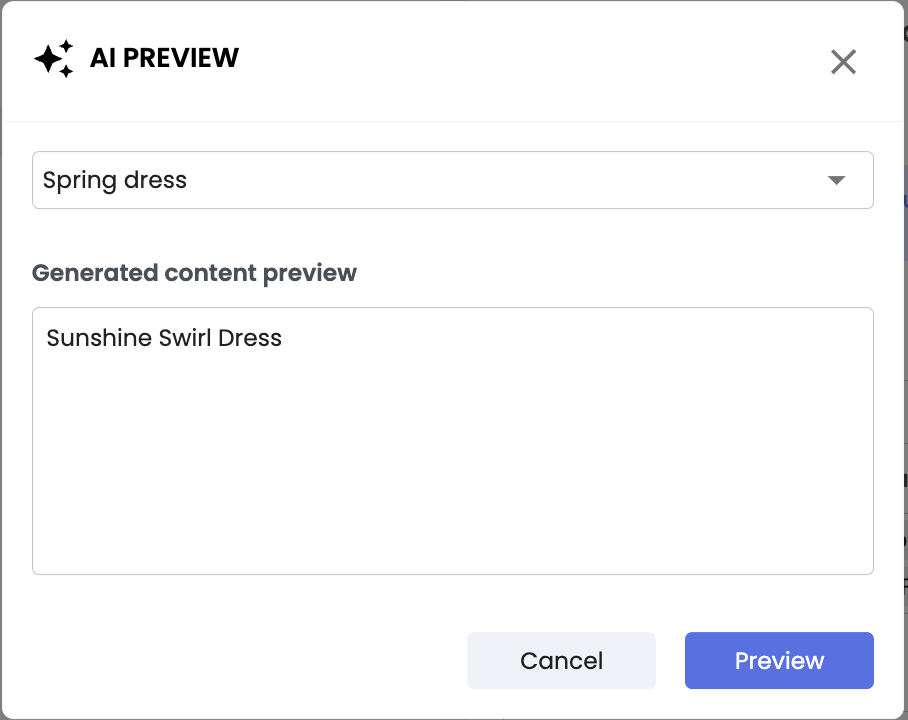
- Use the "Preview" button to preview the content based on the selected prompt and settings. This feature allows you to check that the generated content meets your requirements before finalizing it.

A pop-up window opens:
- Enter the name or code of a product related to the selected Product Type.
- Click the Preview button

Apply AI Generation Settings
- Once all settings are configured, use the “Apply” button to save all changes.

Tracking Generative AI Usage
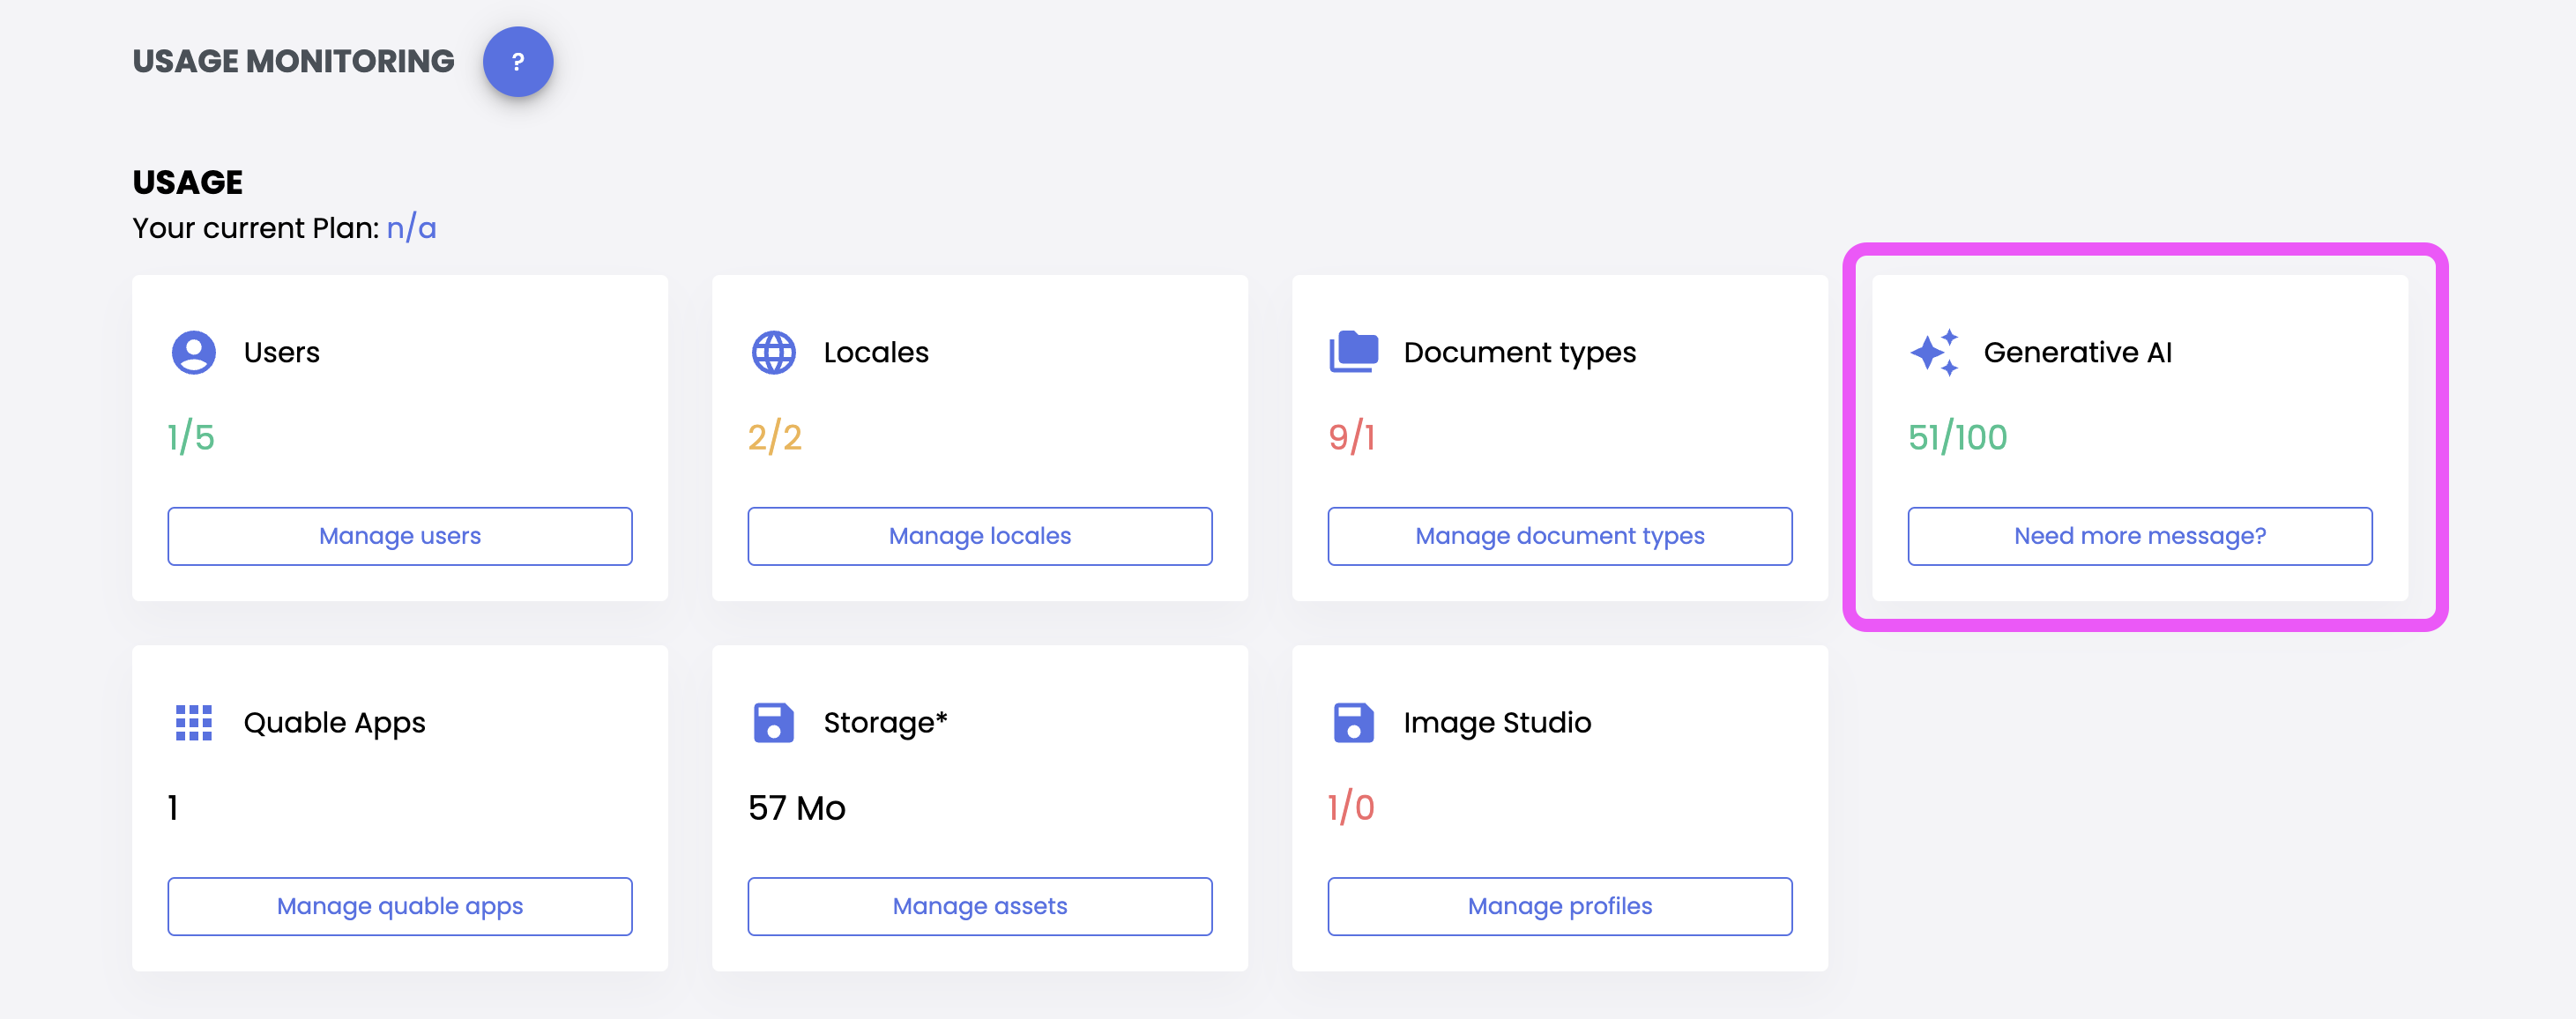
You can effectively track AI usage on the Usage Tracking page.
- Go to the “System > Usage” page in the admin settings.
- This page provides an overview of various usage metrics, including generative AI usage.

For trial instances, the number of prompts used /100 will be available. If the instance approaches its limit, the card will change color to indicate the status:
- green for a sufficient number of prompts
- orange for a low number of prompts
- red for no prompts remaining.
For subscribed instances, the card will display the total number of prompts used against its contractual limit.
Updated 4 months ago
