Scheduled Imports
Import on a regular basis? Set a schedule!
The Scheduled Imports page allows you to define and schedule recurring imports. These imports are launched automatically at the frequency you define. The page includes a brief description of the feature, a link to this documentation page, and a list of existing import schedules, if any.
-
If no import schedules have been created yet, a Schedule Import button is displayed in both the Current Scheduled Imports section and the top right corner of the page.
-
If import schedules have already been created, a list is displayed with: the Name of the schedule, the import Profile used, the Cron Expression for the import, and the Status of the import schedule.
The Schedule Import button is only displayed in the top right corner of the page.
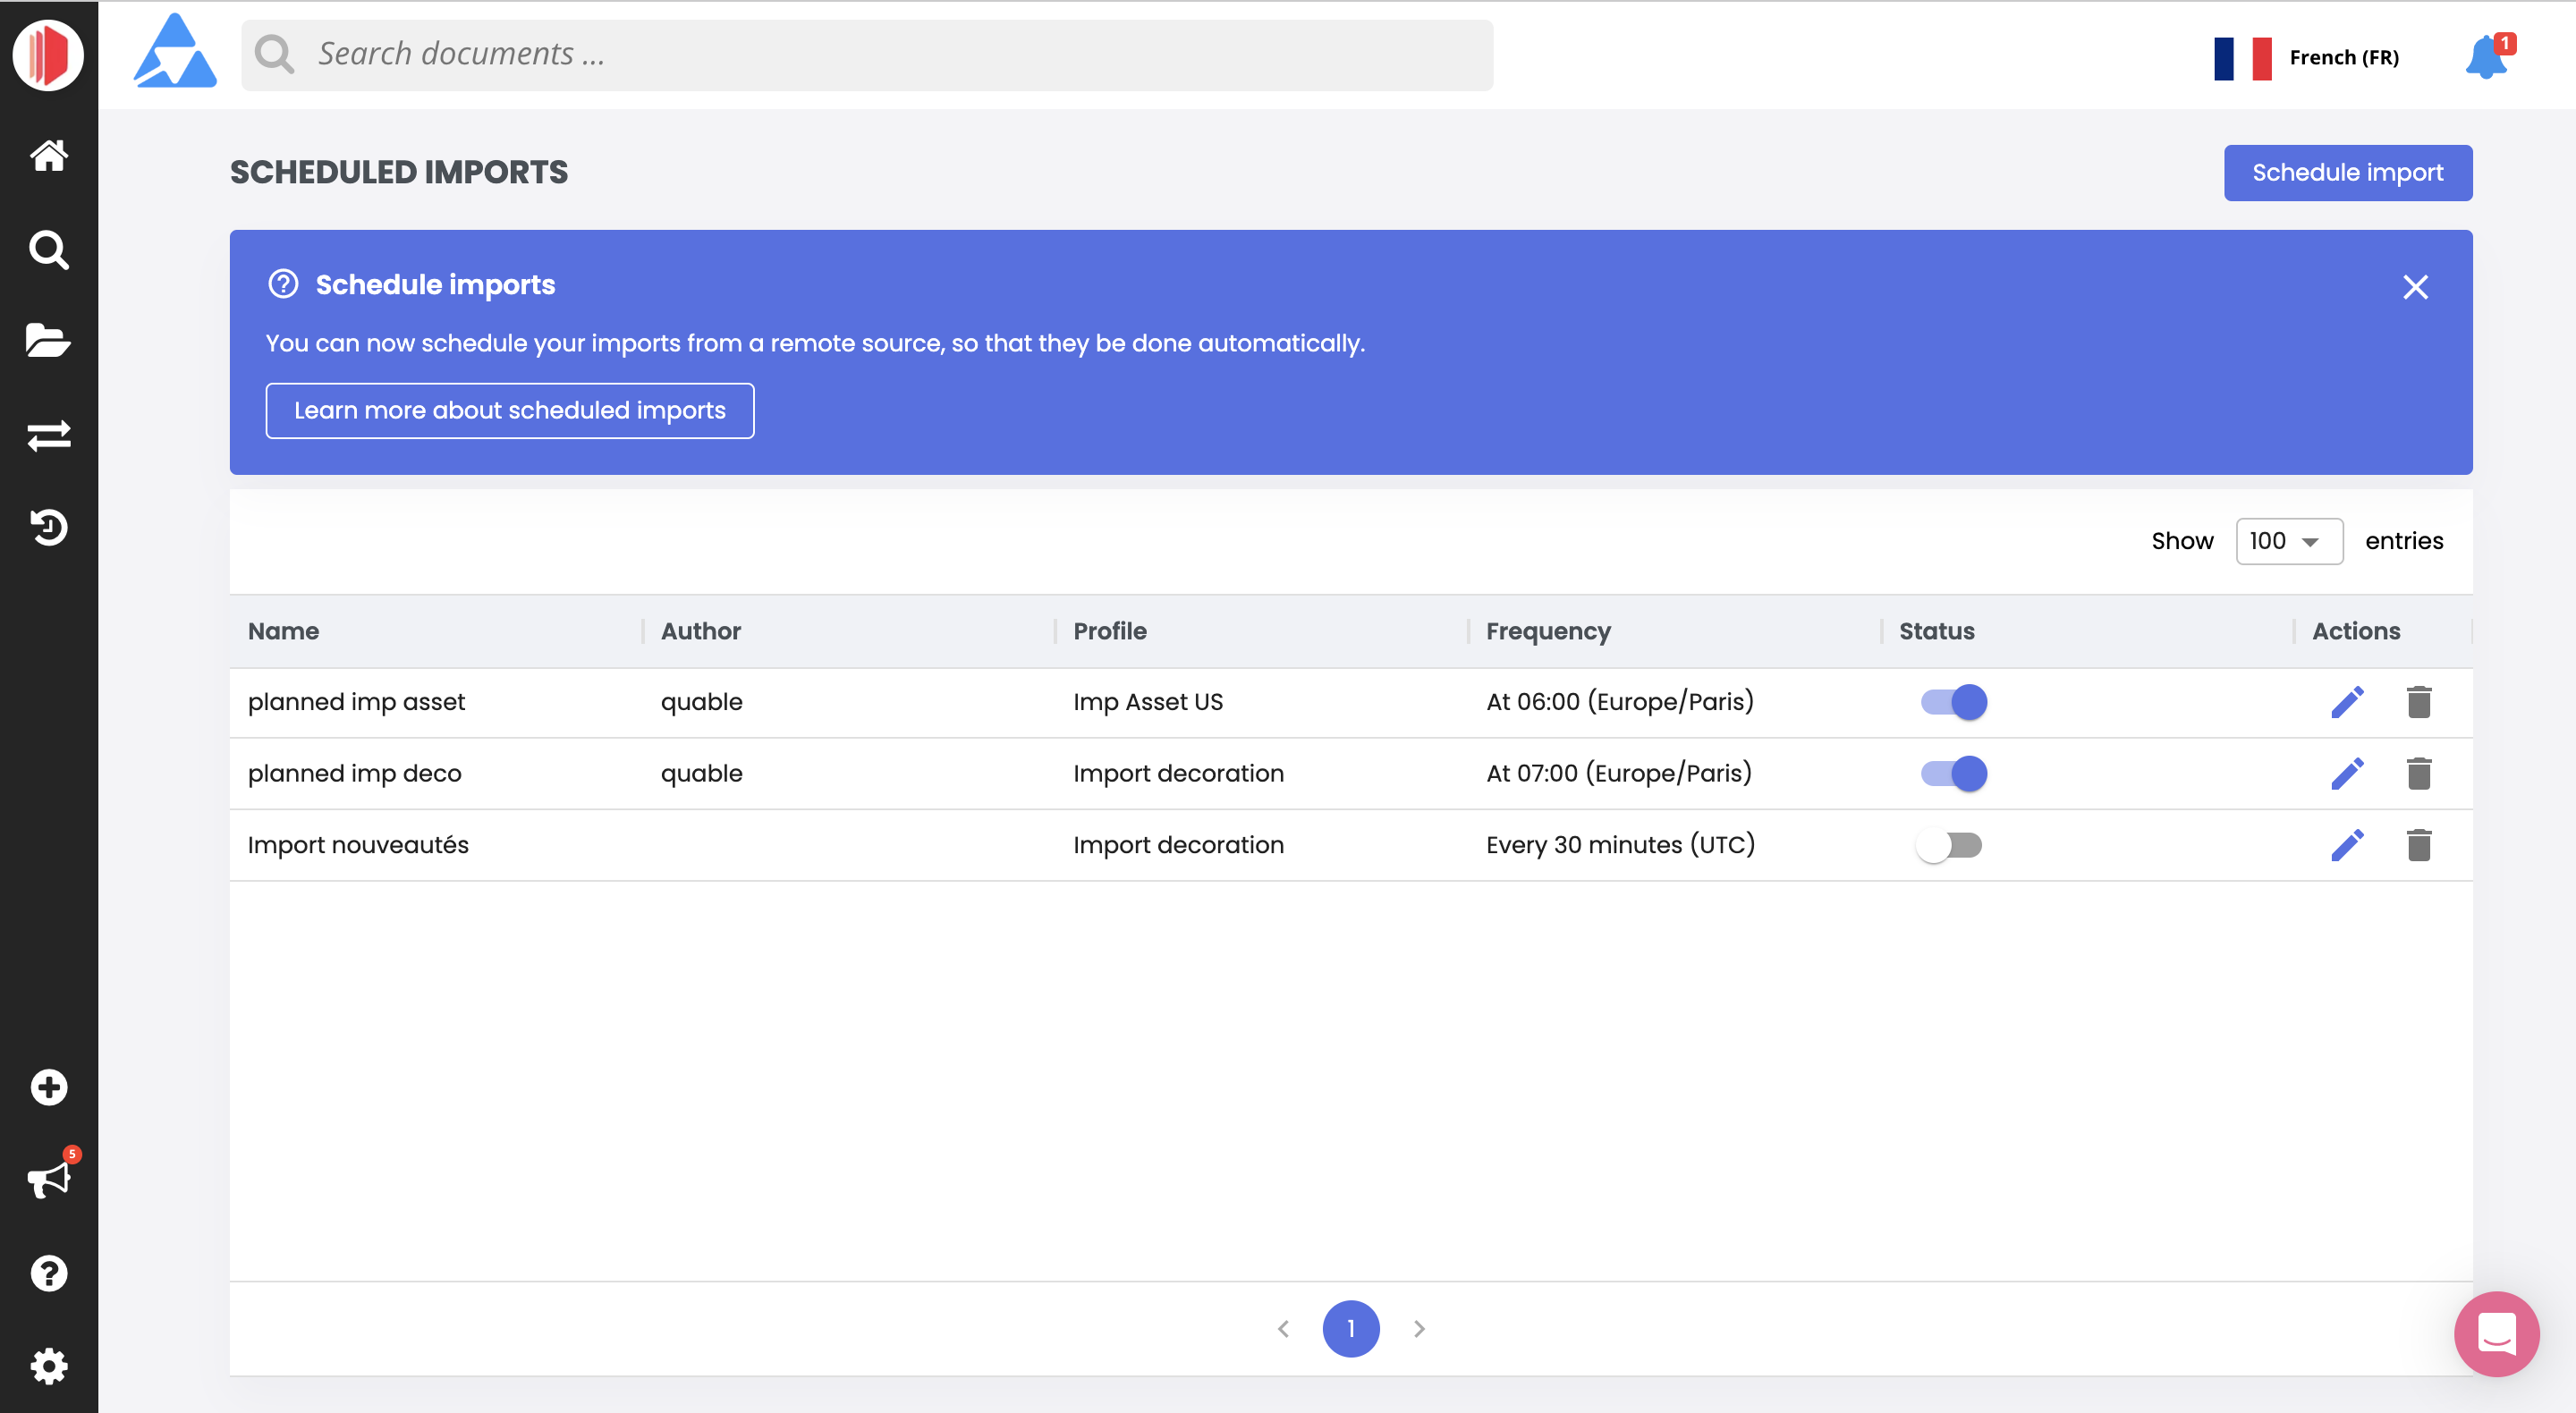
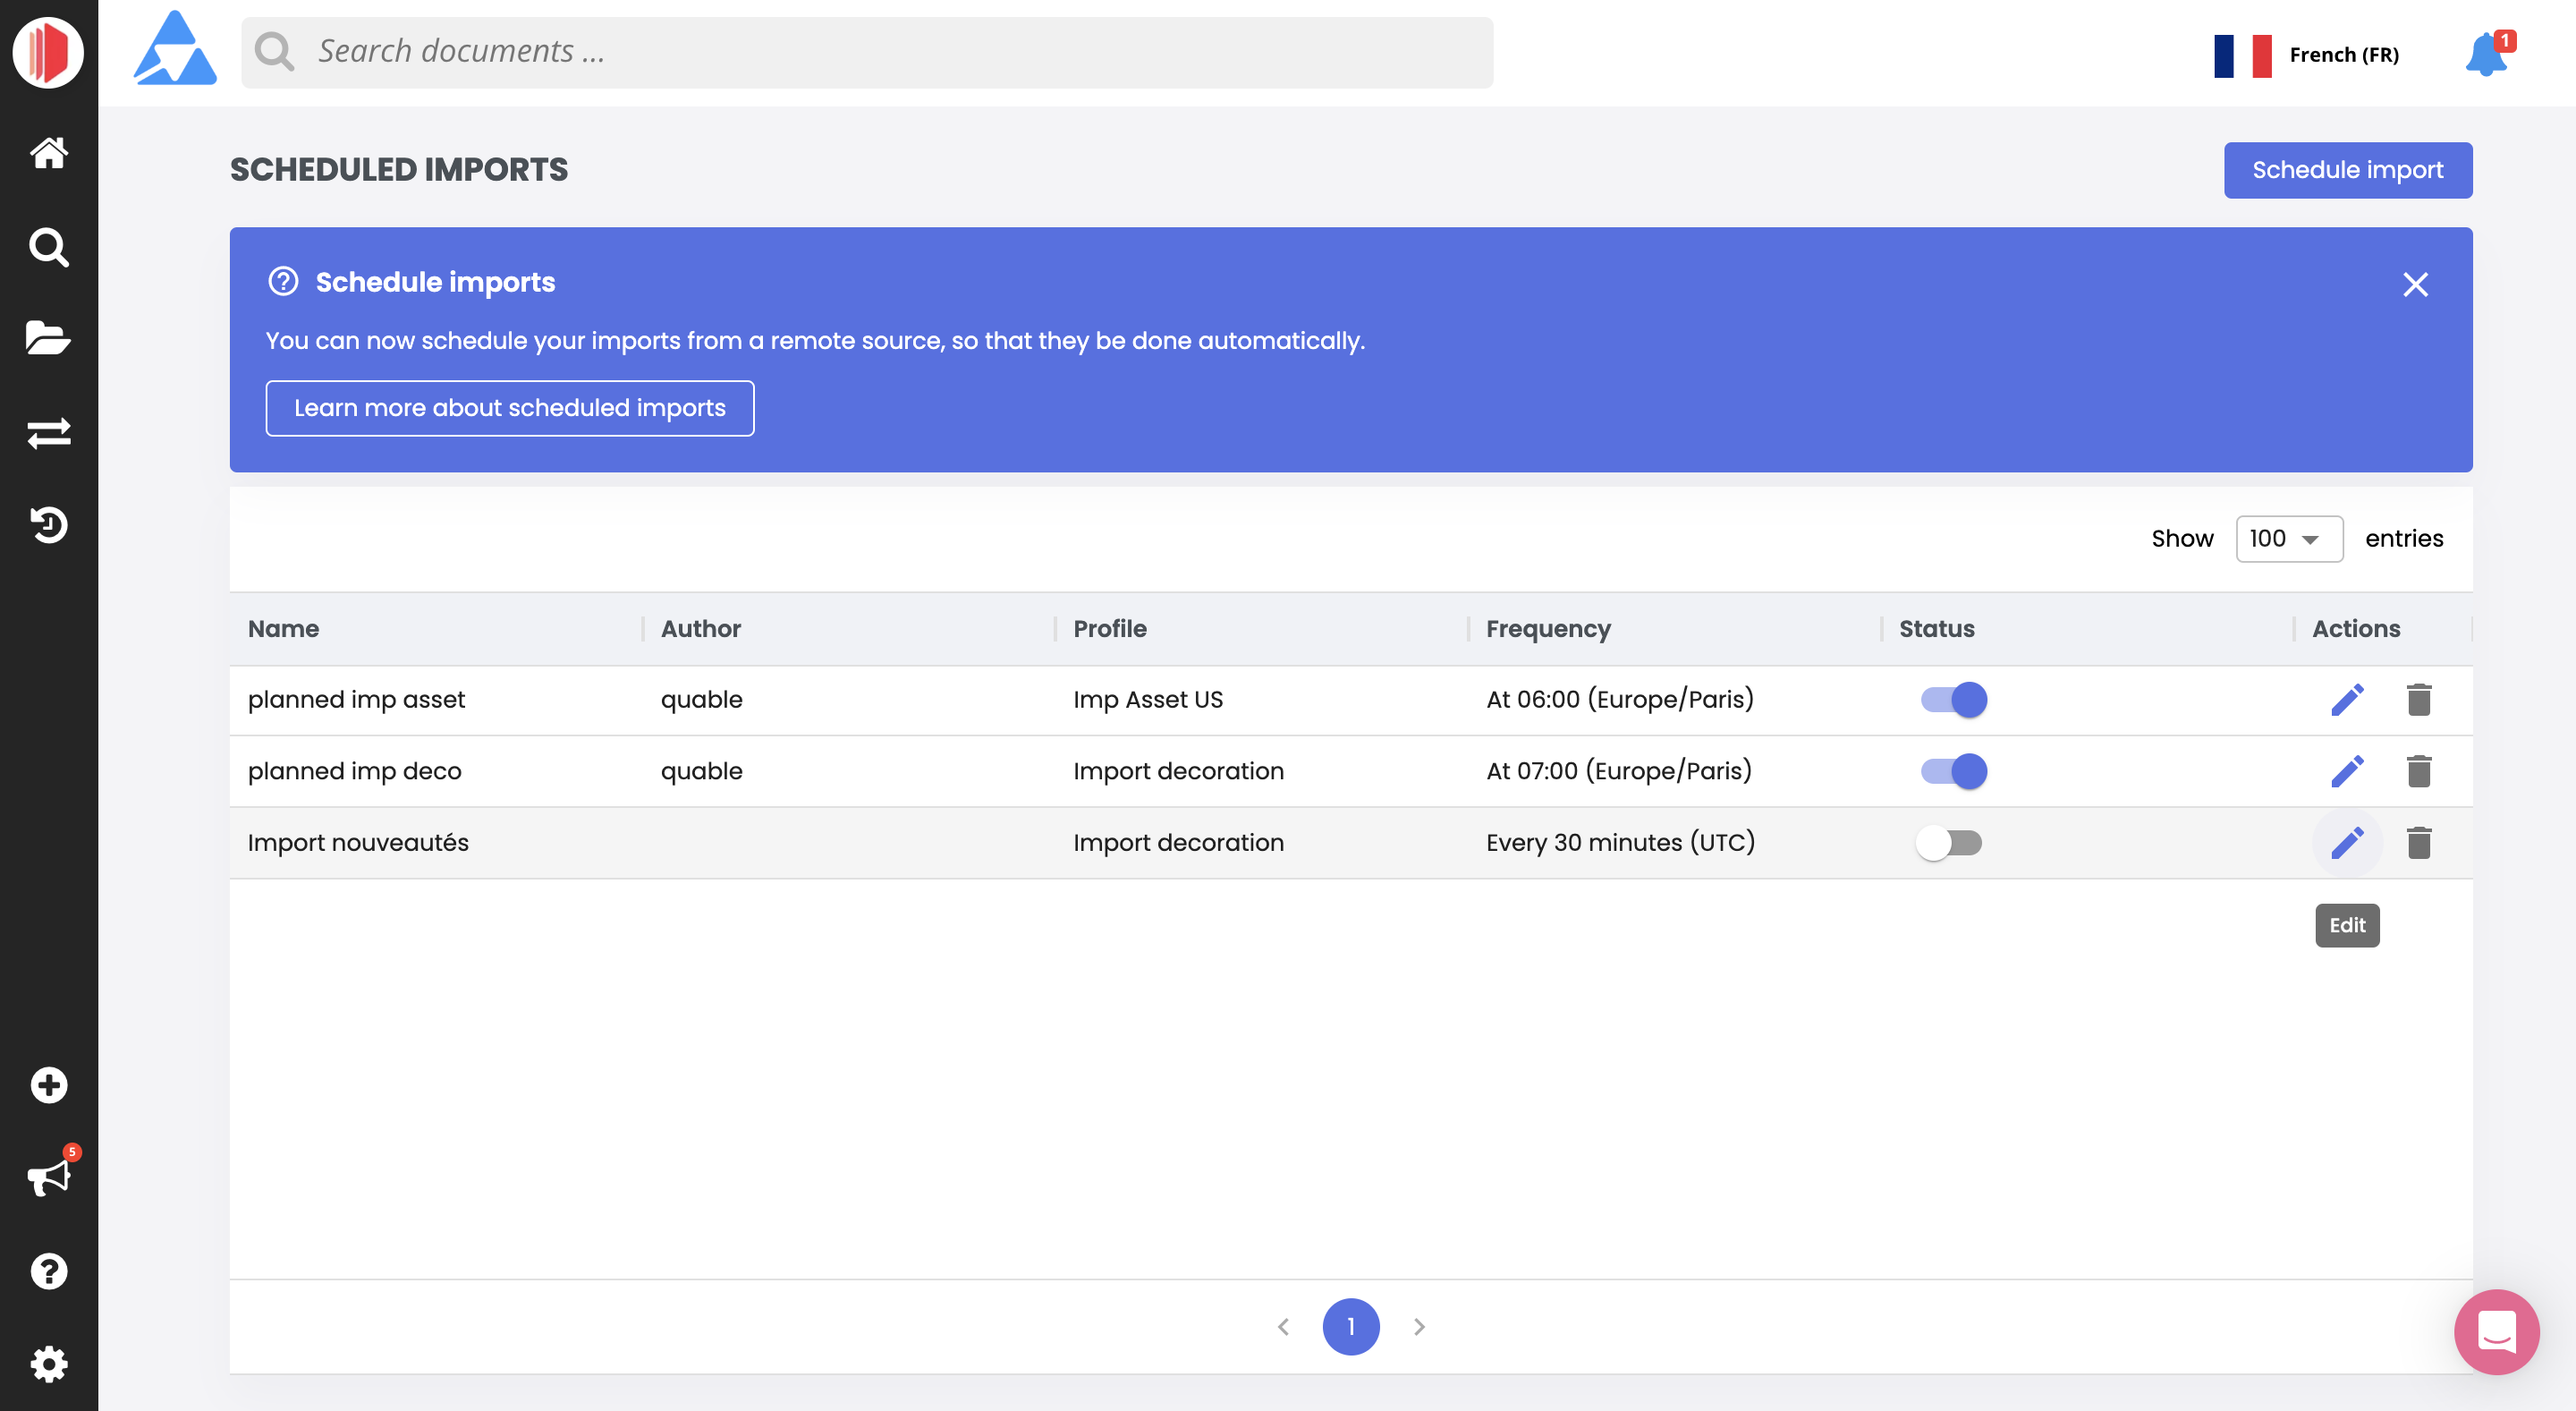
At the end of each line of a scheduled import are icons to Edit or Delete the schedule.

Creating Schedules
To create a schedule for a recurring import, click the Schedule Import button. A form is displayed to define the schedule and its settings.
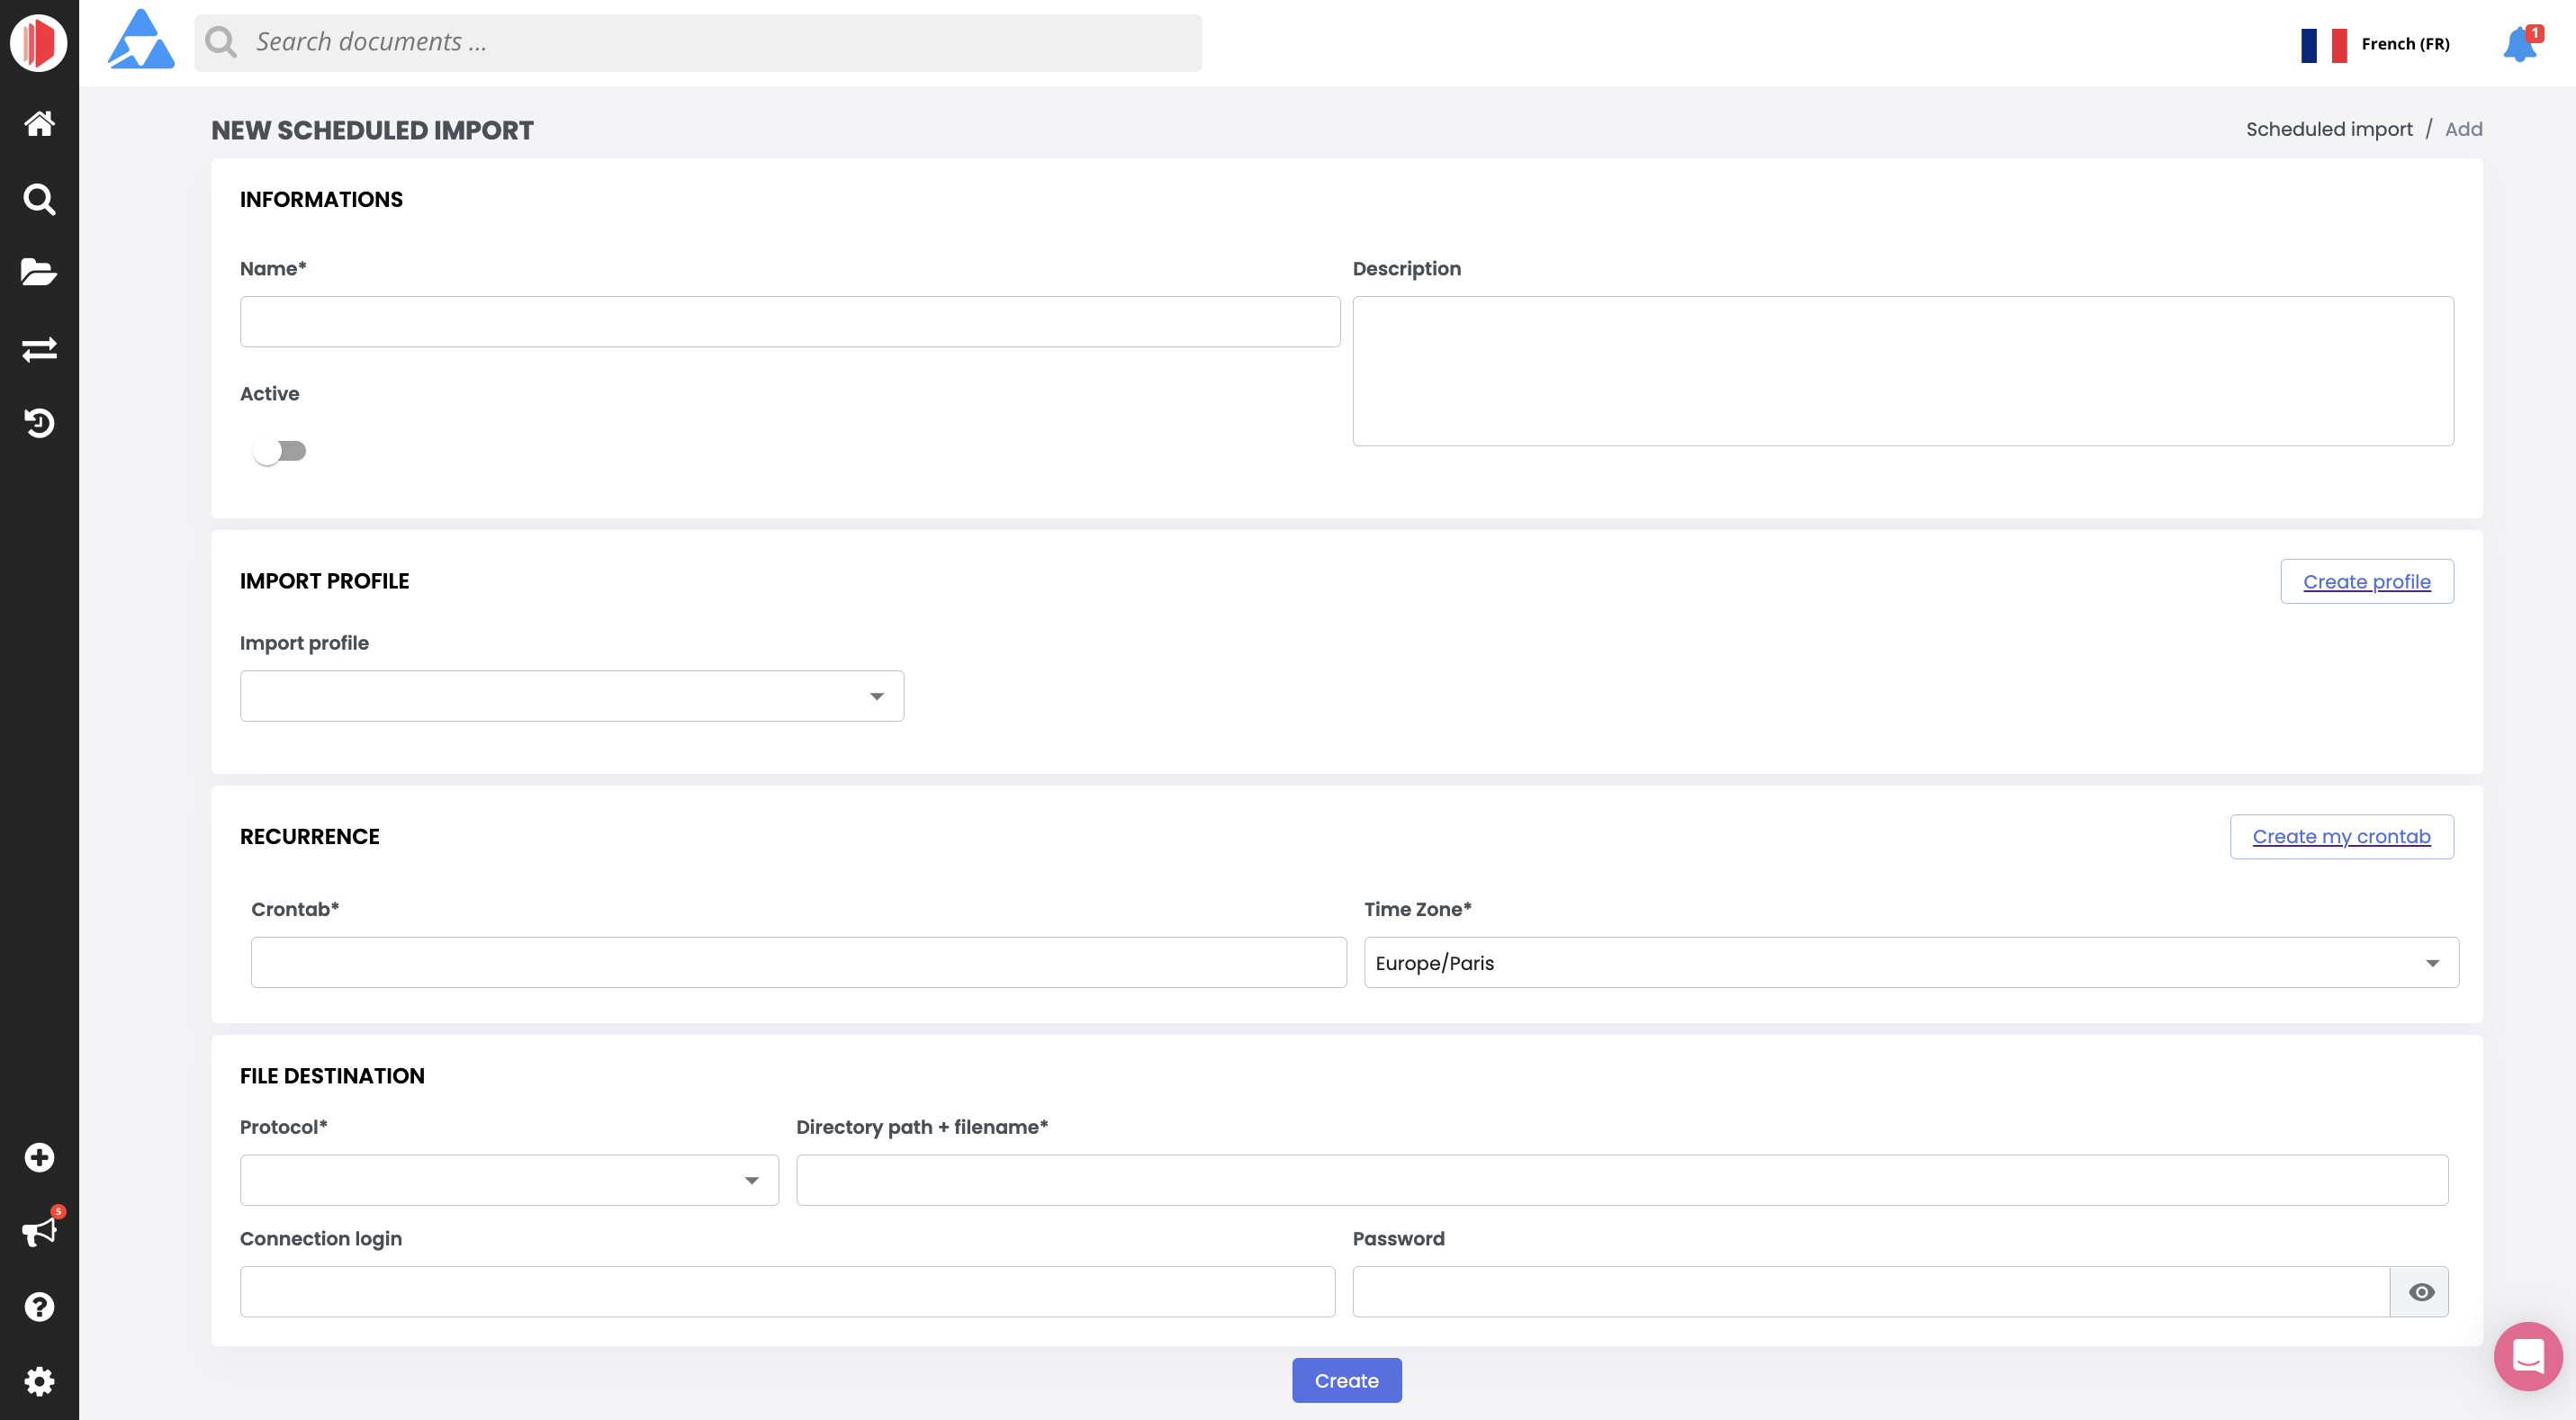
The form is divided into four sections: Schedule Identity, Profile, Recurrence, and File Path. These are described in detail below.
When you've completed all of the sections, click on the Create button to save the schedule.
Schedule Identity
This section allows you to provide a name and description for the import schedule as well as its status.

Enter the following information:
Information | Description | Mandatory |
|---|---|---|
Name | The name of the import schedule. | Yes |
Description | Enter text to describe the import schedule. | No |
Active / Inactive | New schedules are active by default. You can click the slide button to set the import schedule to inactive. | No |
Profile
This is where you can designate the specific import profile to use for the import schedule.

You can either:
-
select an existing import profile from the dropdown list or
-
create a new import profile by clicking the Create Profile button.
An import profile is mandatory for scheduling imports.
Recurrence
This section allows you to define the frequency of the import schedule, as well as the time zone to use.

Enter the following information:
Information | Description | Mandatory |
|---|---|---|
Crontab | Crontabs are recurrence expressions used by most scheduling systems. Also known as cron expressions, they are specifically formatted string of characters to define the individual details of a schedule (e.g., day of the week, time of day, etc.). If you don't already have a cron expression, you can create one by clicking the Create My Crontab button. This opens the FreeFormatter website where you can follow the instructions to create a cron expression. Once you've created a cron expression, enter it in the Crontab entry area.
| Yes |
Time Zone | The time zone (in TZ database name format) for the schedule. Enter at least three characters of the continent/city of the desired time zone. A scrollable list of TZ database names is automatically displayed. You can find the full list here. Examples
| Yes |
File Path
The final section allows you to specify the source (current location) of your import file.

Note
- Scheduled imports can only be performed from remote sources.
- Import files must have a fixed name (e.g., "my-documents.csv").
- Import files must be updated between each import. If not updated, the same file will be imported over and over.
Enter the following information:
Information | Description | Mandatory |
|---|---|---|
Protocol | The transfer protocol to use for the import. Possible values:
| Yes |
File path | The full directory address of the import file.
| Yes |
Source connection identifier | Credentials for connecting to the source containing the import file. | Yes |
Password | Password to connect to the source containing the import file. | Yes |
Editing Schedules
You can modify an import schedule by selecting one from the Current Scheduled Imports list and clicking its Edit icon.
The Edit Scheduled Import page is displayed. It, shows all of the settings for the schedule, as well as for the import profile it uses.
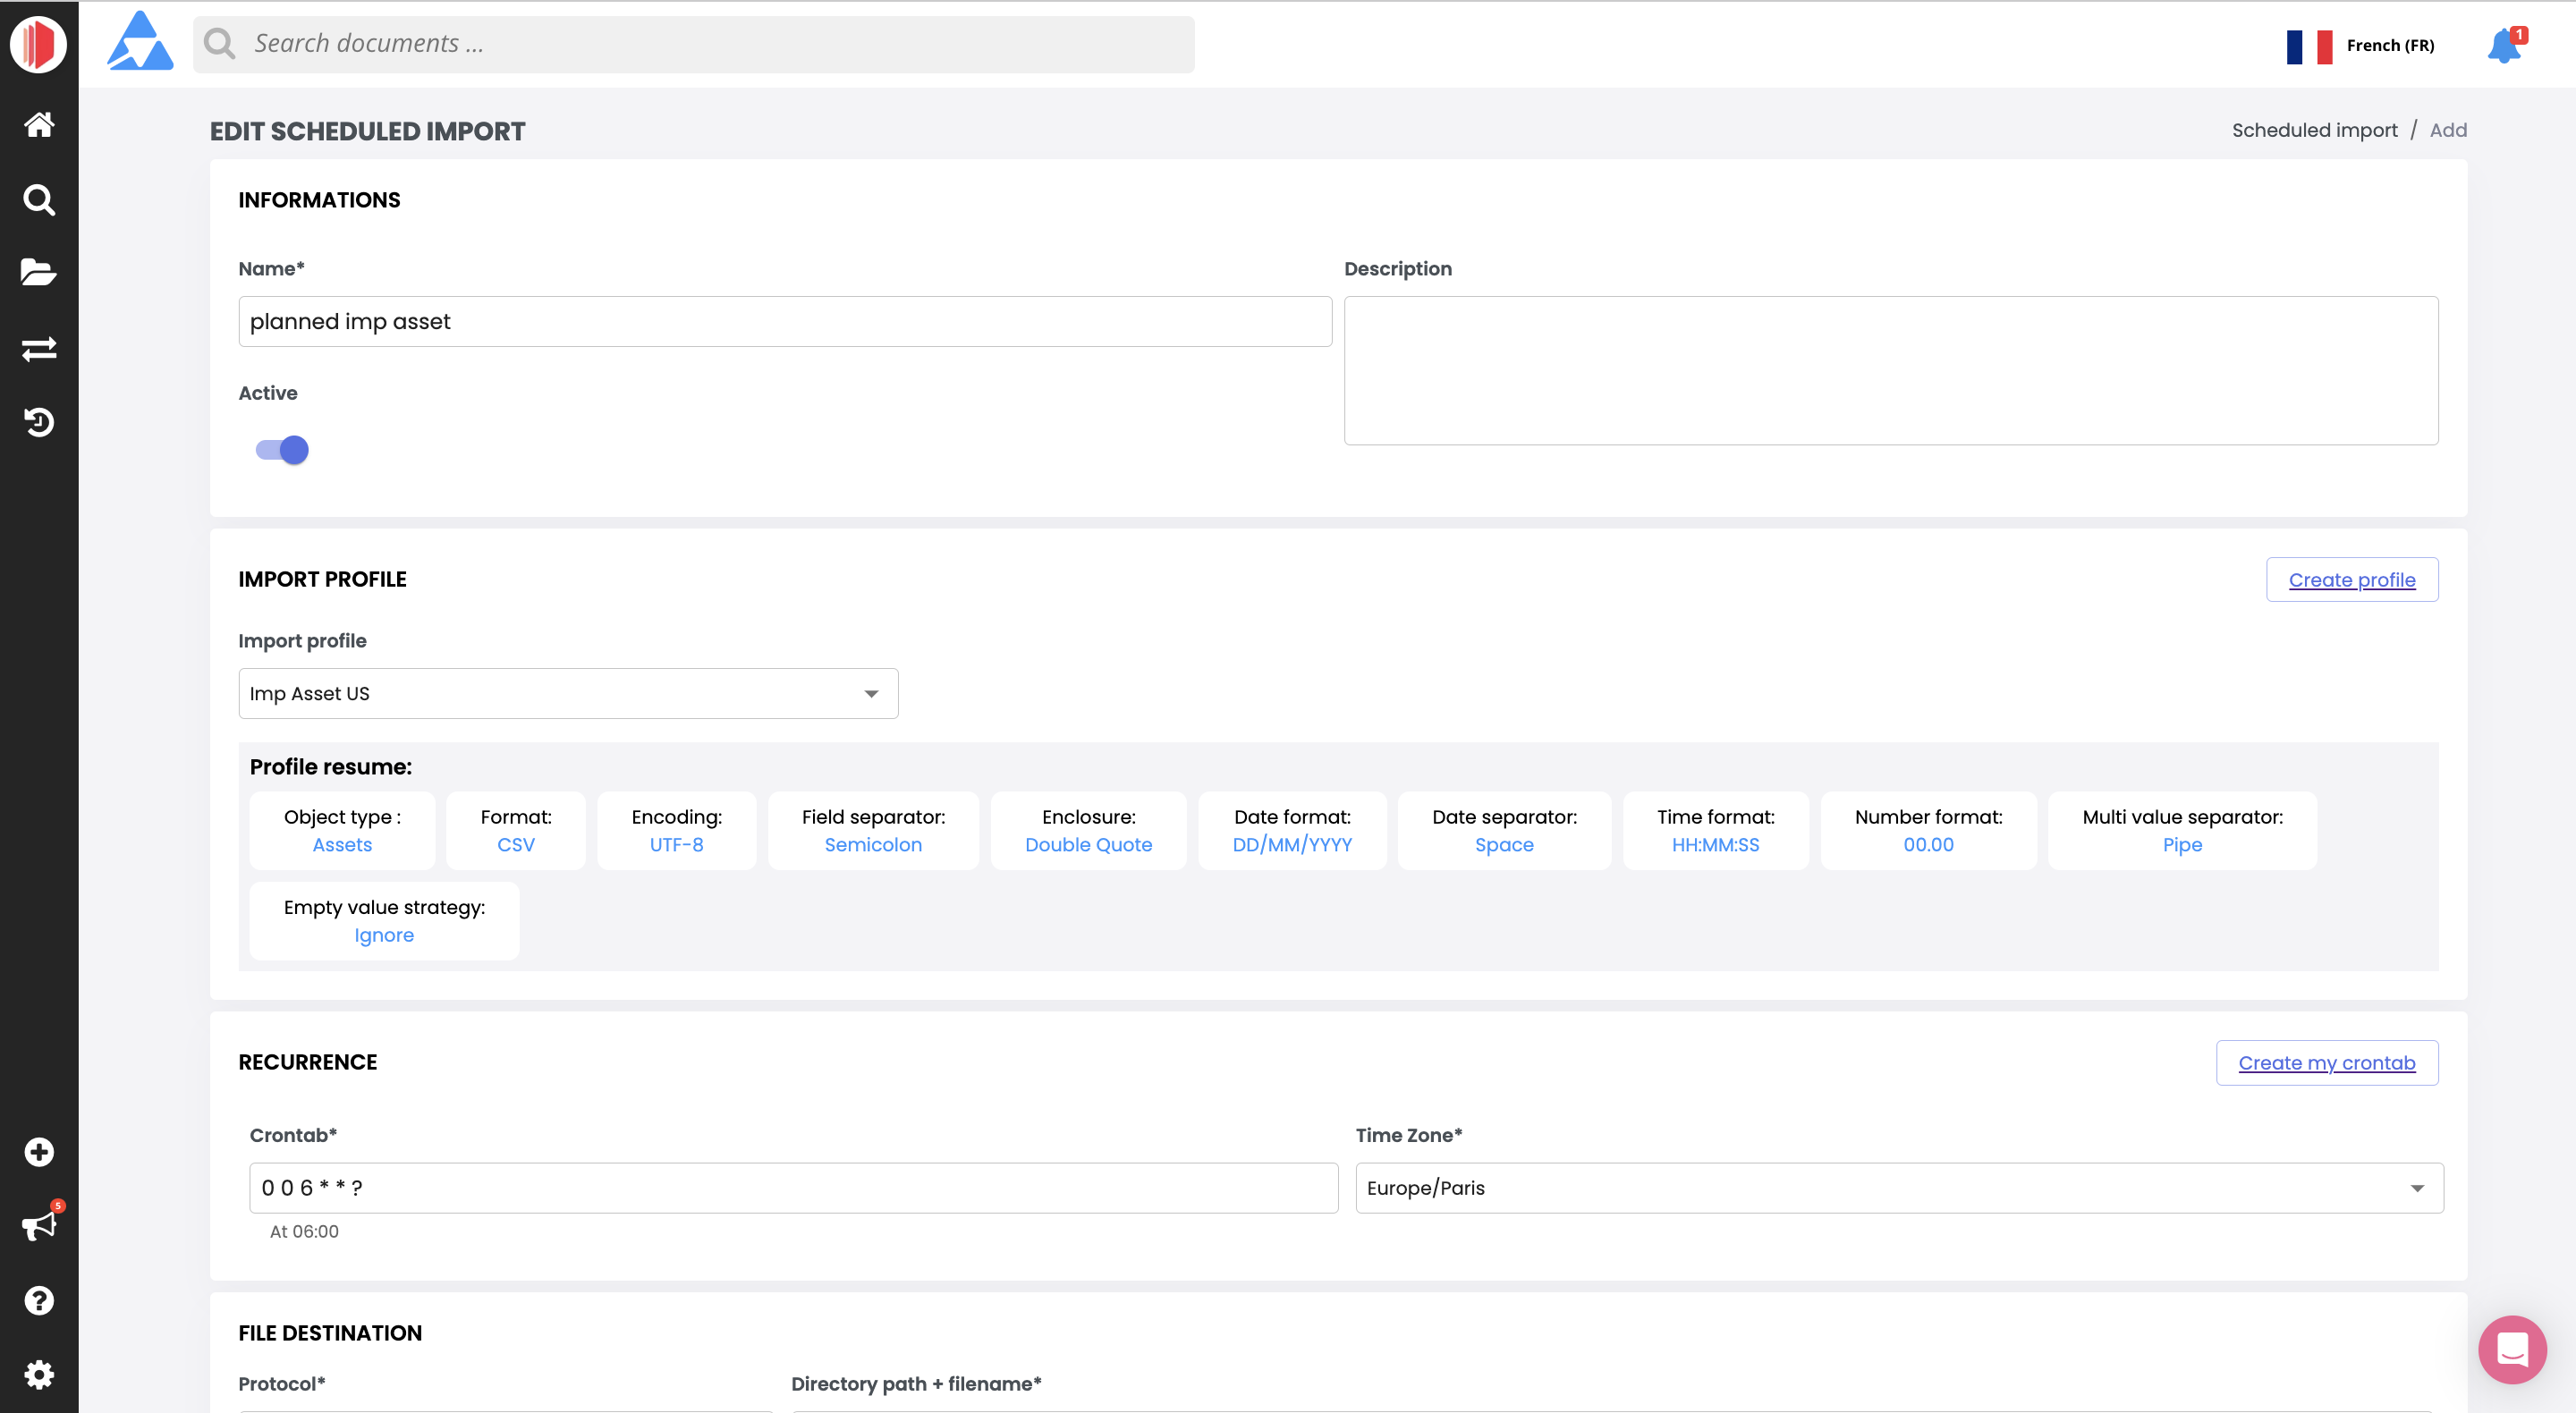
You can edit all of the import schedule's settings with the exception of the import profile. When you've finished making modifications, click the:
- Save button to save your changes,
- Delete button to delete the import schedule, or
- Return link (at the top of the form) to return to the Scheduled Imports page without saving the changes.
Deleting Schedules
You can delete an import schedule in two places. It can be done from the:
- Scheduled Imports page - Click on an import schedule's Delete icon.
- Edit Scheduled Import page - Select an import schedule from the Current Scheduled Imports list and click on its Edit icon.
From the Edit Scheduled Import page, click the Delete button to delete the import schedule.
In both cases, a dialog is displayed to cancel or confirm the deletion.
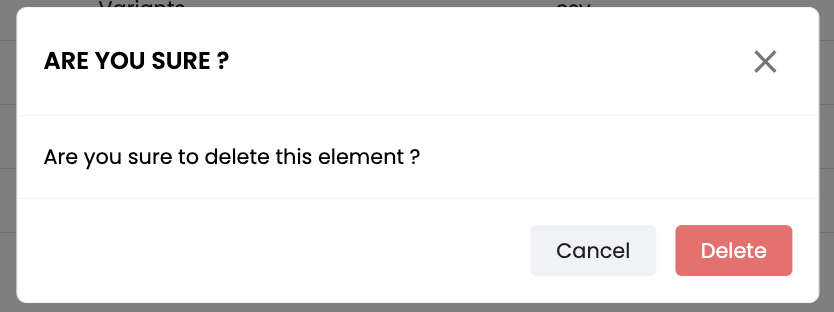
AttentionThis action is irreversible. Once an import schedule has been deleted, it can't be recovered.
Import Status
You can check the status of a scheduled import and get the file used in two ways:
activity reports and selecting Import for the Type
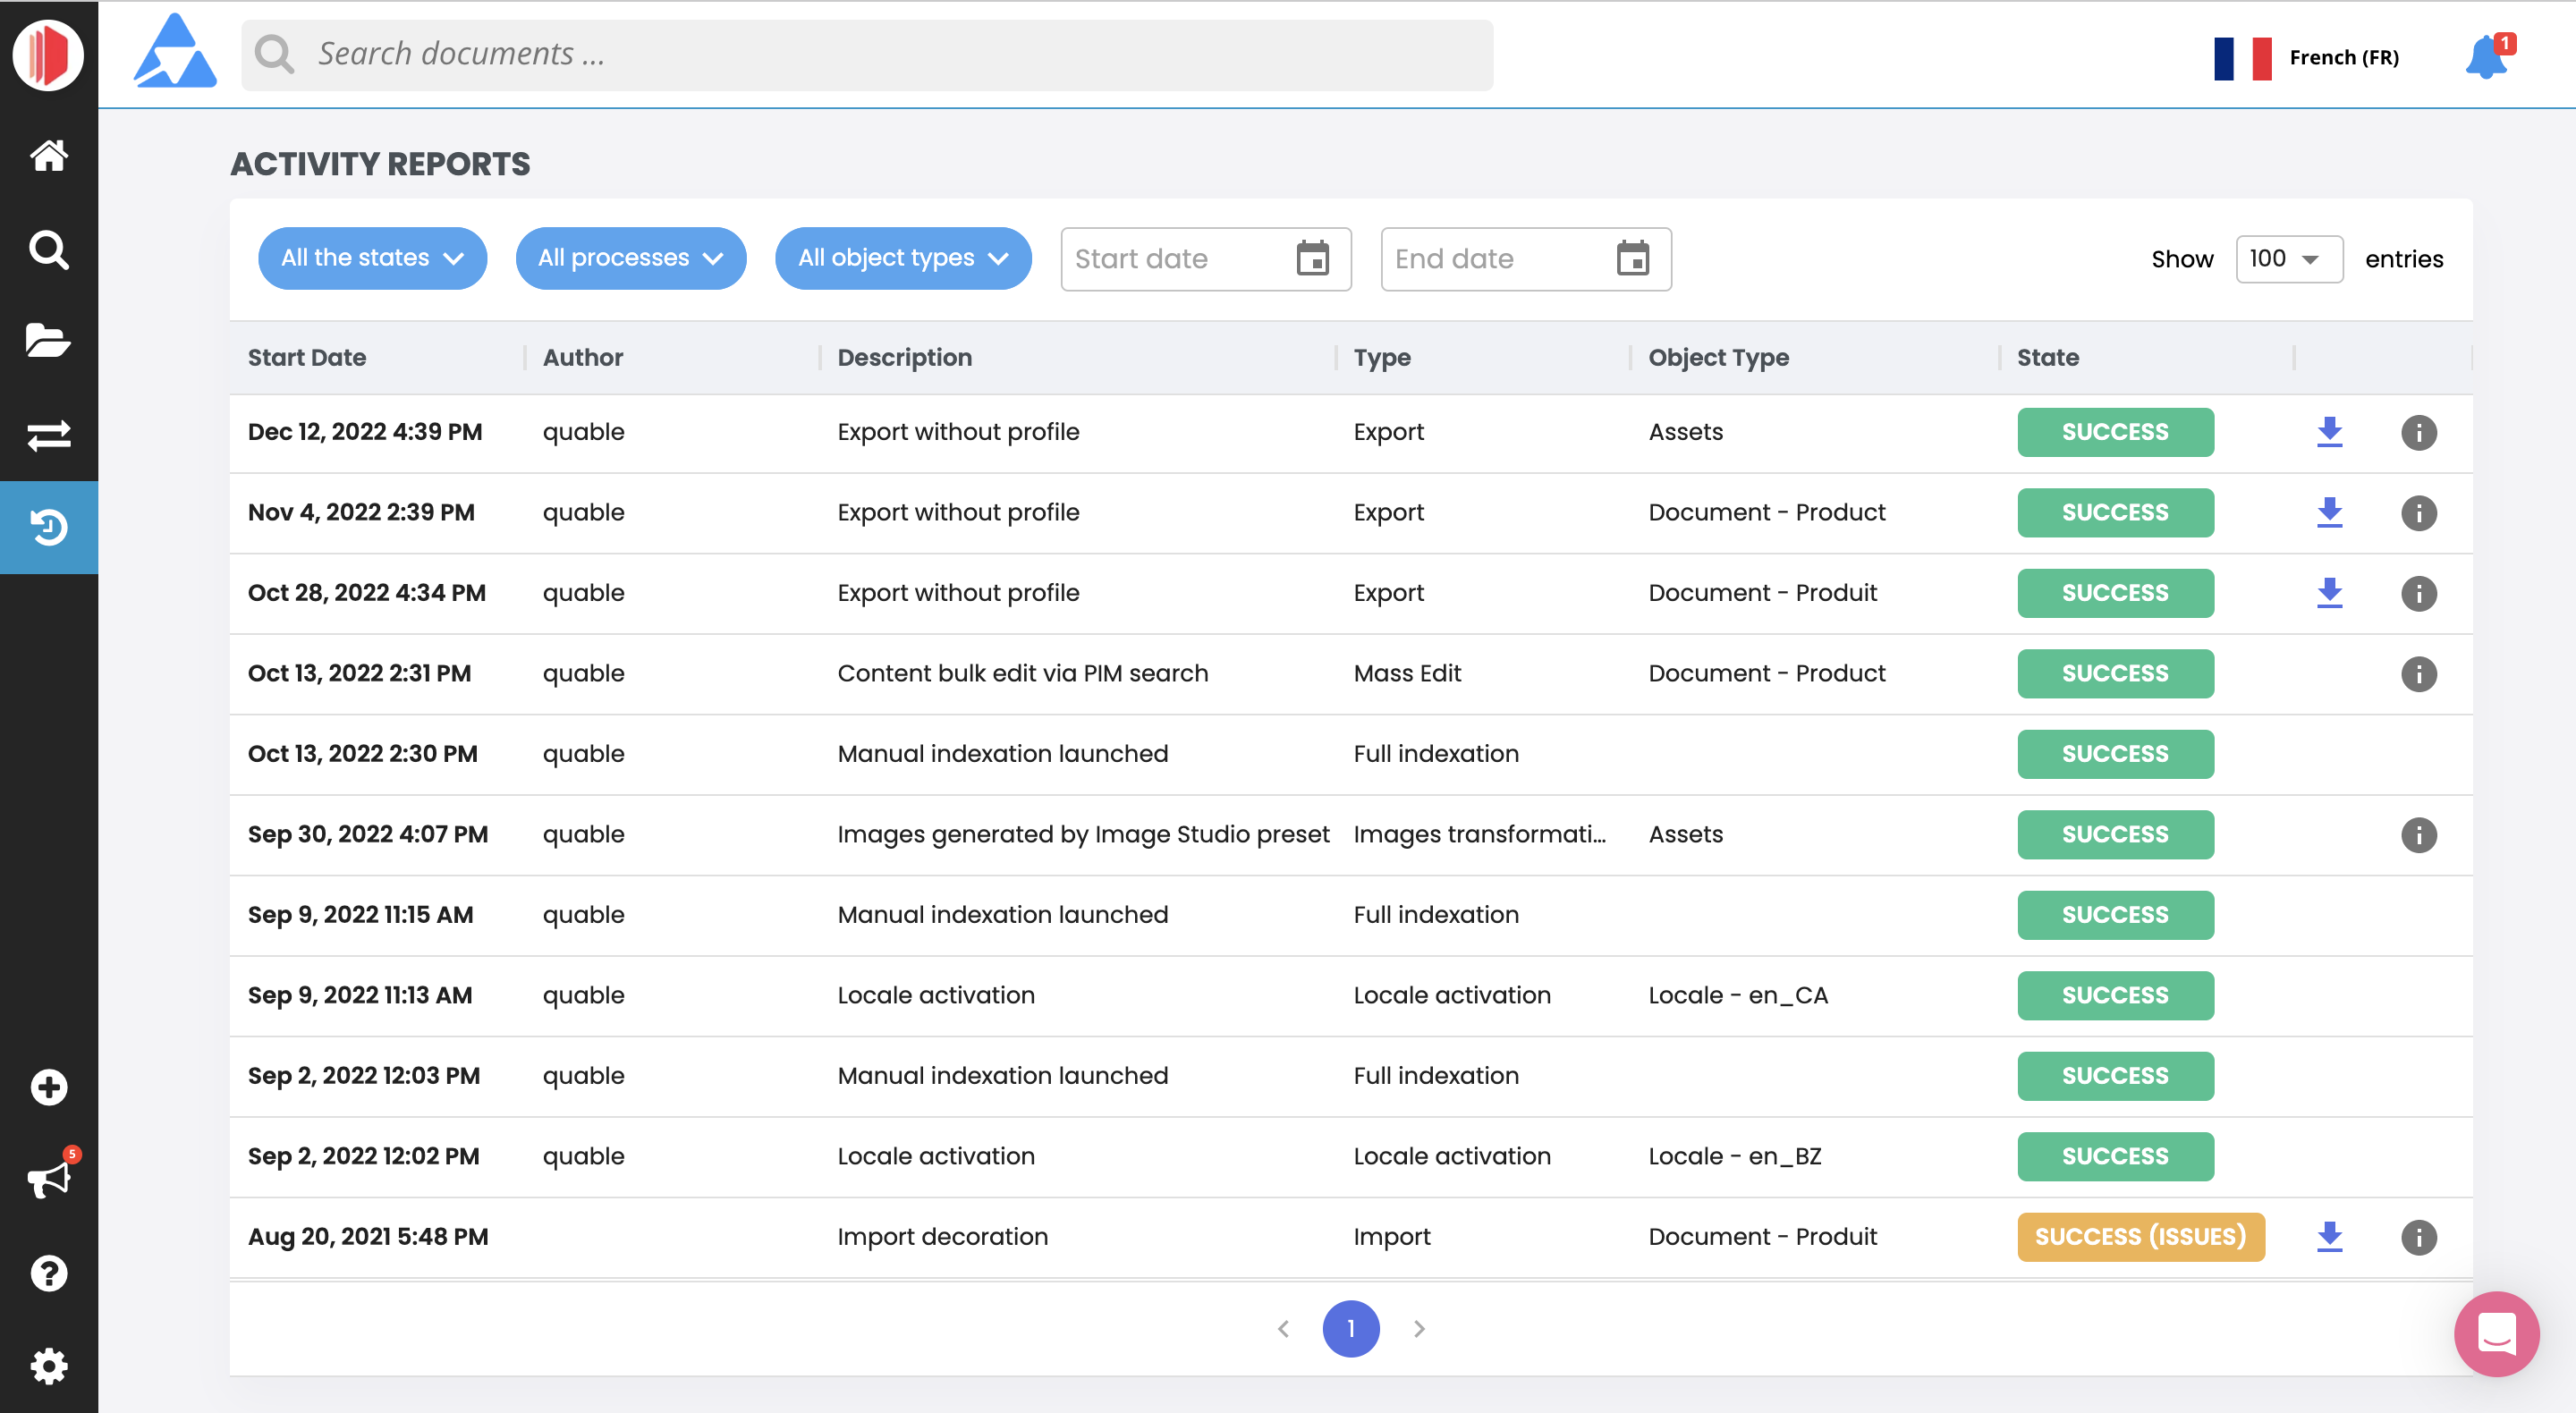
- the API using
api/processes?type=import(Take a look at this recipe)
Updated 5 months ago
