Portal SSO / SAML Authentication
SSO / SAML SubscriptionSSO / SAML is a subscription-based option.
➡️ For more information, please contact your CSM.
What is SSO?
SSO allows users to access various applications within an organization simply and securely. Thanks to this feature, users in an organization can log in once to gain access to all the enterprise applications they use.
You have the option to integrate the Brand Portal as an application with your identity provider as soon as your company has implemented SSO (Single Sign-On) user authentication via the SAML (Security Assertion Markup Language) protocol.
Logging into the Brand Portal via the SSO feature offers advantages:
- Simplify users' lives by setting up a quick login system.
- Reduce time wasted on password recovery procedures or contacting support.
- Deploy an authentication feature proven for its robustness and security.
Important noteWhen the SSO feature is enabled, the SSO SAML authentication is the only available method to log in to the portal. Other login methods are not available.
How does SSO work?
An Identity Provider (IdP) offers a user authentication service while a Service Provider (SP) is a client requesting user authentication. These services must be specifically configured to work together and enable SSO authentication.
PrerequisitesDepending on the IdP service you choose, you will likely need to specifically configure the solution: refer to the IdP service documentation to learn more.
To enable the SSO / SAML Authentication service, you must first verify your domain. You can proceed with verifying your domain in parallel with the service configuration.
Activating SSO / SAML Authentication
Access the SAML Authentication page from your Portal administration console.
To configure SSO, you must first enable the feature by clicking the toggle button. The color changes when it is enabled.

You then have access to the SSO feature configuration information.
Identity Provider Information
Retrieve the information provided by your IdP service:
- username: has to be an email, mandatory
- givenName: mandatory
- familyName: mandatory
- IdP certificate
Fill out the form with the values provided by your IdP service:
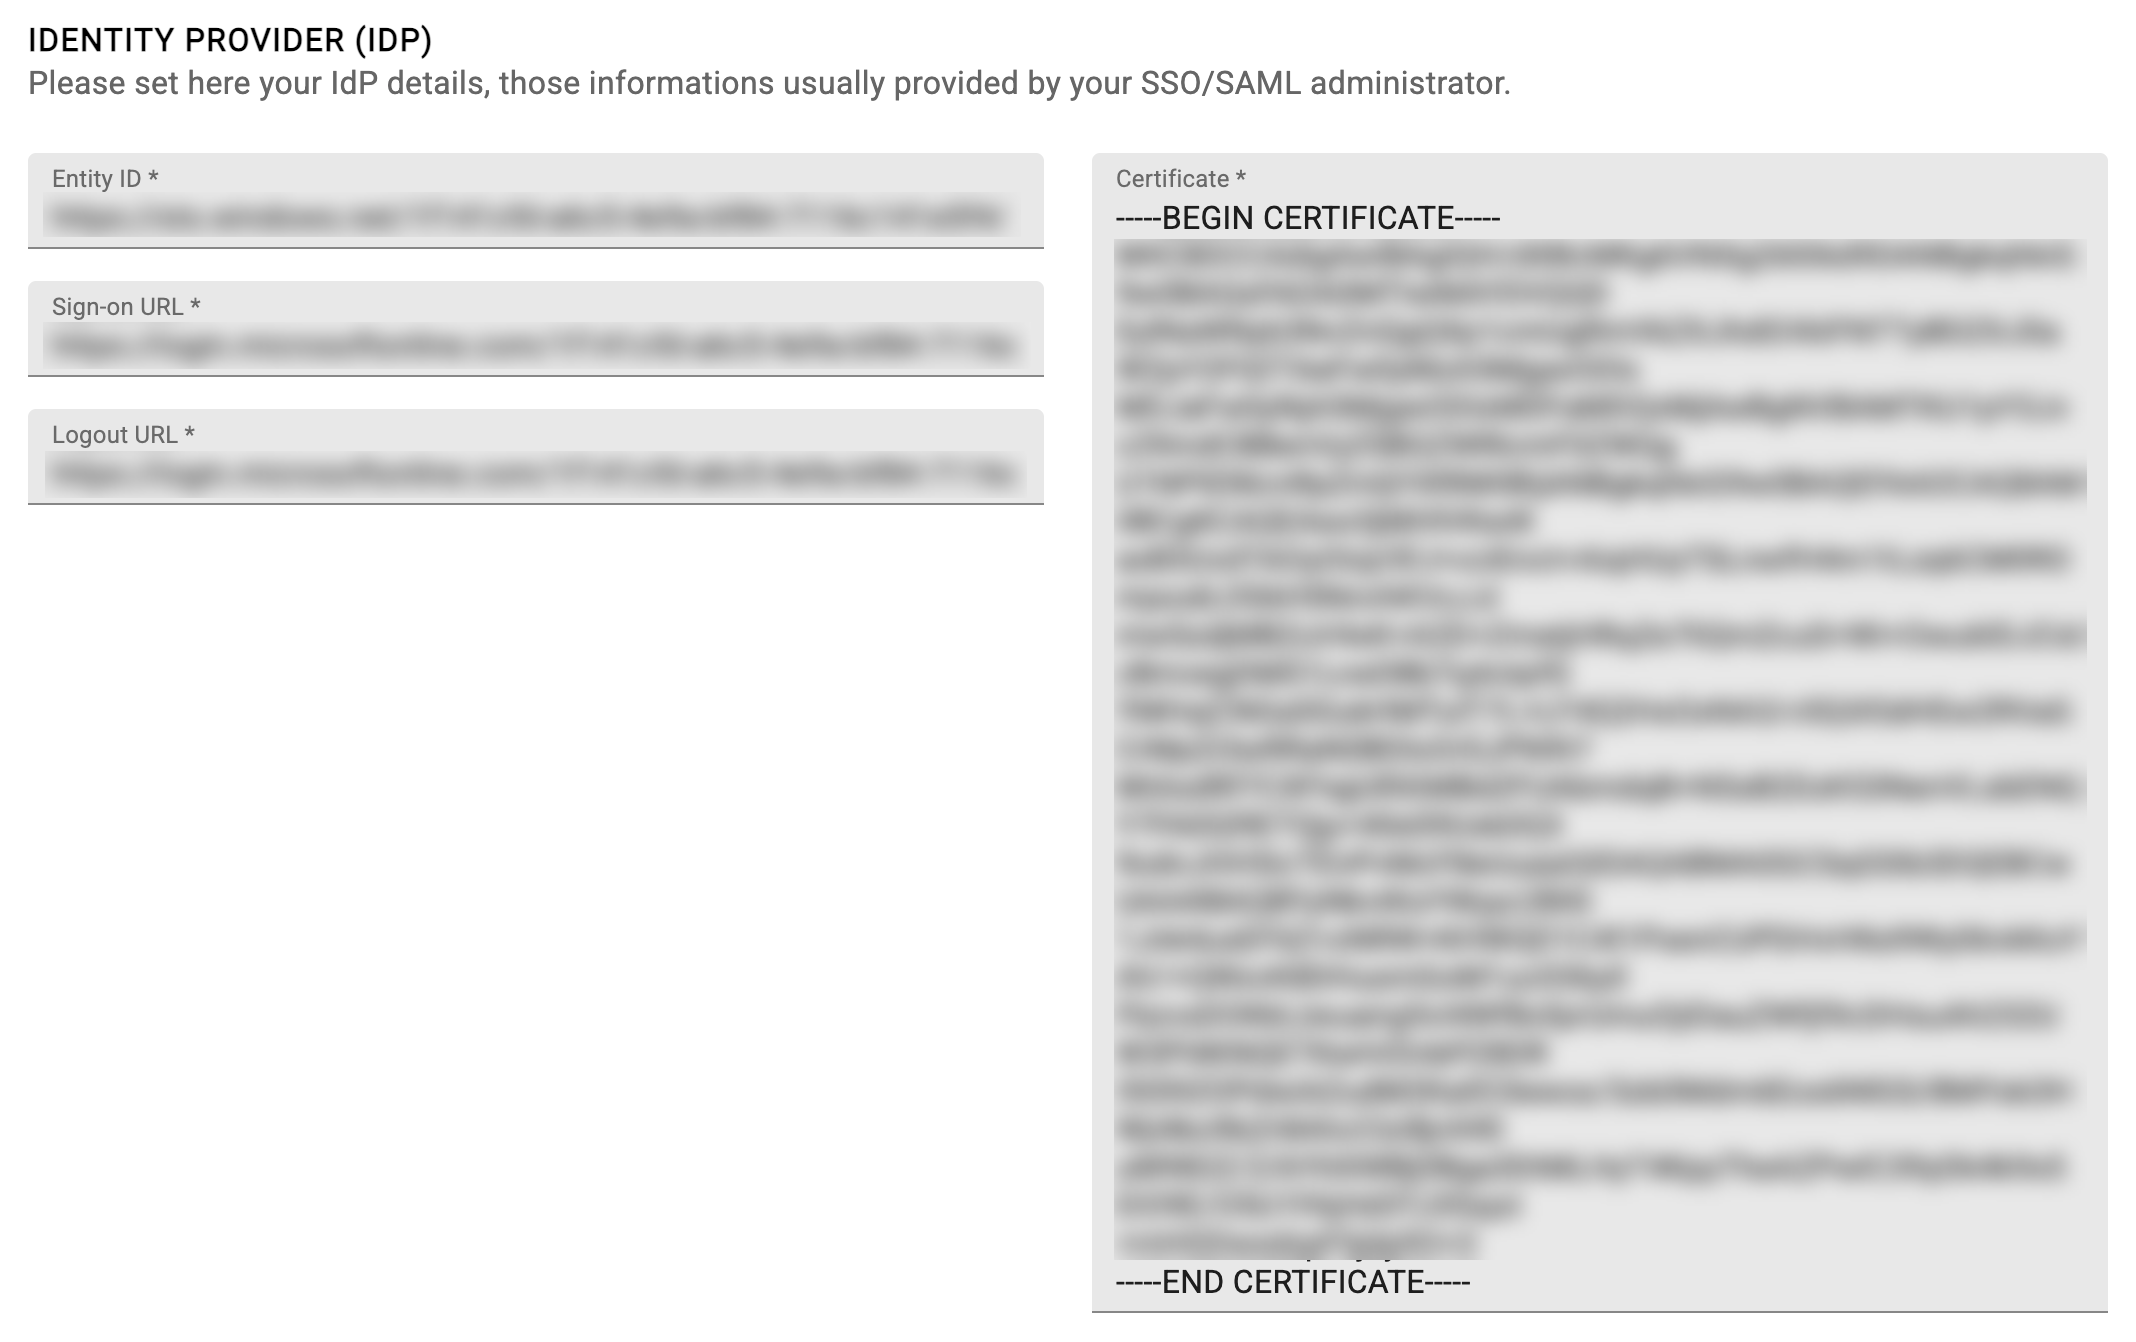
Information about the IDP certificateYour certificate must include the following mentions at the beginning and end:
-----BEGIN CERTIFICATE-----
and
-----END CERTIFICATE-----
Service Provider Information
The SP service configuration provided by Quable is pre-filled:
- Entity ID : <https:// instance_name.api.portal.quable.com/saml/metadata>
- ACS URL : <https:// instance_name.api.portal.quable.com/saml/acs>
- Logout URL : <https:// instance_name.api.portal.quable.com/saml/logout>
Retrieve this information to declare it in your IdP service:

User account creation
When a new user signs up on the portal, access must be validated by administrators. If SAML authentication is enabled, this validation is no longer required and the user is automatically approved using the auto-creation configuration.
You can then choose how your platform behaves when a new user connects to Quable. To configure user account creation, you must first enable the feature by clicking the toggle switch. The color changes when it is activated.
- The feature is not enabled: access is denied and the new user cannot log in to the Quable platform.
- Turn on the switch to enable the auto-creation:

PrerequisitesIn order to have the minimal information allowing user account creation, the token must contain certain fields mapped from the IDP:
- username (has to be an email, mandatory)
- givenName
- familyName
Then fill out the user account creation form:
- Role / Define the default role to which your new users are associated.
- Audience / Select the default audience for your new users.
- Tags / Enter the tags associated with your new users.

Mandatory information!To be able to validate user account creation, it is essential to fill in the default role associated with the new user.
Validate SSO configuration creation
Once all information has been correctly entered, click the Edit button to create the SSO feature configuration.

Updated 2 months ago