Scheduling automatic data export with crontab
Learning Objectives
- Understand recurring export scheduling.
- Configure a scheduled export.
- Manage and monitor the execution of exports.
Overview
Scheduled exports allow you to automate the export of files at regular intervals. With Crontab scheduling, files are automatically generated and sent at a specific time to a designated location. Automated exports save time, ensure reliability, and provide optimal management of your data flows. They are particularly useful in the following cases:
- Updating product sheets across distribution channels
- Regular synchronization of product sheets,
- Reduction of errors due to manual updates,
- Improved consistency of information between business tools.
- Data archiving and reporting
- Creation of backup copies of exports,
- Prevention of data loss in case of an incident,
- Periodic extraction of data for reporting purposes.
- Synchronization with partners and suppliers
- Automated sharing of stock and pricing data,
- Reduction of exchange times and improved collaboration.
Scheduled data exports ensure a regular, reliable, and automated process. This helps reduce manual interventions and ensures regular updates to your data.
Good to knowYou must have previously created export profiles for data flows before configuring automatic exports. See the Export Profiles course.
Create a Scheduled Export
Access Scheduled Exports
-
From the administration menu, go to the Scheduled Exports section.
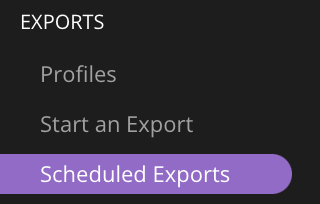
-
The recurring exports already scheduled will appear in the list. Click on Schedule export to create a new one.

Define an Export Schedule
A form appears with four sections:
Schedule Identity
- Name (mandatory): define a name to identify the export.
- Description (optional): add details about the export.
- Active: the export is active by default, but can be disabled.

Select the Export Profile
- Choose an existing export profile or create a new one.
- An export profile is required to schedule an export.

Set Recurrence (Crontab)
- Crontab: defines the execution frequency (e.g., every day at midnight).
- Use the Crontab Generator to create a valid expression.
- Time zone: select the appropriate time zone (e.g., Europe/Paris).

Good to knowYou don't need to master Crontab syntax to set the recurrence with the Crontab generator. Here is an example of Crontab syntax for a scheduled export every Monday at midnight:
0 0 ? * MON 0 0→ Executes the task at 00:00 (midnight).
?→ Replaces an uncertain value for the day of the month
*→ Every month.
MON→ Executes only on Monday.
File Destination
The generated export must be sent to a remote server. Configure the destination for the recurring export in this section:
- Protocol (mandatory): FTP or SFTP for file transfer.
- Full directory path of the file destination (mandatory): enter the full address of the exported file.
- Connection login and Password (if required): provide the credentials for the connection.

Once the form is completed, click Create to save the schedule.

Manage Scheduled Exports
Edit an Export
- Select an existing export and click Edit.

- All parameters are editable, except the export profile.
- Click Save to apply the changes.
Delete an Export
- Click the Delete icon from the exports list or the edit page.

- Deletion is permanent and cannot be recovered.
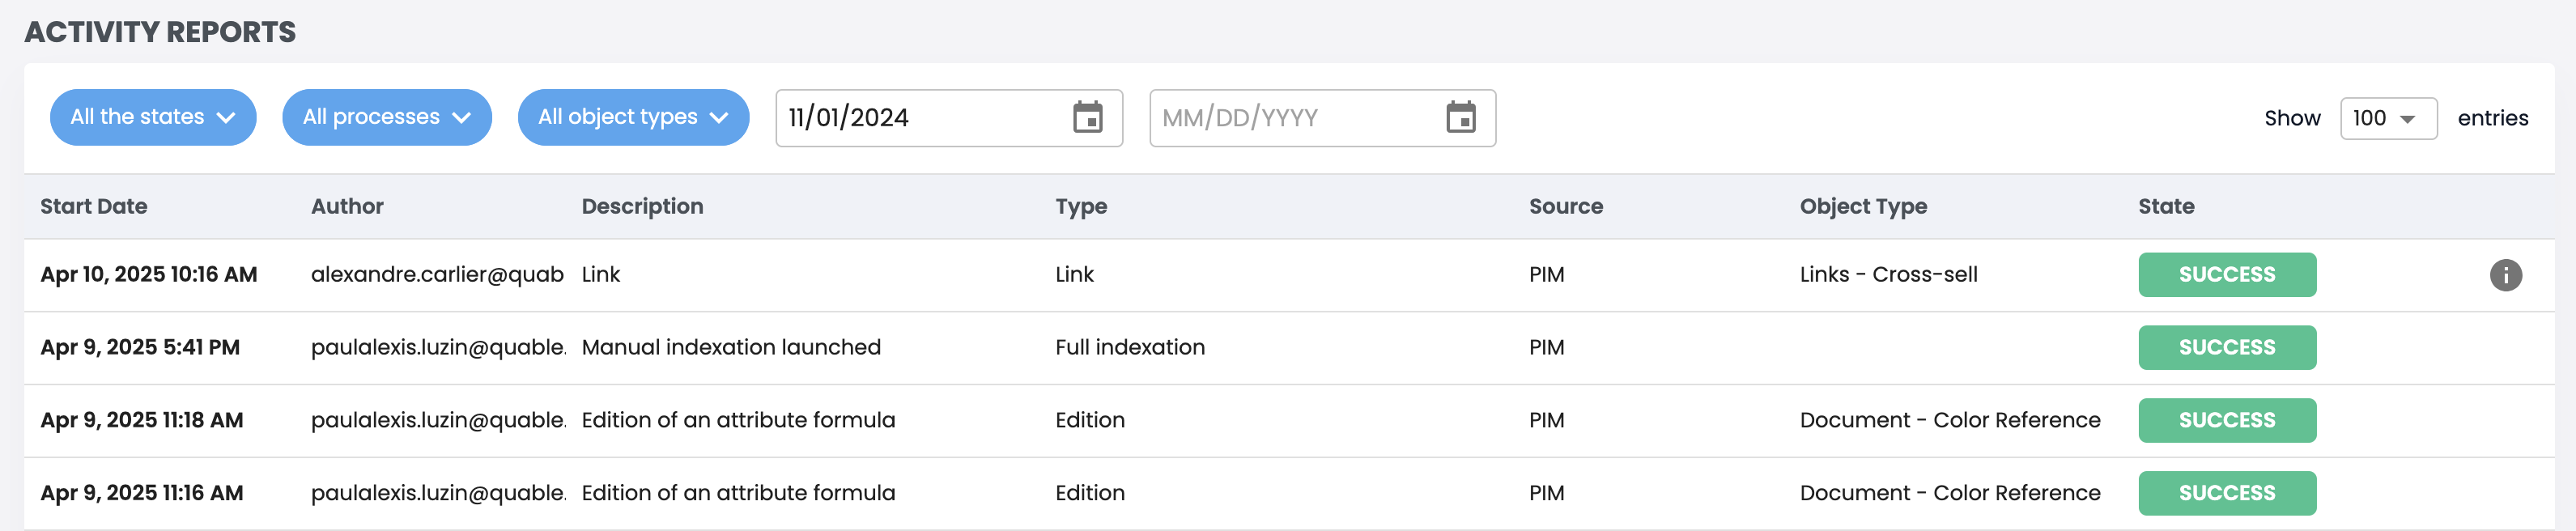
Monitor the Execution of Exports
- Check the activity reports to view the status of exports and retrieve the generated files.
In summaryScheduled exports allow for the automation of file transfers at defined intervals, thus reducing the need for manual intervention.
Configuring a Scheduled Export:
- Access via the administration menu.
- Select an existing export profile or create a new one.
- Define the execution frequency using Crontab (e.g., every Monday at midnight).
- Set the destination (FTP/SFTP) with login credentials.
Managing Exports:
- Edits are possible (except for the export profile selection).
- Deletion is permanent with no recovery possible.
- Track exports and retrieve files from the activity log.
Next Chapter
Now that you know how to schedule automatic data exports with Crontab, let's explore how to Import, Export, and Manage the PIM Data Model.
Updated 10 months ago