Managing User Roles
Learning Objectives
- Create, modify, and delete a role.
- Manage role permissions.
- Assign or unassign users to a role.
Overview
What is a role?
A role is a set of authorized actions for a specific group of users.
Roles allow you to:
- Limit accessible actions for certain users.
- Customize the user interface by displaying only the buttons or icons corresponding to assigned permissions.
Good to know
- Users can have multiple roles.
- Administrators have all permissions by default, regardless of assigned roles.
Use Cases:
- Define the actions that a user or group can perform: create, edit, delete, validate, etc.
- Restrict access to certain sections of the PIM (e.g., prevent access to user or data flow management).
- Simplify permission management by centralizing rights through roles rather than assigning them individually.
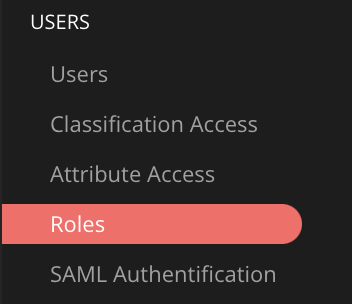
Accessing the Roles Page
- From the administration menu, click Roles in the sidebar.
-
The roles page appears, displaying:
- A list of existing roles, if any.
- A Create a Role button in the top right corner.
Creating a Role
-
Click Create a Role.
-
Fill in the required information:
- Name (mandatory): Role name.
- Code (mandatory): A unique code generated automatically (modifiable only at creation).
- Description (optional): Briefly describe the role’s purpose.
-
Add the Permissions Associated to the Role:
- Browse the available actions.
- Check the boxes for the actions the role can perform.
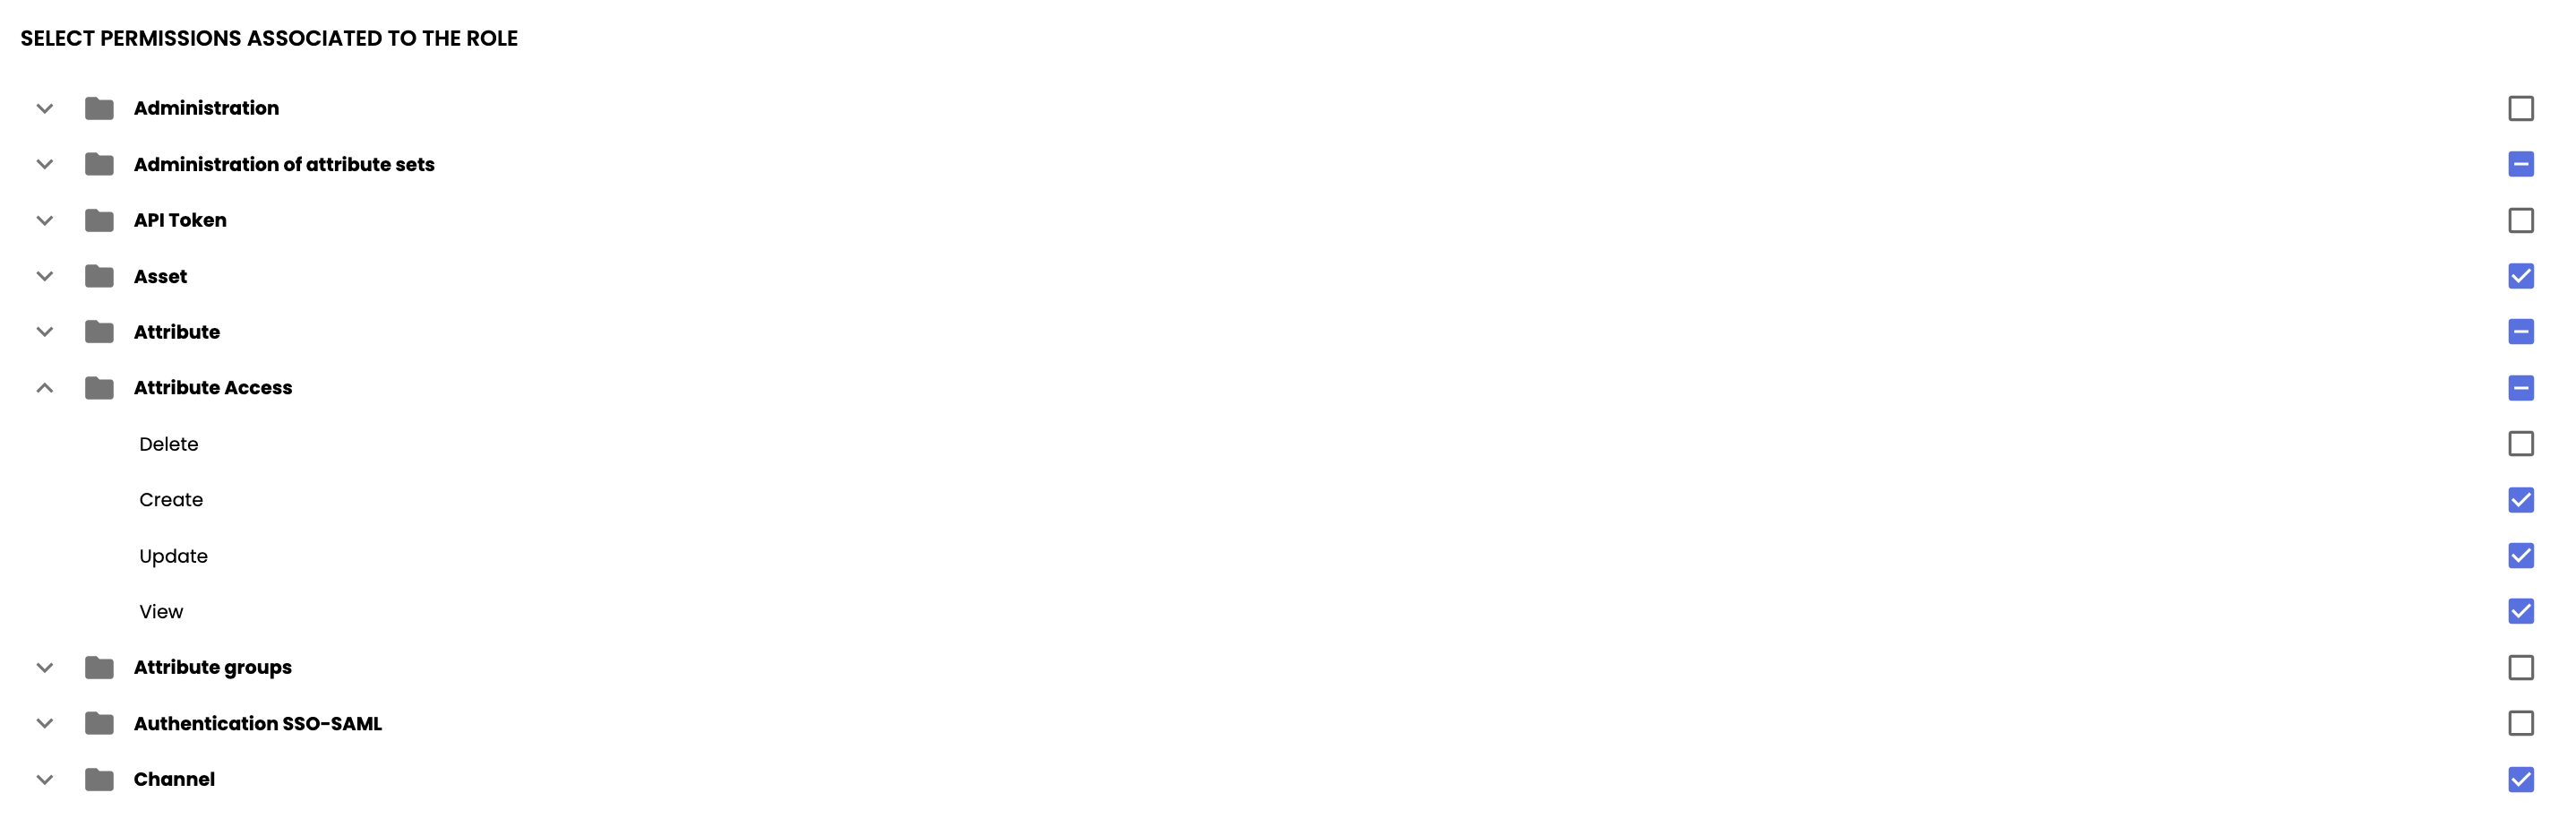
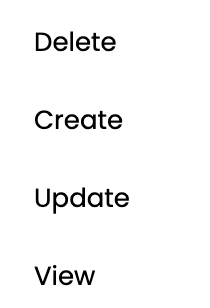
- For each available action, expand the dropdown menu to define CRUD rights: Create, View (Read), Update, Delete.
-
Click Create to save the role.
Permissions TableFind a list of permissions and their scope when assigned to a role: Permissions Table
Modifying a Role
- Click the Edit icon next to the relevant role.
- Modify the necessary fields:
- Name, description, or permissions.
- Click Save.
Deleting a Role
- Click the Delete icon next to the relevant role.
- Confirm the deletion in the popup window.
Warning:This action is irreversible.
Assigning or Unassigning Users to a Role
Assigning a User
There are two methods to assign a role to a user.
-
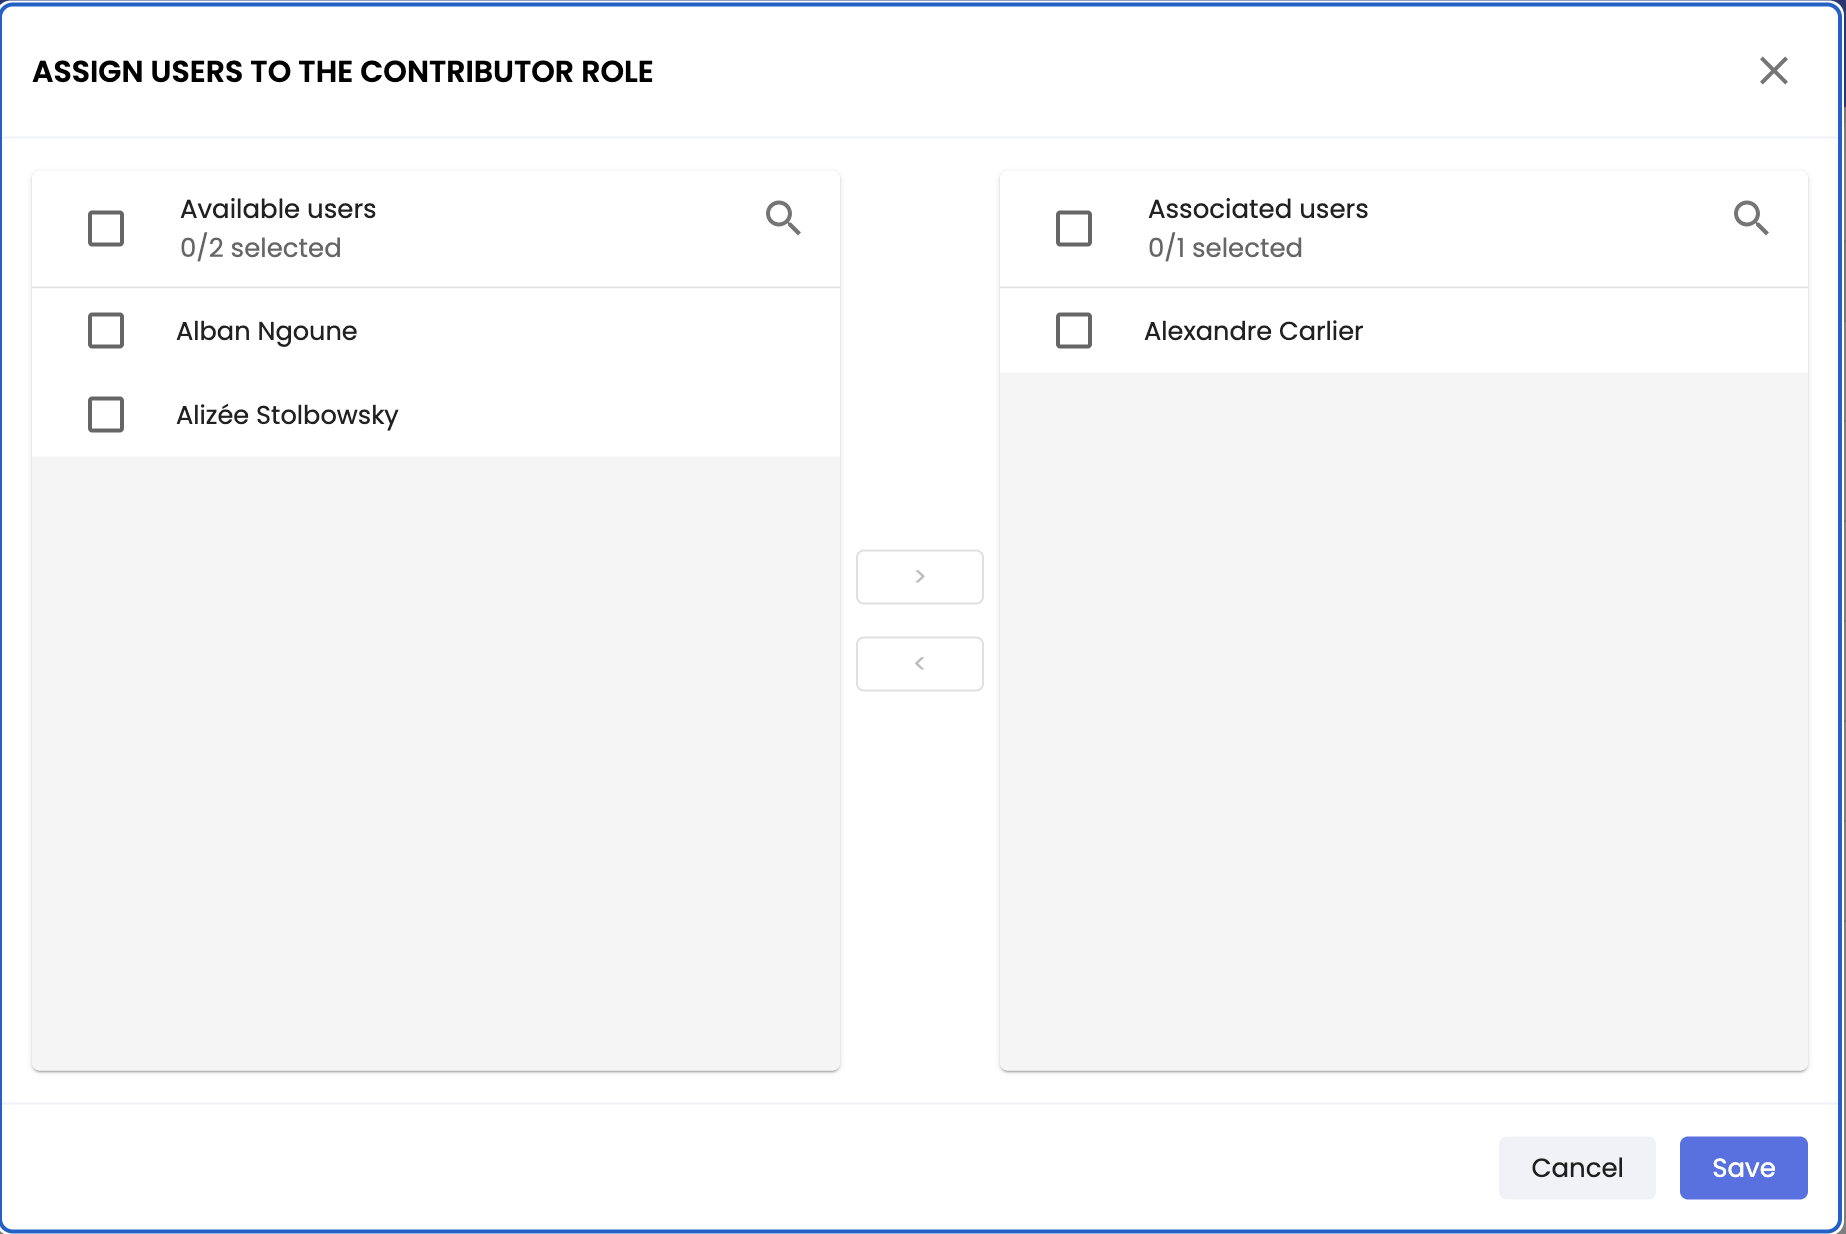
Assign a user from the roles window:
- Click Manage Users next to the relevant role.
- In the window that appears:
- Available users: left side.
- Assigned users: right side.
- Select one or more users on the left.
- Click the arrow to move them to the right.
or
-
Assign a user to a role from their user account:
- Click Users in the Administration Menu.
- Locate the user and click Edit.
- In the opened window, go to the section Select The User Permission.
- In the Role dropdown menu, select the required role (multiple roles permitted).

Users are now assigned to the role.
Unassigning a User
There are two methods to unassign a role from a user.
- From the roles page, click Manage Users.
- Select one or more users from the right-side list.
- Click the arrow to move them to the left.
Users are now unassigned from the role.
or
- Click Users in the left panel.
- Locate the user and click Edit.
- In the opened window, go to the section Select user rights.
- In the Role dropdown menu, modify the role.
LimitationsEach user must be assigned at least one role.
SummaryA role groups permissions that define the actions allowed for a user or group of users.
Role Purpose:
- Restrict user-accessible actions.
- Adapt the user interface based on rights.
- Simplify permission management through centralization.
Managing Roles:
- Access the roles page via the administration menu.
- Each user must have at least one assigned role.
Creating a Role:
- Provide the name, code, and associated permissions.
- Modify a role: adjust the name, description, or permissions.
- Delete a role: irreversible action.
Assigning and Unassigning Roles:
- Assign users to a role via the roles page or their profile.
- Unassign a user by removing the role in the same sections.
Next Chapter
Now that you know how to manage user roles, let’s explore how to Configure SSO SAML Authentication.
Updated 10 months ago