Creating and Managing Completeness Indicators
Learning Objectives
- Understand the role of completeness indicators in tracking product sheets.
- Learn how to create and configure a completeness indicator.
- Manage the attributes and links included in completeness.
Overview
Administrators have the ability to create and edit completeness indicators from Quable PIM's administration menu.
All Quable PIM users can access them from the product sheets to take advantage of their exceptional ability to assist in enriching and optimizing data quality.
Completeness indicators allow you to calculate and visualize the enrichment level of product sheets. They help track product sheet progress and quickly identify missing content. When a product sheet reaches 100% completeness, it is ready for distribution across your channels.
This feature enables:
- Quickly visualizing on product sheets the data to be enriched as a priority, ensuring data completeness and product sheet quality,
- Easily and automatically identifying complete product sheets, or those sufficiently complete according to defined rules, to be pushed to a distribution channel.
The best practice is to create completeness rules:
- Based on the departments responsible for the data (e.g., marketing, legal, finance, logistics...),
- Based on the data destination (e.g., website, extranet, marketplace...),
- Or a combination of both.
Good to knowSince data enrichment depends on the locale the user is working in, the completeness level varies according to the selected data language.
Create a Completeness Indicator
1. Access the Completeness Page
- From the administration menu, under the Collaboration section, click on Completeness.
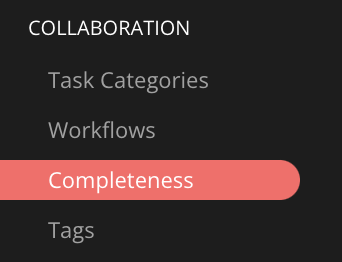
- In the top right, a Create Completeness button is displayed. The list of existing indicators appears in the main window.
2. Create a New Indicator
- Click on Create a Completeness.
- Fill in the required information in the three sections :
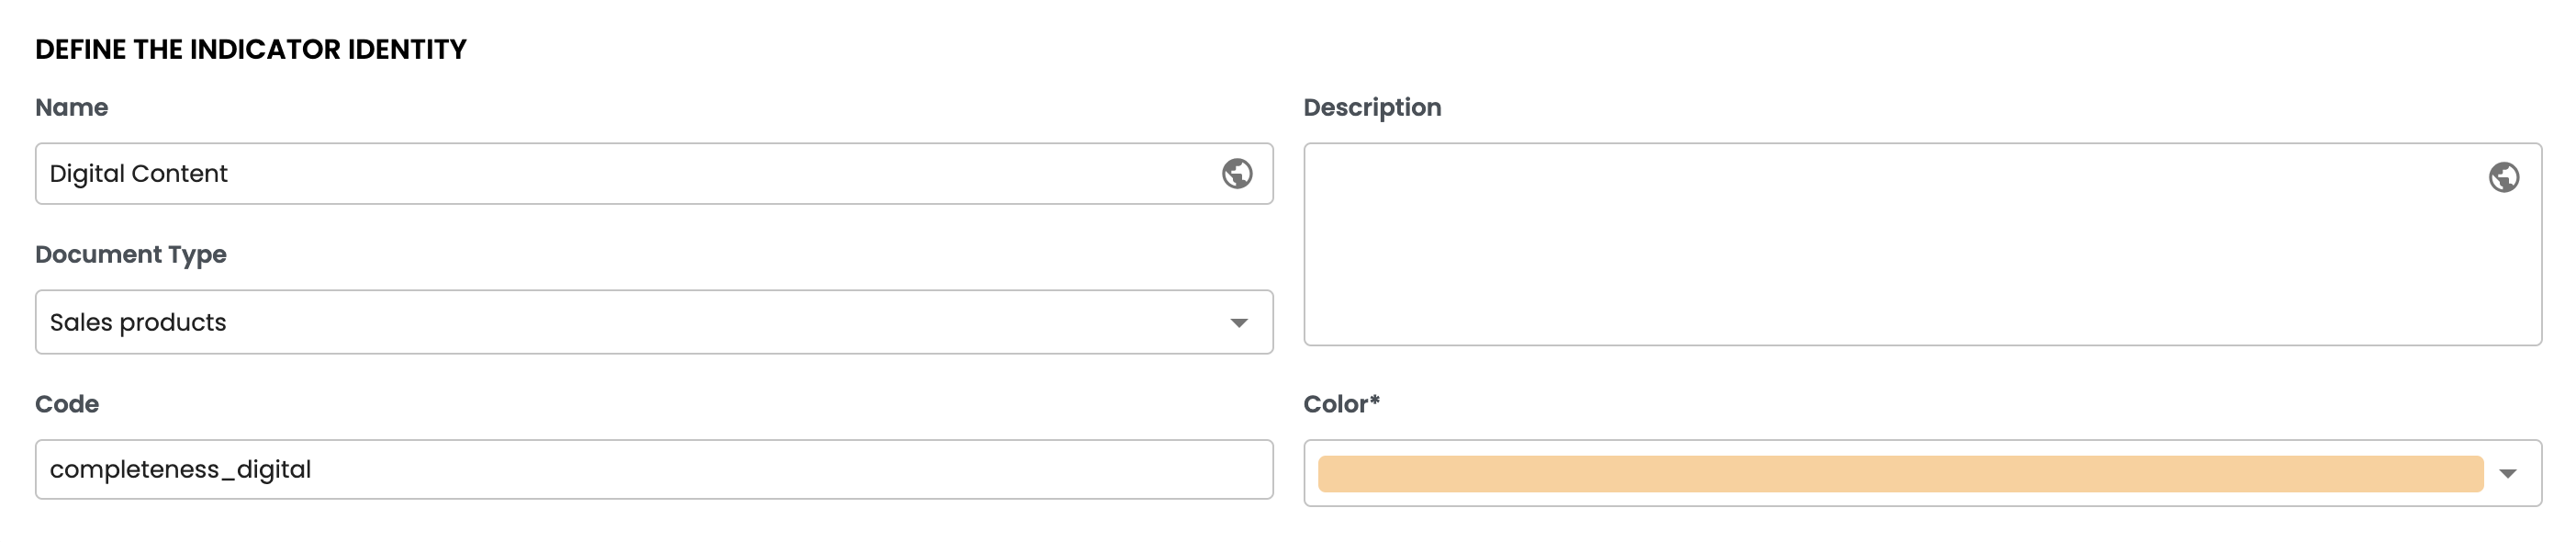
Indicator Identity
- Name: Provide a descriptive name for the indicator (required).
- Code: Automatically generated when created, it can only be modified at this stage (required).
- Description: Briefly explain the purpose of the indicator (optional).
- Document Type: Select the type of document concerned (required).
- Color: Choose a color from the available options or enter a hex code (required).
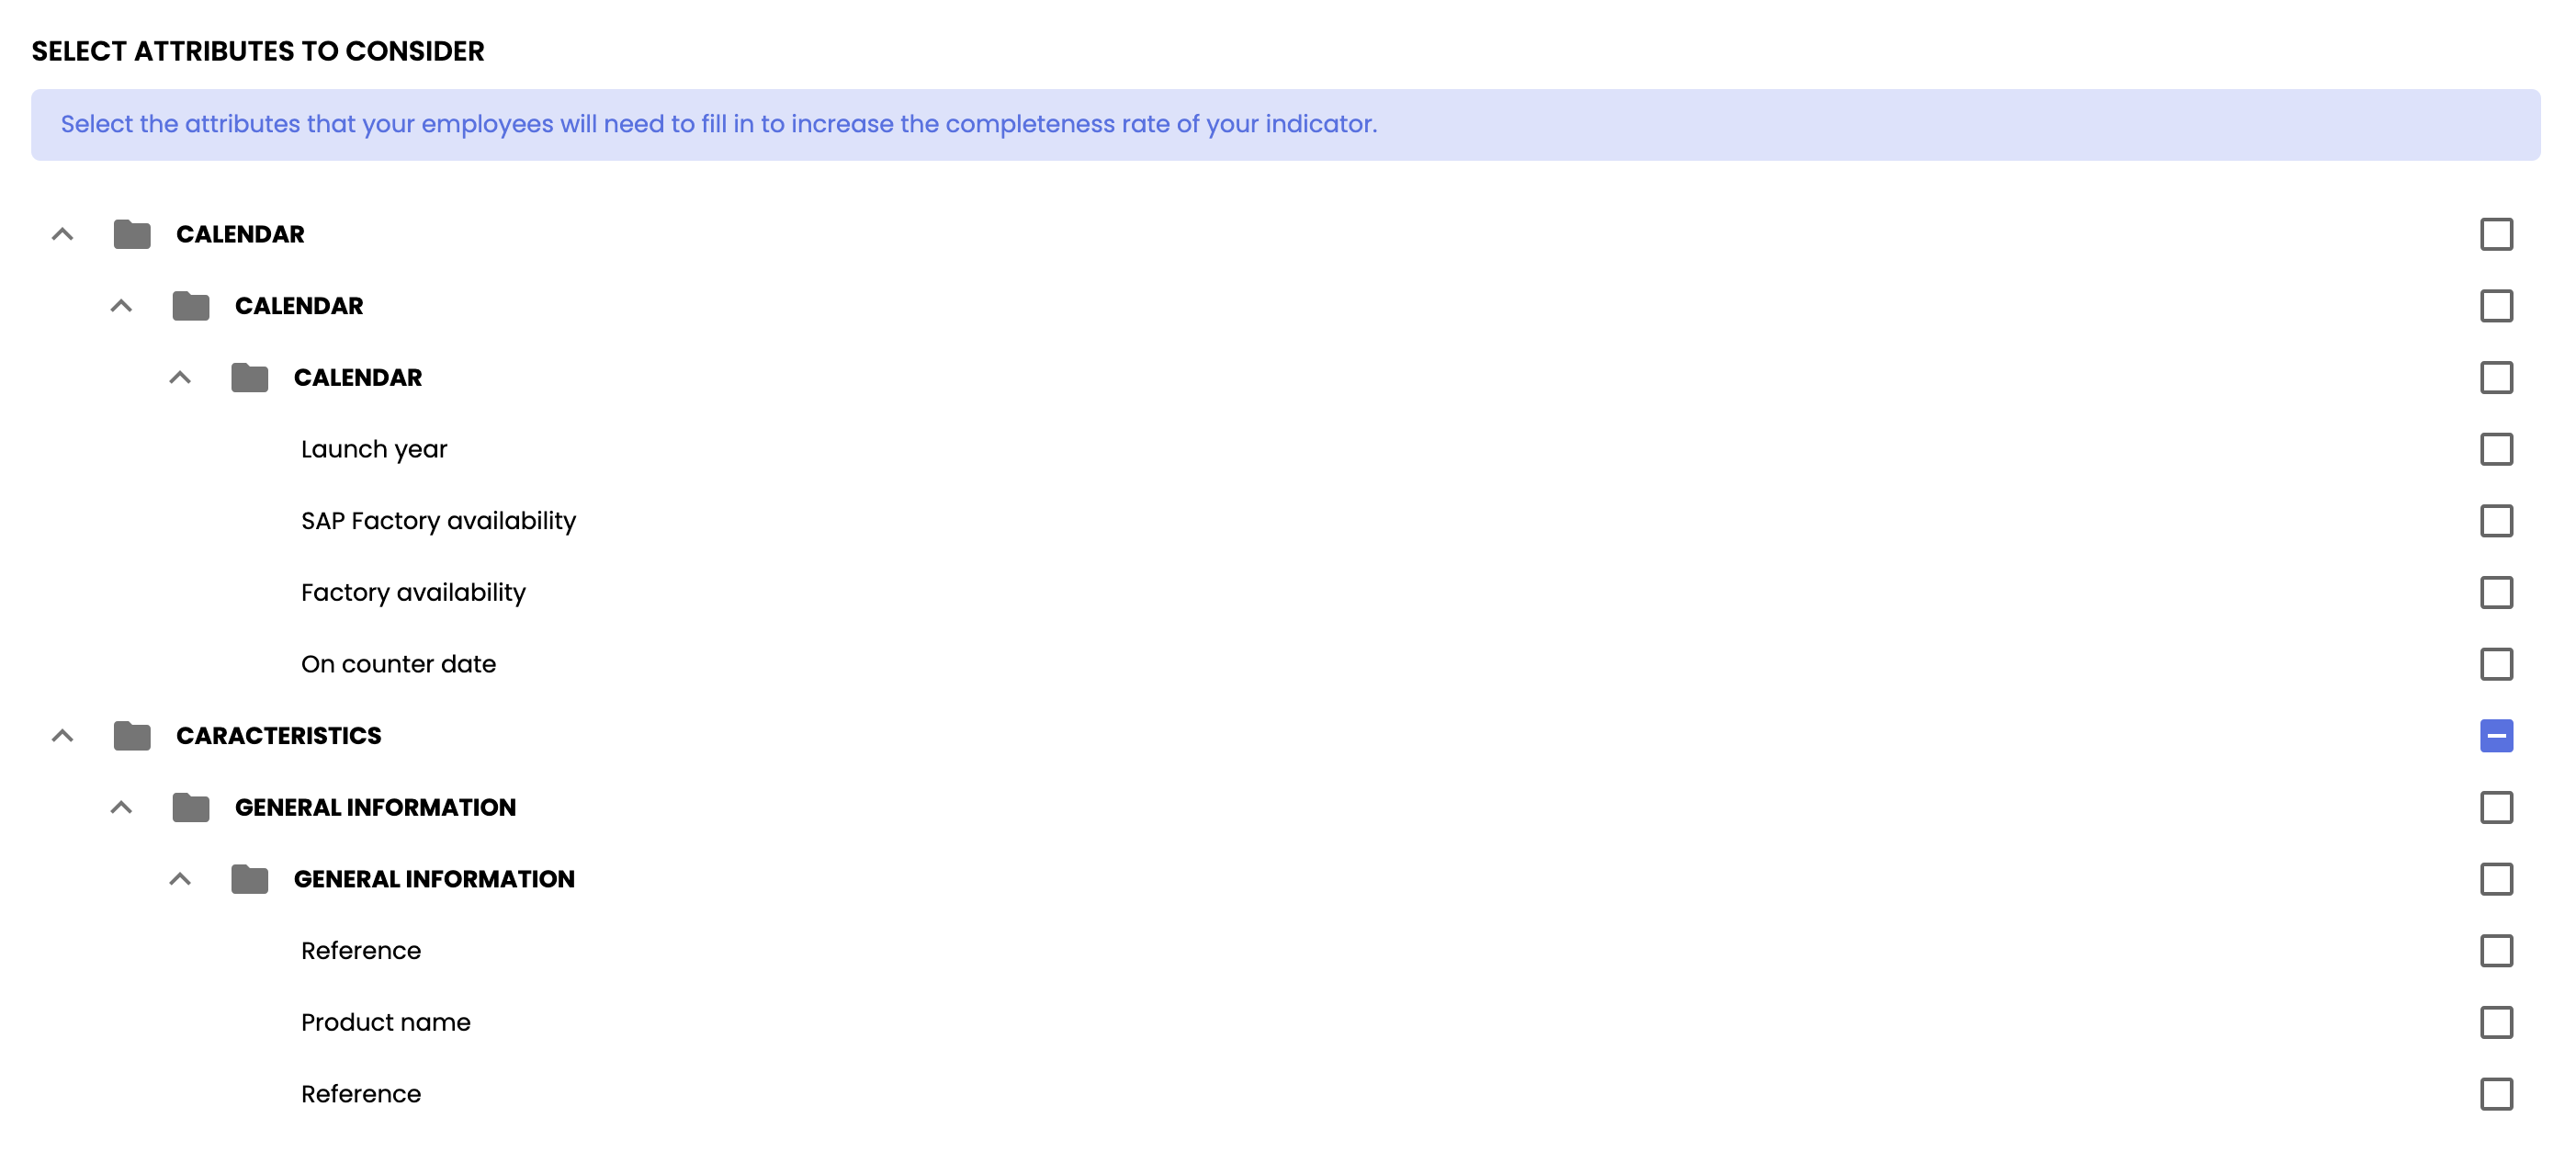
Attributes
- Select the relevant attributes to include in the completeness calculation.
- ⚠️ Limitation: An indicator can include up to 100 attributes.
- Boolean attributes are considered complete when checked.
Links
- Add links to include specific relationships in the calculation.
- Example: If a link requires 5 media files, the completeness level only increases when all 5 media files are enriched.
- ⚠️ Limitation: An indicator can include up to 100 links.

Click on Create to save the indicator or Back to cancel.

Good to know :
- Each completeness is linked to a single document type.
- A calculation delay (up to 15 minutes) may be required to save and deploy the completeness on the product sheets.
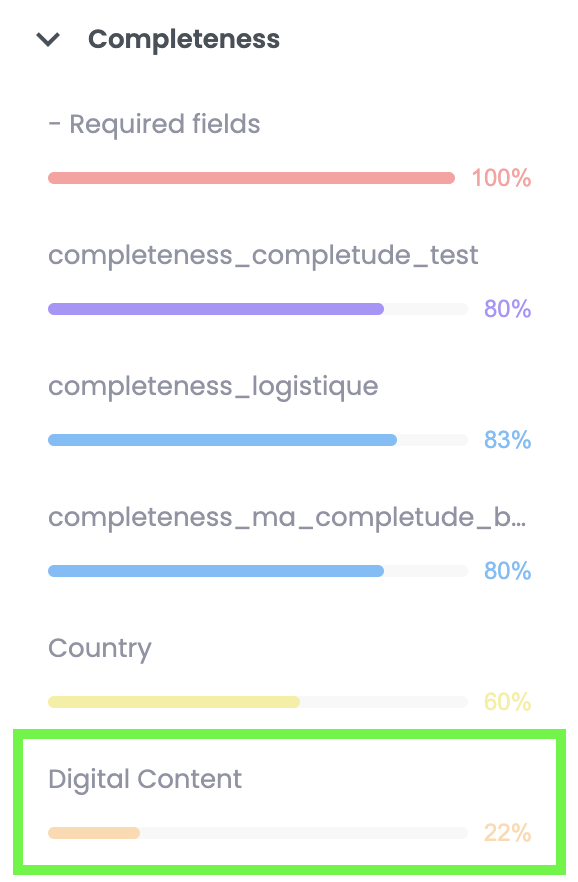
3. Completeness on the Product Sheet
Once deployed, the completeness will be displayed on the product sheet as follows:
Modify or Delete an Indicator
Modify an Indicator
- Select an indicator from the list and click on Modify.

- Update the desired fields (identity, attributes, links).
- Click on Save to record your changes.
Good to knowA recalculation delay (about 15 minutes) may be needed to apply changes.
Delete an Indicator
- Select an indicator and click on Delete,

- Or open it in edit mode and click on Delete.

- Confirm the deletion in the dialog box.
- ⚠️ Limitation : Deletion is final and irreversible.
Practical Tips
- Use clear names to easily identify your indicators and assign distinct, recognizable colors for the teams.
- Check the linked attribute sets, as they influence completeness calculations.
- Avoid modifying the same indicator multiple times in less than 15 minutes to ensure a smooth update.
In summaryCompleteness indicators help track product sheet enrichment levels, identify missing content, and ensure distribution on channels once completed at 100%.
- Create a completeness indicator:
- Fill in the information in the three main sections: Identity, Attributes, and Links.
- An indicator must be linked to a unique document type. A maximum of 20 indicators can be created per instance, with a limit of 10 per document type.
- Configure attributes and links:
- Select up to 100 attributes or links per indicator.
- Boolean attributes are counted as complete when checked.
- Links require all elements to be enriched to be considered complete.
- Management and Best Practices:
- Modify or delete indicators from the completeness list.
- Prefer clear and distinct names for your indicators.
- Consider the recalculation delay (5 to 15 minutes) after each modification.
Next Chapter
Now that you know how to create and manage completeness indicators, let's discover how to Create and Manage Tags.
Updated 10 months ago