Mastering Export and Import Profile Rules
Learning Objectives
- Configure and use import and export flows in the PIM.
- Understand the role of profiles in automating and structuring data flows.
- Learn best practices to ensure profile reliability and efficiency.
Overview
Data flows, also known as data imports and exports, allow you to:
- Massively integrate product information from various sources (suppliers, ERP, etc.), ensuring effective data centralization.
- Mass-export enriched product information in .CSV or .XLSX formats, ensuring consistency and fast catalog updates.
What is a Profile?
A profile is a configuration that sets parameters for operating specific data flows from the PIM in a format suited to your needs. Each profile is customized for specific use cases, such as exporting product data, media, or multilingual data.
Why Use a Profile?
Profiles simplify the reuse of settings for recurring needs. They ensure consistency, save time, and enhance data flow reliability.
Creating Profiles
Exports
The Quable export feature allows you to mass-export in XLSX or CSV format. You can export:
• Classifications – Export all your classifications (documents, media, channels).
• Documents – Export your documents and their attribute values by type.
• Variants – Export variants along with their associated attribute values.
• Media – Export your media while specifying their URLs.
• Links – Export your links and attribute values by link type.
• Value Lists (single or multiple choice) – Export values of both predefined list types.
Imports
You can also use the Quable import feature to mass-import and quickly structure your product data. You can import the same objects mentioned above.
Creating a New Profile
1. Access the export or import profiles page:
From the main menu:
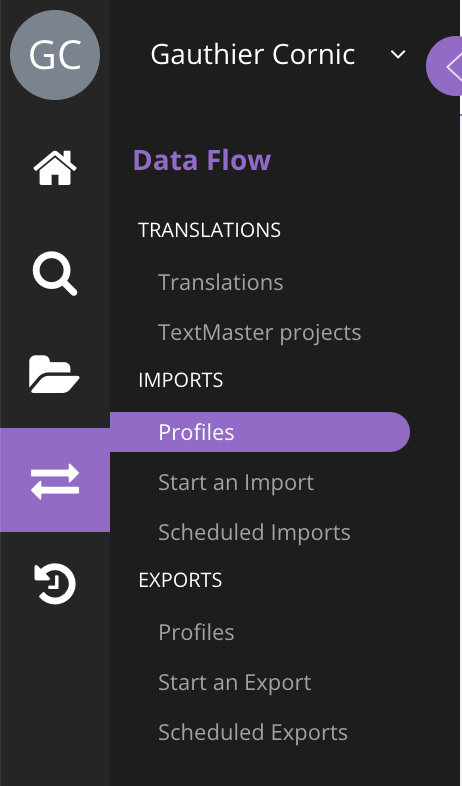
- Click on Data Flows,
- Locate the Exports or Imports section,
- Click on Profiles,
- Click the Create Profile button in the upper right corner.
- Fill in the creation form:
The form is divided into three sections:
- Profile Identity:
- Name (mandatory): Provide a descriptive name for the profile.
- Description (optional): Add details for context.
- Data Type: Select what you want to export (e.g., products, media, classifications).
Specific Settings
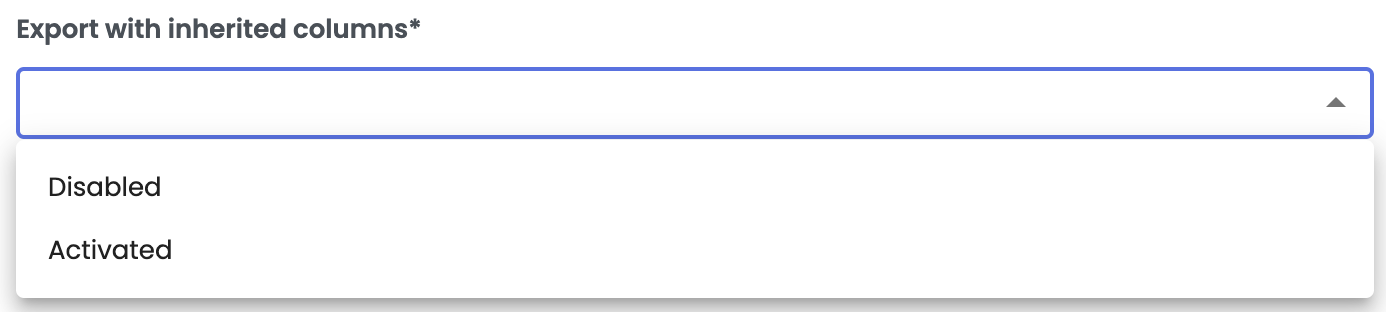
- Export Profiles: Export with inherited columns – When linguistic inheritance is set up, incomplete content in the exported language is automatically replaced by content from the source language.
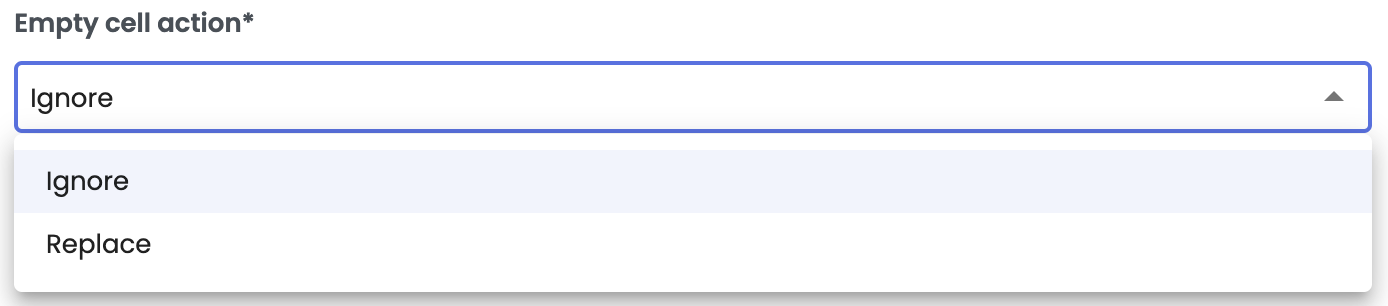
- Import Profiles: Empty Cell Action – Defines the action to take if empty cells are encountered during import. By default, empty cells are considered as = 0.
- Export File Format (mandatory):
Choose between CSV (default) and XLSX. If selecting CSV, configure parameters such as column separators or date formats. - Data Mapping (optional):
- Map exported file columns to PIM attributes for precise formatting.
- Mapping is optional for CSV files and mandatory for XLSX files.
- Validate and Save:
Once all details are entered, click Create. The profile will be added to the list.
Managing Existing Profiles
- Edit: Click the Edit icon on a profile to adjust its settings.
- Delete: Use the Delete icon to remove obsolete profiles.
- Export Data: Launch an export directly from the profile list by selecting the desired option.
Profile ModificationsSome profile parameters cannot be changed after saving (e.g., object type, file format, languages, and joins).
Best Practices
- Give clear profile names: Indicate data type and usage context (e.g., "Products_FR_2024").
- Use mapping to structure your data: Match only the necessary columns.
- Test before large-scale use: Perform a test export to verify data accuracy.
- Profile Creation: Create a dedicated profile for each type of data flow.
- Import and Export Alignment: Ensure the import profile matches the export profile when modifying or adding exported data.
- Automate Flows: Created profiles can be reused and automated to simplify repetitive operations.
Summary
- Data flows allow for mass data imports and mass exports of enriched data.
- A profile is a customized configuration used to structure import or export flow settings.
Profile Advantages:
- Reduces effort by reusing settings.
- Ensures consistency in data processing.
- Saves time for recurring operations.
Profile Creation:
- Three steps: define profile identity, choose file format (CSV/XLSX), and map data.
- Certain parameters, such as object type and file format, cannot be changed after saving.
- Profiles can be edited, deleted, or directly used to launch import/export flows.
Best Practices:
- Name profiles explicitly and contextually.
- Verify data with a test export before large-scale use.
- Ensure import and export profiles match to prevent errors.
- Use profiles to automate recurring flows and improve efficiency.
Next Chapter
Now that you’ve mastered export and import profile rules, let’s move on to Bulk Importing Data.
Updated 10 months ago