Translating Display Labels in the PIM
Learning objectives
- Understand which elements to translate in the interface languages and their role in the user experience.
- Translate interface labels for attributes, collaboration tools, and widgets.
- Master the specific process for entering, saving, and activating translations in the PIM interface.
Overview
Translating interface labels in the PIM makes the platform more accessible and improves the overall user experience. It simplifies navigation, reduces input or reading errors, and enhances understanding of the displayed data.
It also eases the onboarding of new team members, speeds up tool adoption, and ensures a smoother and faster user experience.
Translated labels ensure a consistent understanding of information and prevent any language-related ambiguity. Users can work more efficiently without needing to translate or request clarification.
This course outlines the steps for translating data model labels and collaboration tool labels based on the interface languages available in the PIM.
As a reminder, there are two types of languages in the PIM:
- Data languages: used for product content entry,
- Interface languages: used for the user interface.
We will focus on translating elements related to the interface. For data language translation, refer to the course Using translation tools on product sheets.
Translating attribute labels
Good to knowTranslating attribute labels requires admin rights to access the data model and modify attributes.
Attribute labels—the visible names on product sheets—can be translated into any of the PIM interface languages.
For example, an attribute indicating a product’s color will appear as:
- Color when the interface is set to English,
- Couleur in French,
- Farbe in German,
- Colore in Italian, etc.
Translate individually from the data model
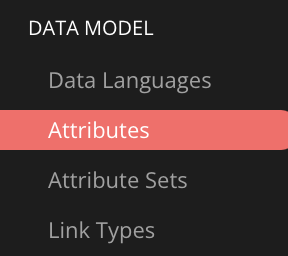
- Go to: Administration > Data Model > Attributes
- Select the object type, and in the case of a document object, the document type

- The left panel displays the data model structure. In this panel, select the attribute for which you want to translate the label. In this example, the translation is done for the attribute Product name.
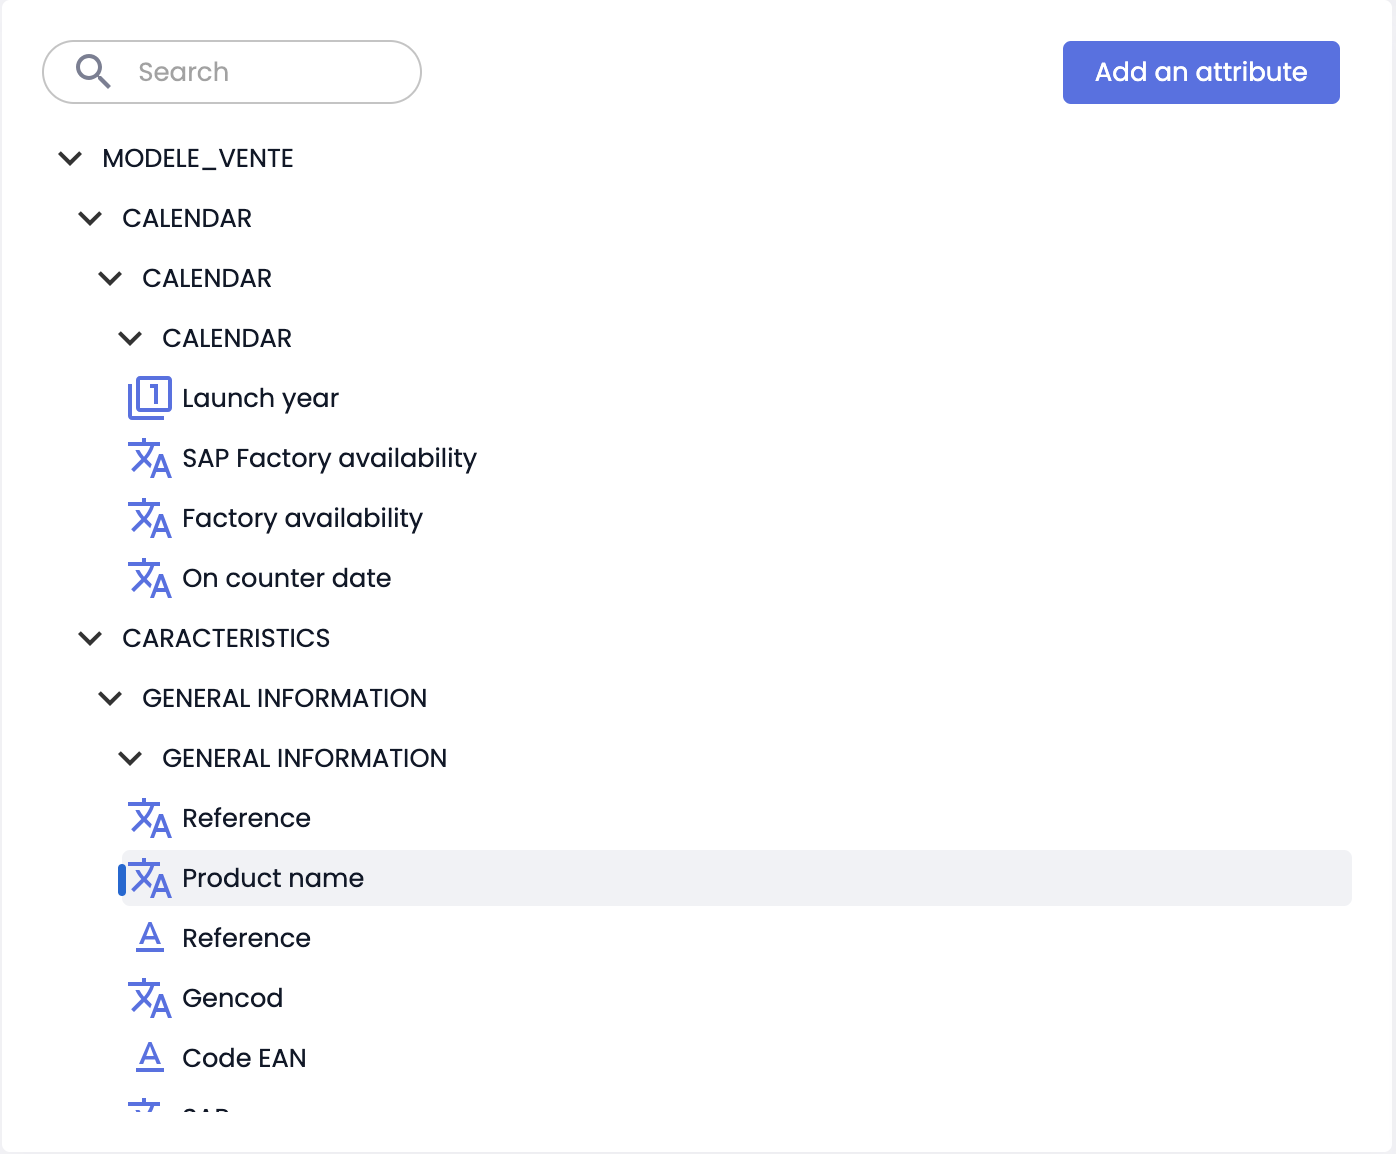
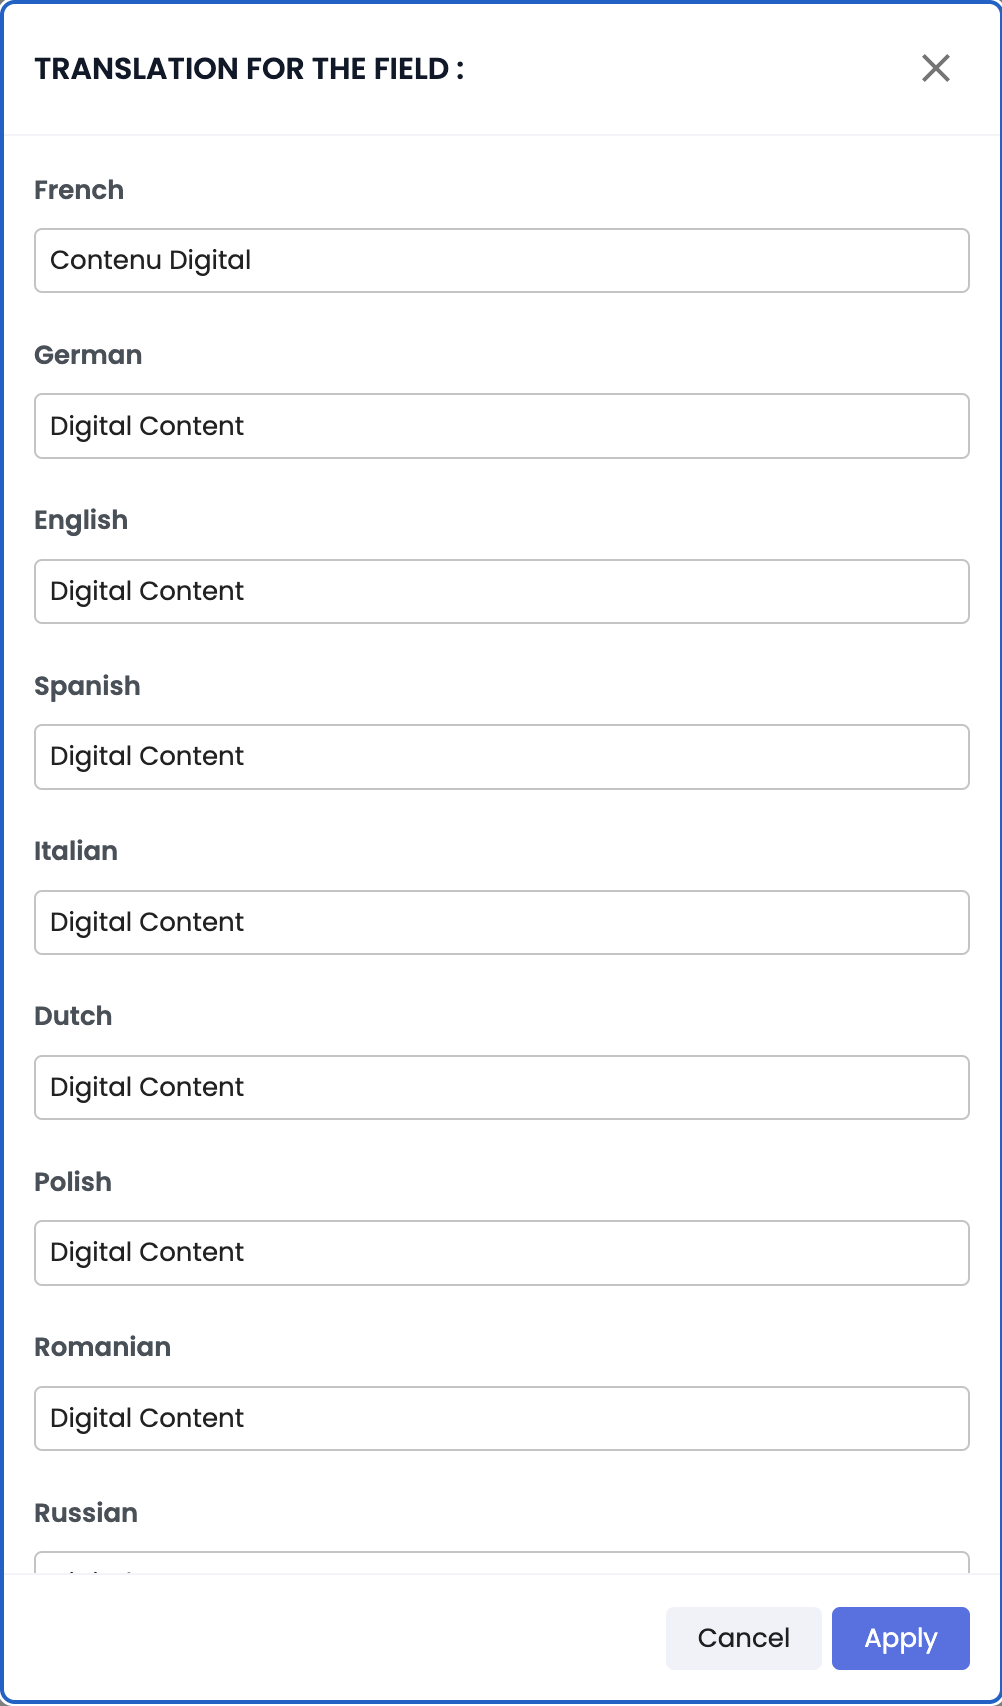
- The right panel shows the detailed information of the selected attribute. Locate the Name field. It currently displays the label Product name. Click the globe icon to the right of the field to open the translation window.
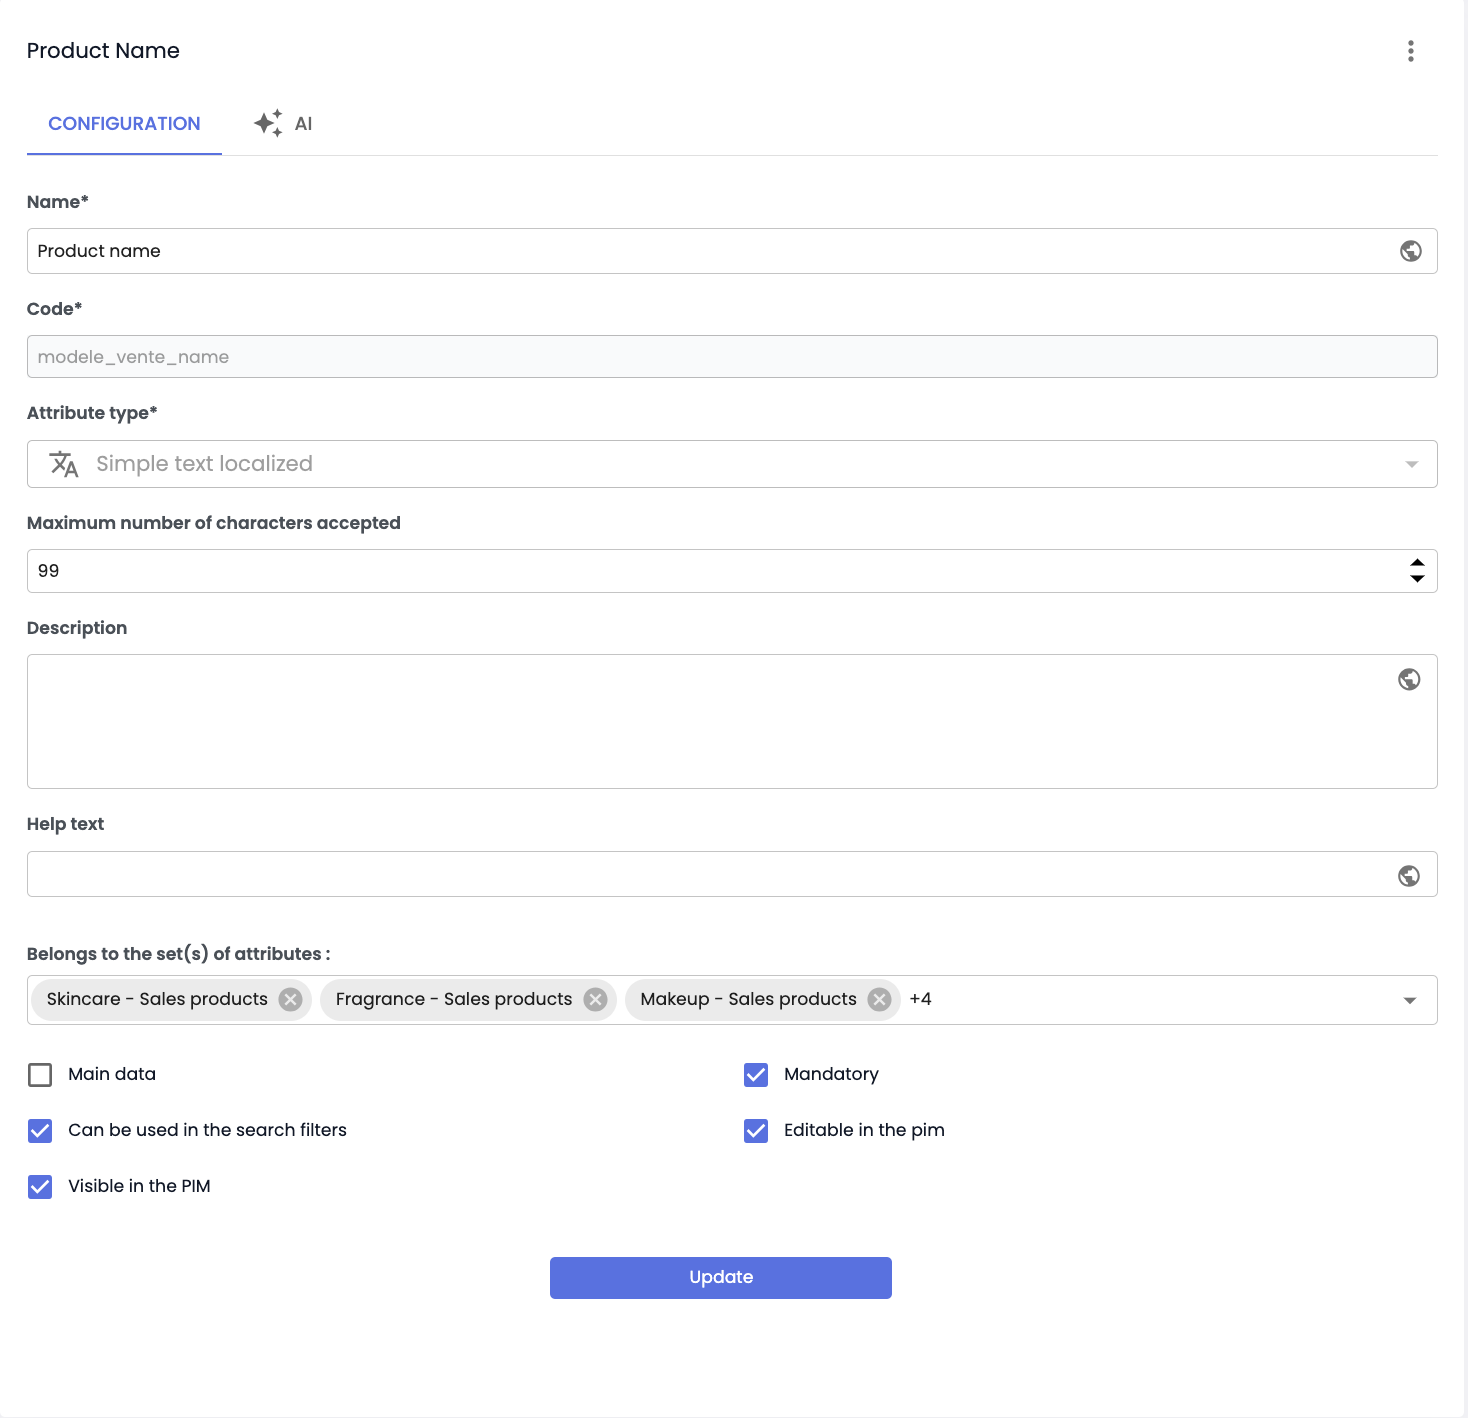
- The translation window opens. Enter the translations of the label in each of the PIM interface languages.
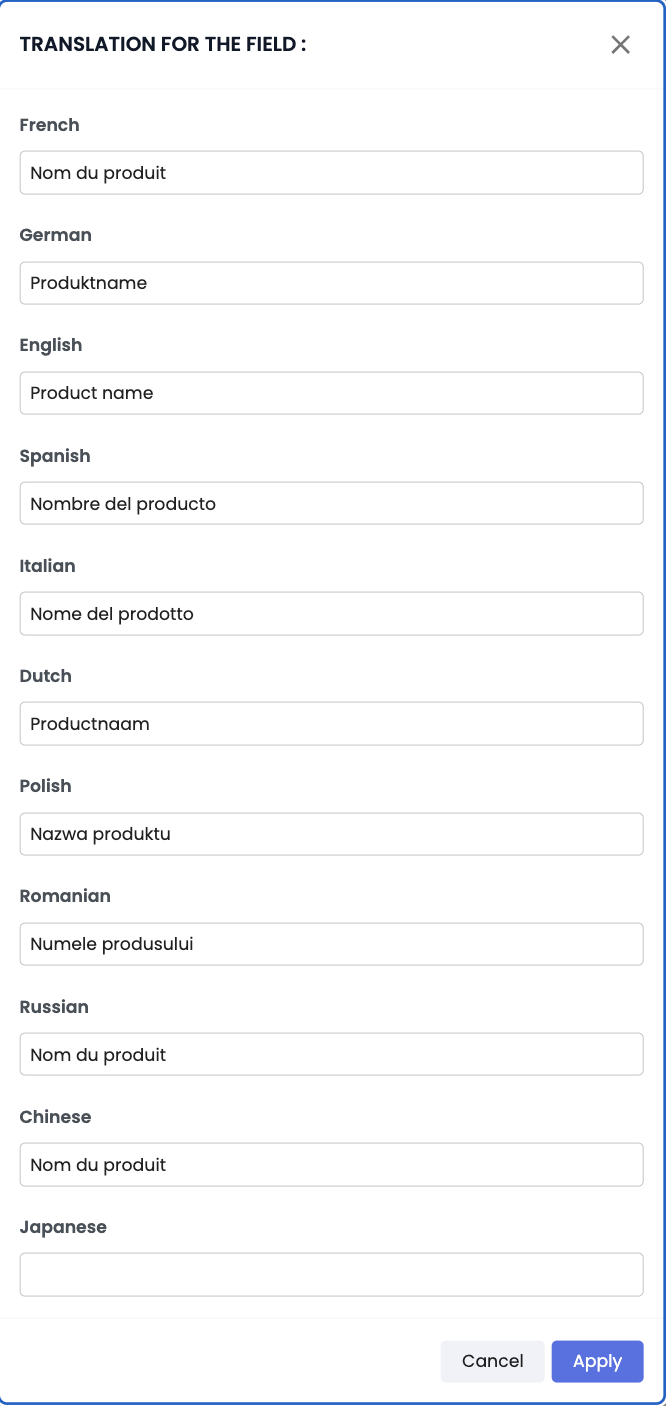
- Once you're done, click Apply at the bottom of the translation window. Back in the attribute’s information page, click Update at the bottom of the page to save your changes.
- A notification will confirm the attribute has been successfully updated.

- To ensure the changes are applied immediately in your PIM instance, run a data model reindexing.
Good to knowYou must click Update after applying the translations. If not, your translations will not be saved.
Translating collaboration tool labels
Collaboration tool labels
Collaboration tool labels—that is, how they appear in the PIM interface—can be translated into the available interface languages.
For example, a completeness check called “Contenu digital” will display as:
- “Digital content” if the PIM interface is in English
- “Contenu digital” if the interface is in French
- “Digitale Inhalte” if in German
- “Contenuti digitali” if in Italian…
Completeness labels
- Go to: Administration > Collaboration > Completeness
- Select the completeness to be translated from the list, then click "Edit".
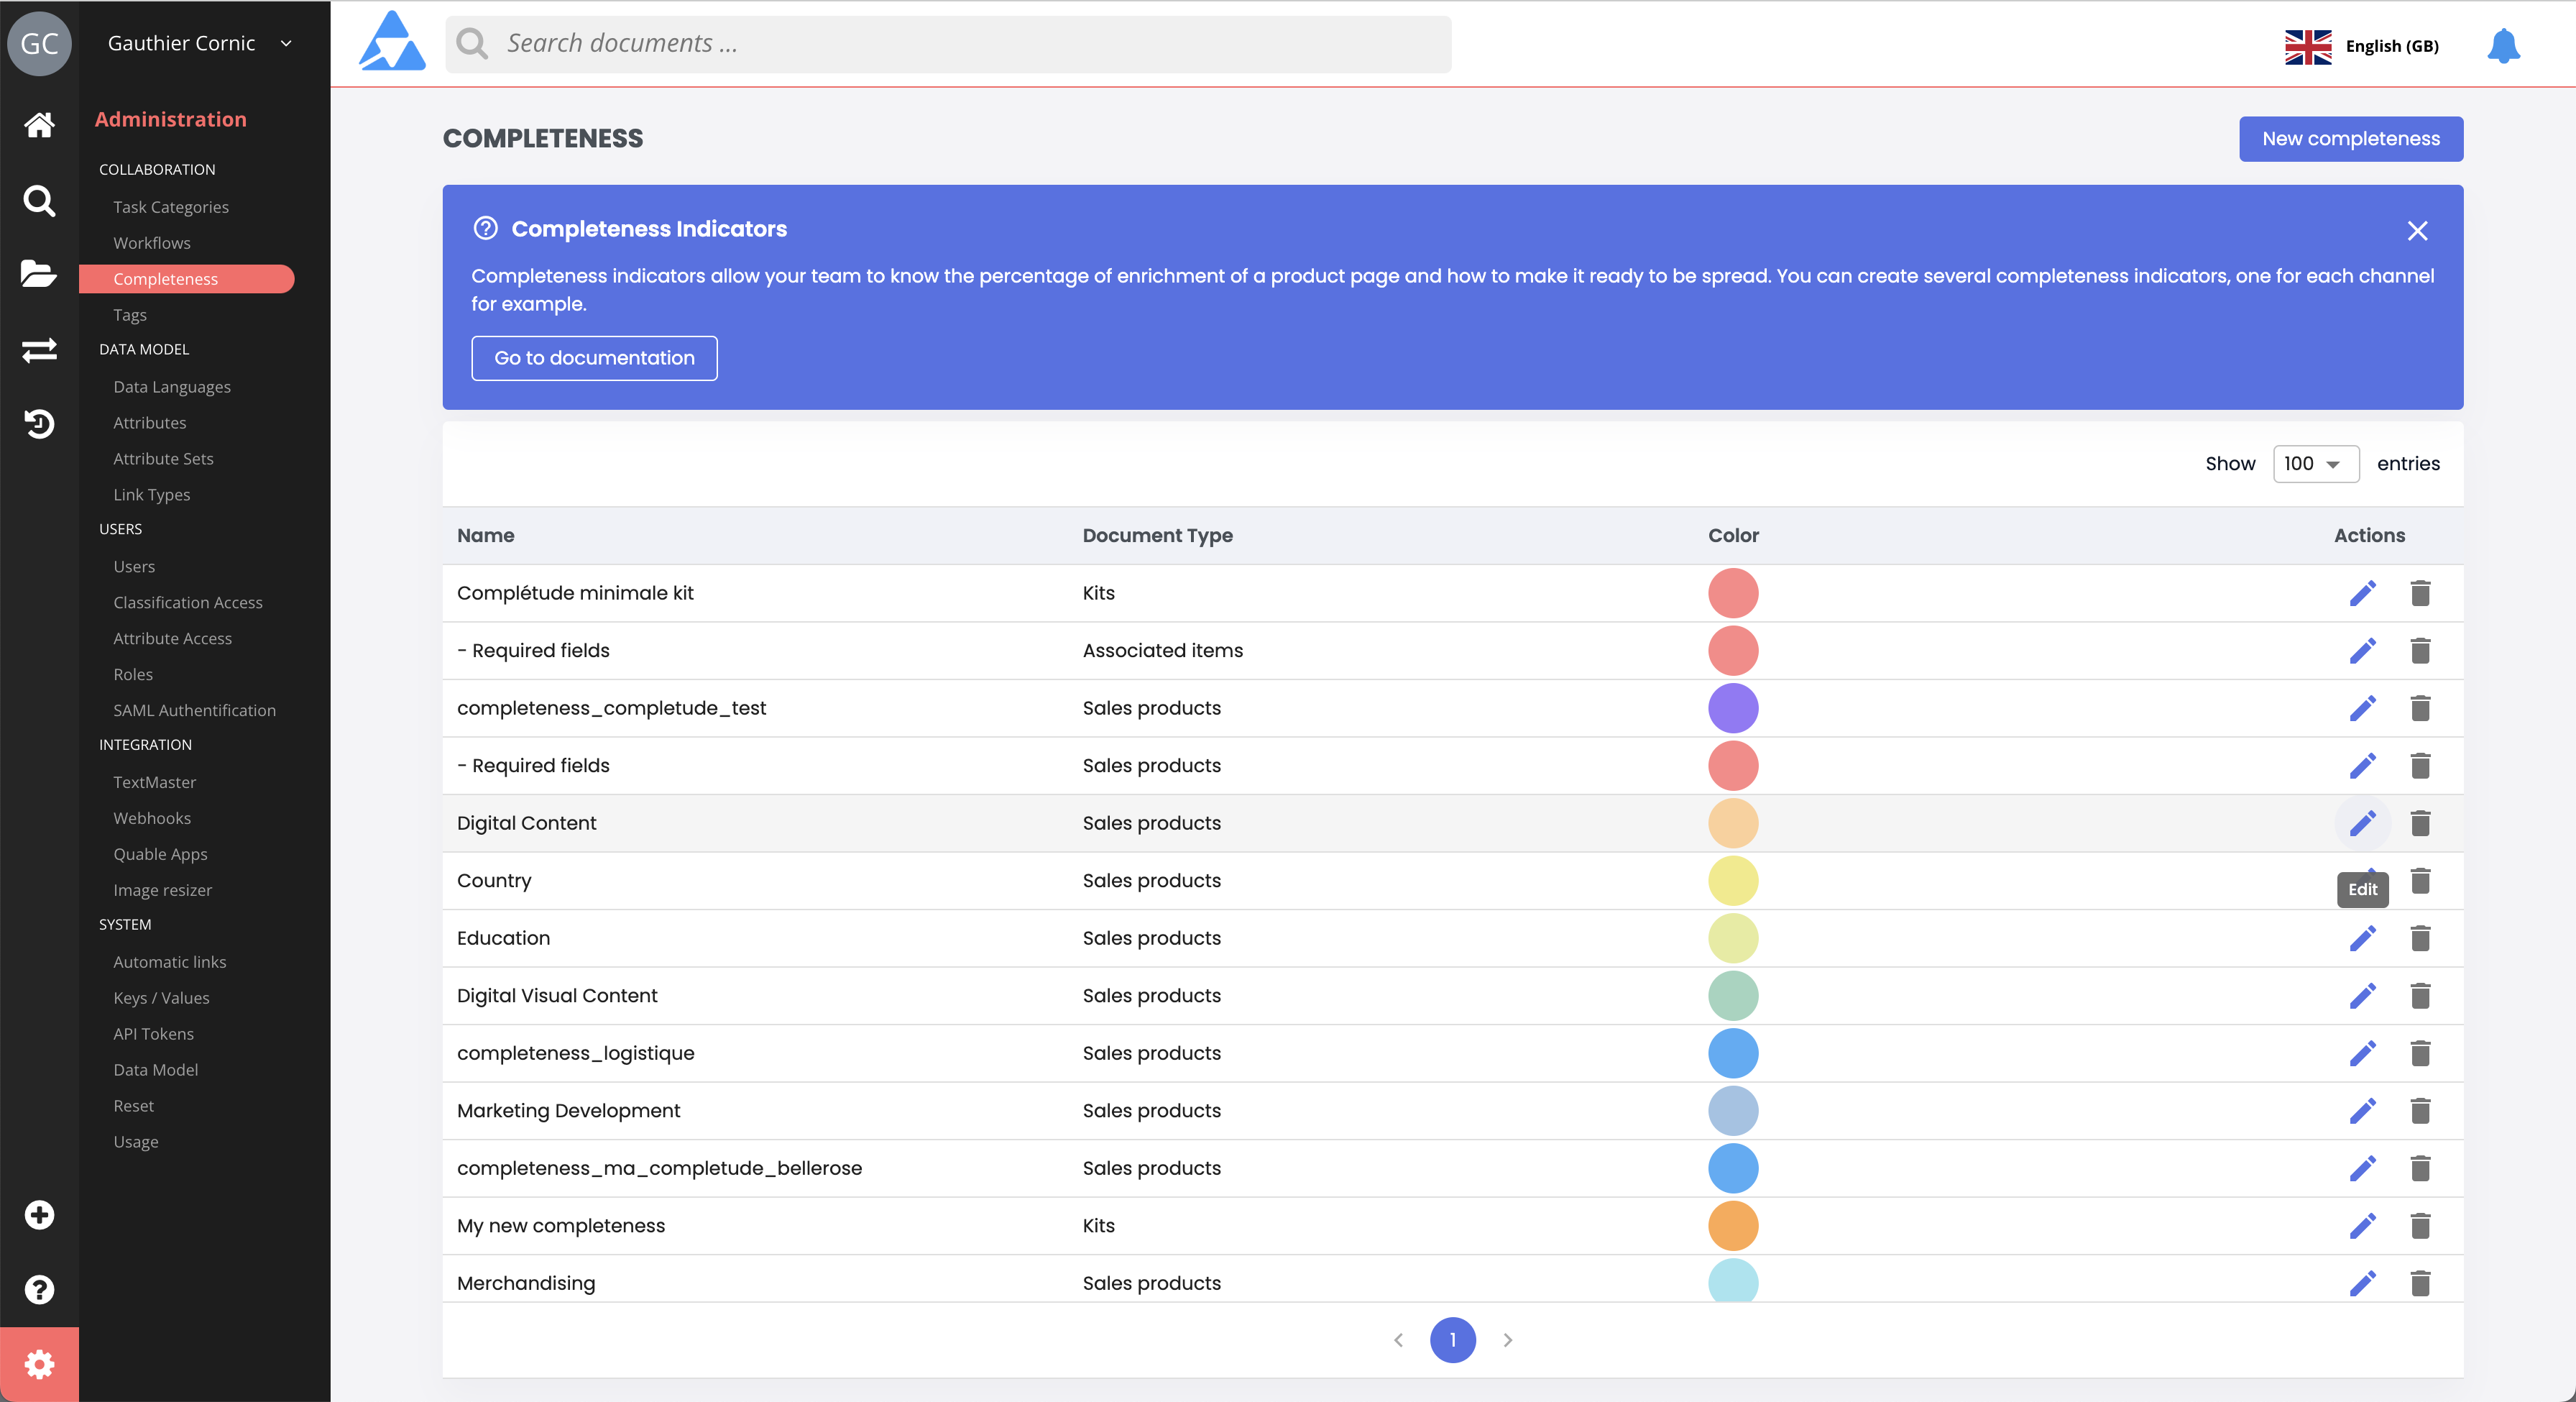
- In the window that opens, click the globe icon at the end of the “Name” input field.

- The completeness translation window opens. Enter the translation for each interface language.
- Once you're done, click Apply at the bottom of the translation window. Back in the completeness screen, click Save at the bottom of the page to apply the changes.

Workflow labels
For a workflow, the process is the same. The workflow label can be localized based on the user’s selected interface language.
- Go to: Administration > Collaboration > Workflows
- Select the workflow to be translated from the list, then click "Edit"
- In the window that opens, click the globe icon next to the “Name” field
- The workflow translation window opens. Enter translations for each interface language
- Click Apply at the bottom of the window, then click Save on the workflow page to confirm the update
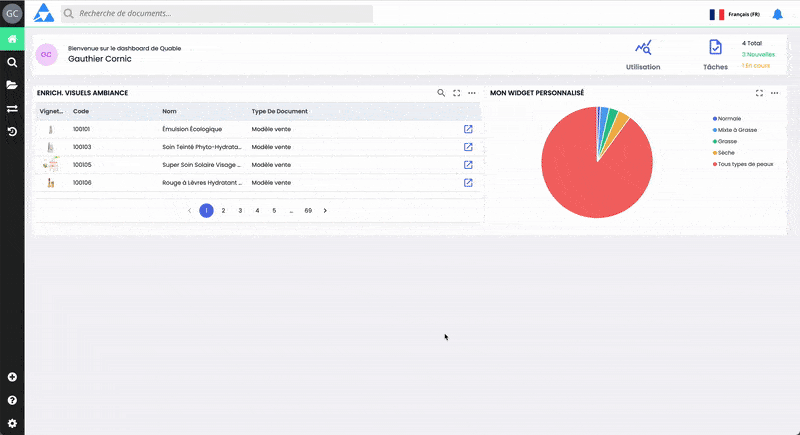
Dashboard widget labels
Dashboard widgets can be translated according to the selected interface language. The displayed label automatically adapts to the selected language if a translation has been provided.
Good to knowBy default, a widget’s label is the same in all languages. It corresponds to the name entered during creation, unless a translation has been added.
- Go to your PIM dashboard
- From your user profile, select the interface language you want to enter a translation for
- On the widget to be translated, click ⁝, then select Edit
- In the window that opens, enter the translation in the Name field
- Click Save widget
Repeat this process for each interface language and for every widget you want to translate.
Good to knowTranslated labels are preserved when a widget is shared with other users
Summary
- Translated labels improve readability, accessibility, and user adoption of the PIM
- Attribute label translations: editable from the data model (admin rights required)
- Collaboration tool label translations: editable via their respective menus (completeness, workflows)
- Dashboard widget translations: editable in the currently selected interface language
You must confirm and save all changes for the translations to be applied!
Next Chapter
Congratulations! You’ve completed the course Translating Display labels in the PIM. Continue your training by exploring the next module of the Translator Training Program.
Updated 10 months ago