Managing Classifications in a Channel
Create, customize, edit, or delete a classification hierarchy within a distribution channel.
Learning objectives
- Understand how to structure classifications to optimize navigation and data distribution
- Create, organize, and customize a classification hierarchy within a distribution channel
- Manage nodes: add, edit, and move them
Now that you know how to create distribution channels for different use cases, let's see how to design a classification hierarchy within a channel.
Just like the architecture of the PIM or DAM, a channel classification hierarchy groups together Product Sheets, assets, and their associated data.
Before you begin, ask yourself the following questions:
- Which data do you want to distribute?
- How should this data be organized?
Important to know
- Segmenting data into classifications makes navigation easier.
- A classification can contain up to 10,000 child nodes and 1,000 pieces of content to distribute.
1. Classification Architecture
Each channel has its own custom classification hierarchy.
A classification node can contain:
- Classification child nodes,
- And/or Product Sheet or asset content.
Good to know
- Each level can contain classification child nodes and content (products or assets).
- You can customize a channel's classification hierarchy independently from the PIM or DAM hierarchy of your Quable instance.
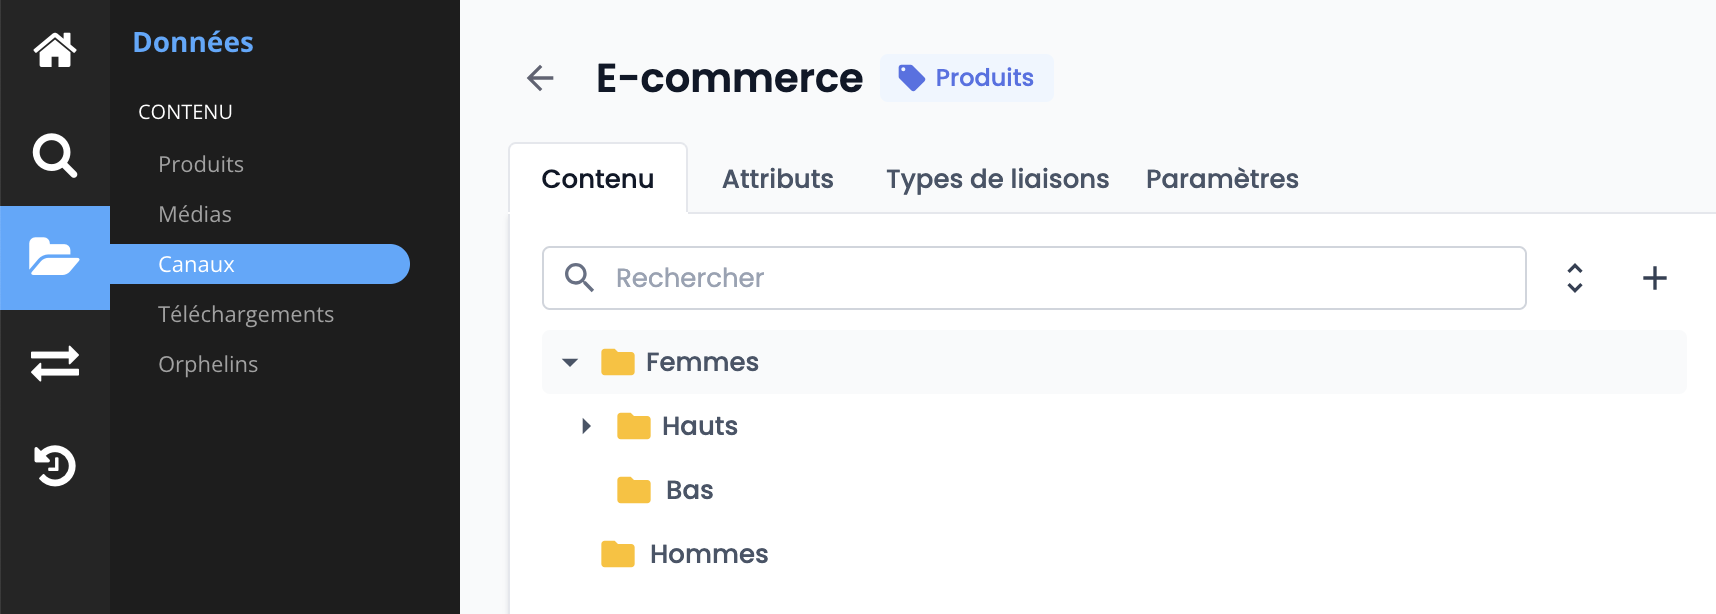
2. Add a New Classification Node
- Select a channel and click the edit button,
- From the Content tab in the top-left corner,
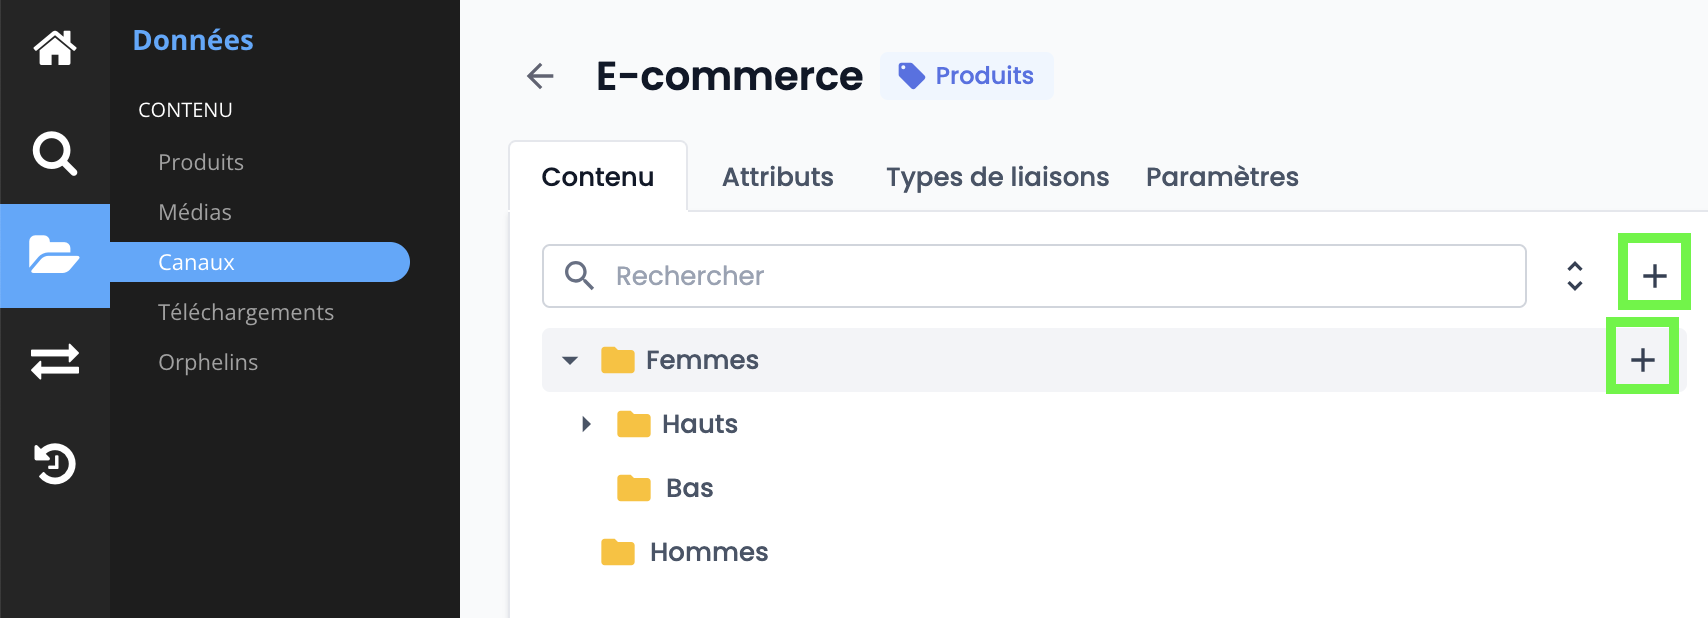
- Click the + button to the right of the search bar (to create a root-level classification), or
- Select a classification node and click the + at the end of the row (to create a child classification);
Enter the following settings:
- classification name,
- classification code.
Good to know
- You can add as many classification nodes and child nodes as needed.
- The code is permanent and cannot be modified later.
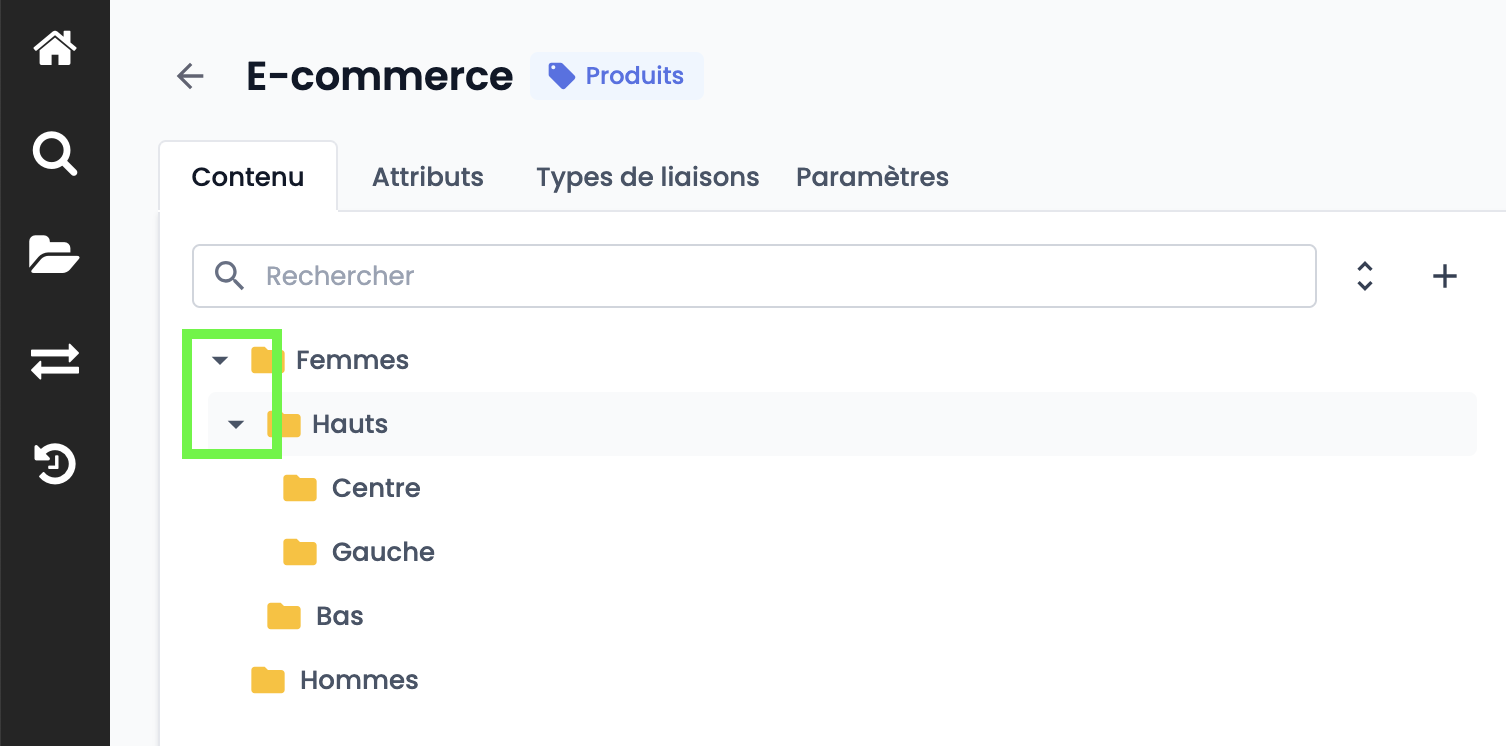
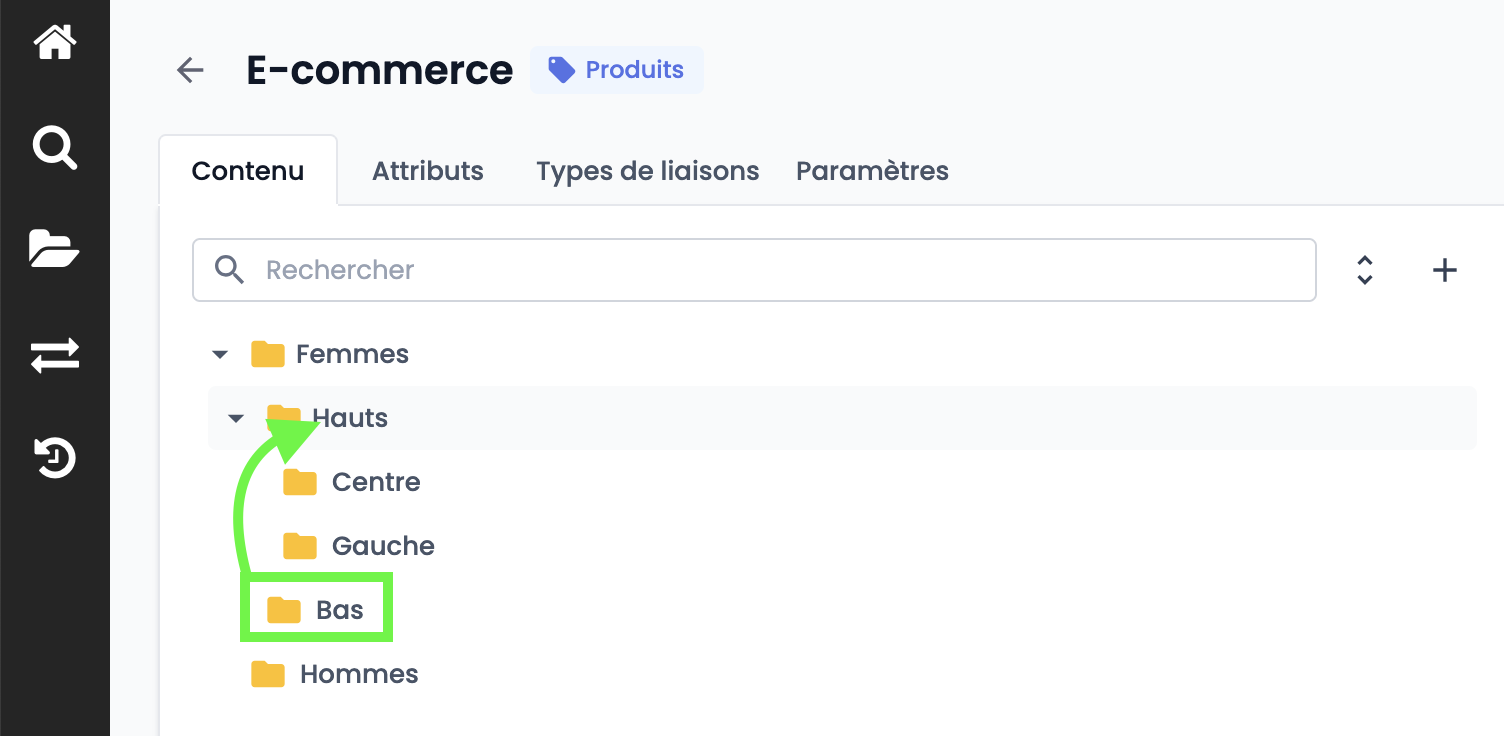
3. Navigate Through the Classification
- An arrow displayed in front of a classification node indicates that it contains child nodes.
- To browse the hierarchy, click the arrows to expand a node and display its child nodes.
- Nodes located at the lowest level of the hierarchy do not display an arrow.
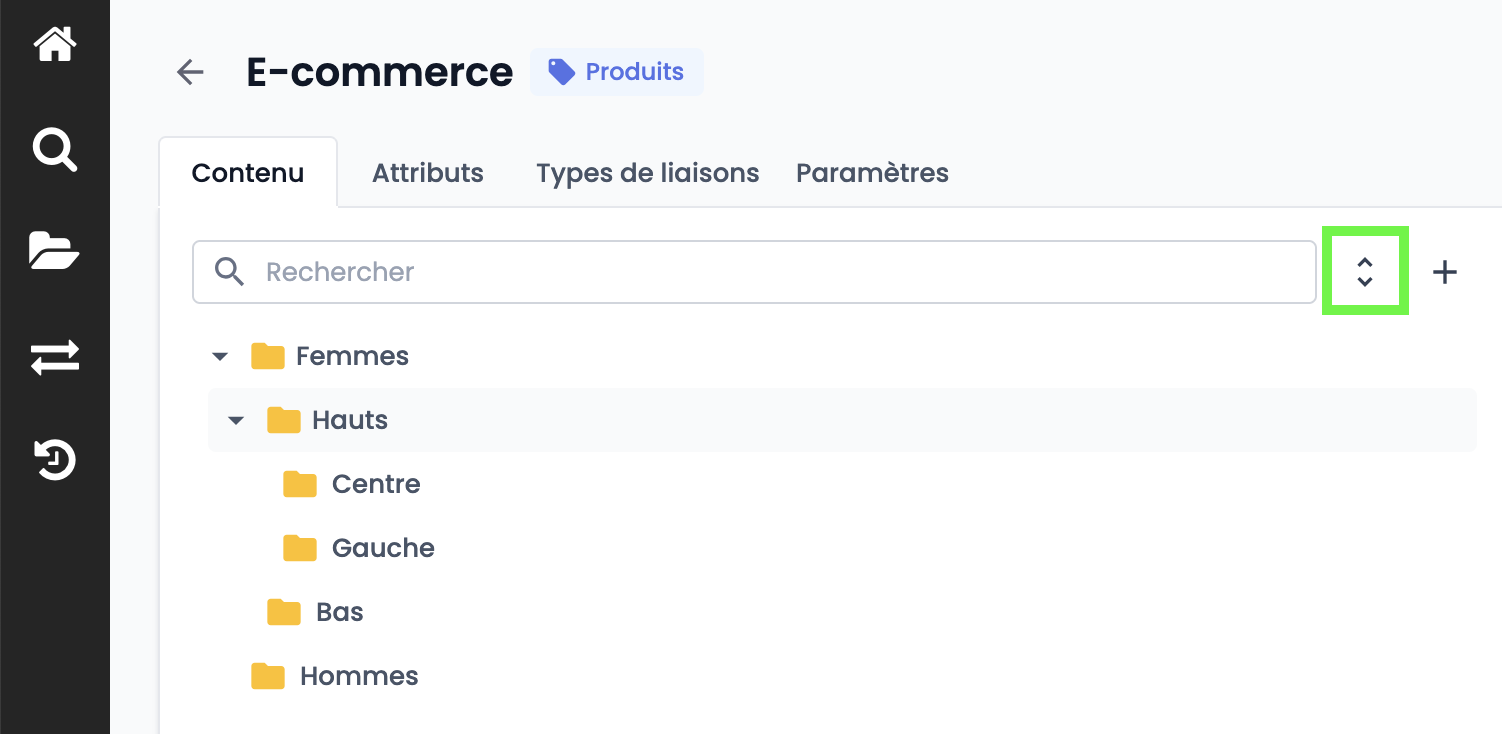
- You can also expand or collapse all classifications at once by clicking the double-arrow icon next to the search bar.
4. Reorganize the Classification
Using drag and drop, you can:
- Change the order of classification nodes.
- Move a classification node inside or outside another node.
Good to knowMoving a classification node automatically moves its child nodes and content.
5. Customize Classification Nodes
Each classification node can be customized with specific information and an image:
- Select the classification node.
- Click the settings section in the right-hand panel,
- Edit its name,
- Change the asset used to illustrate the classification node,
- Edit the attributes associated with the classification (optional).
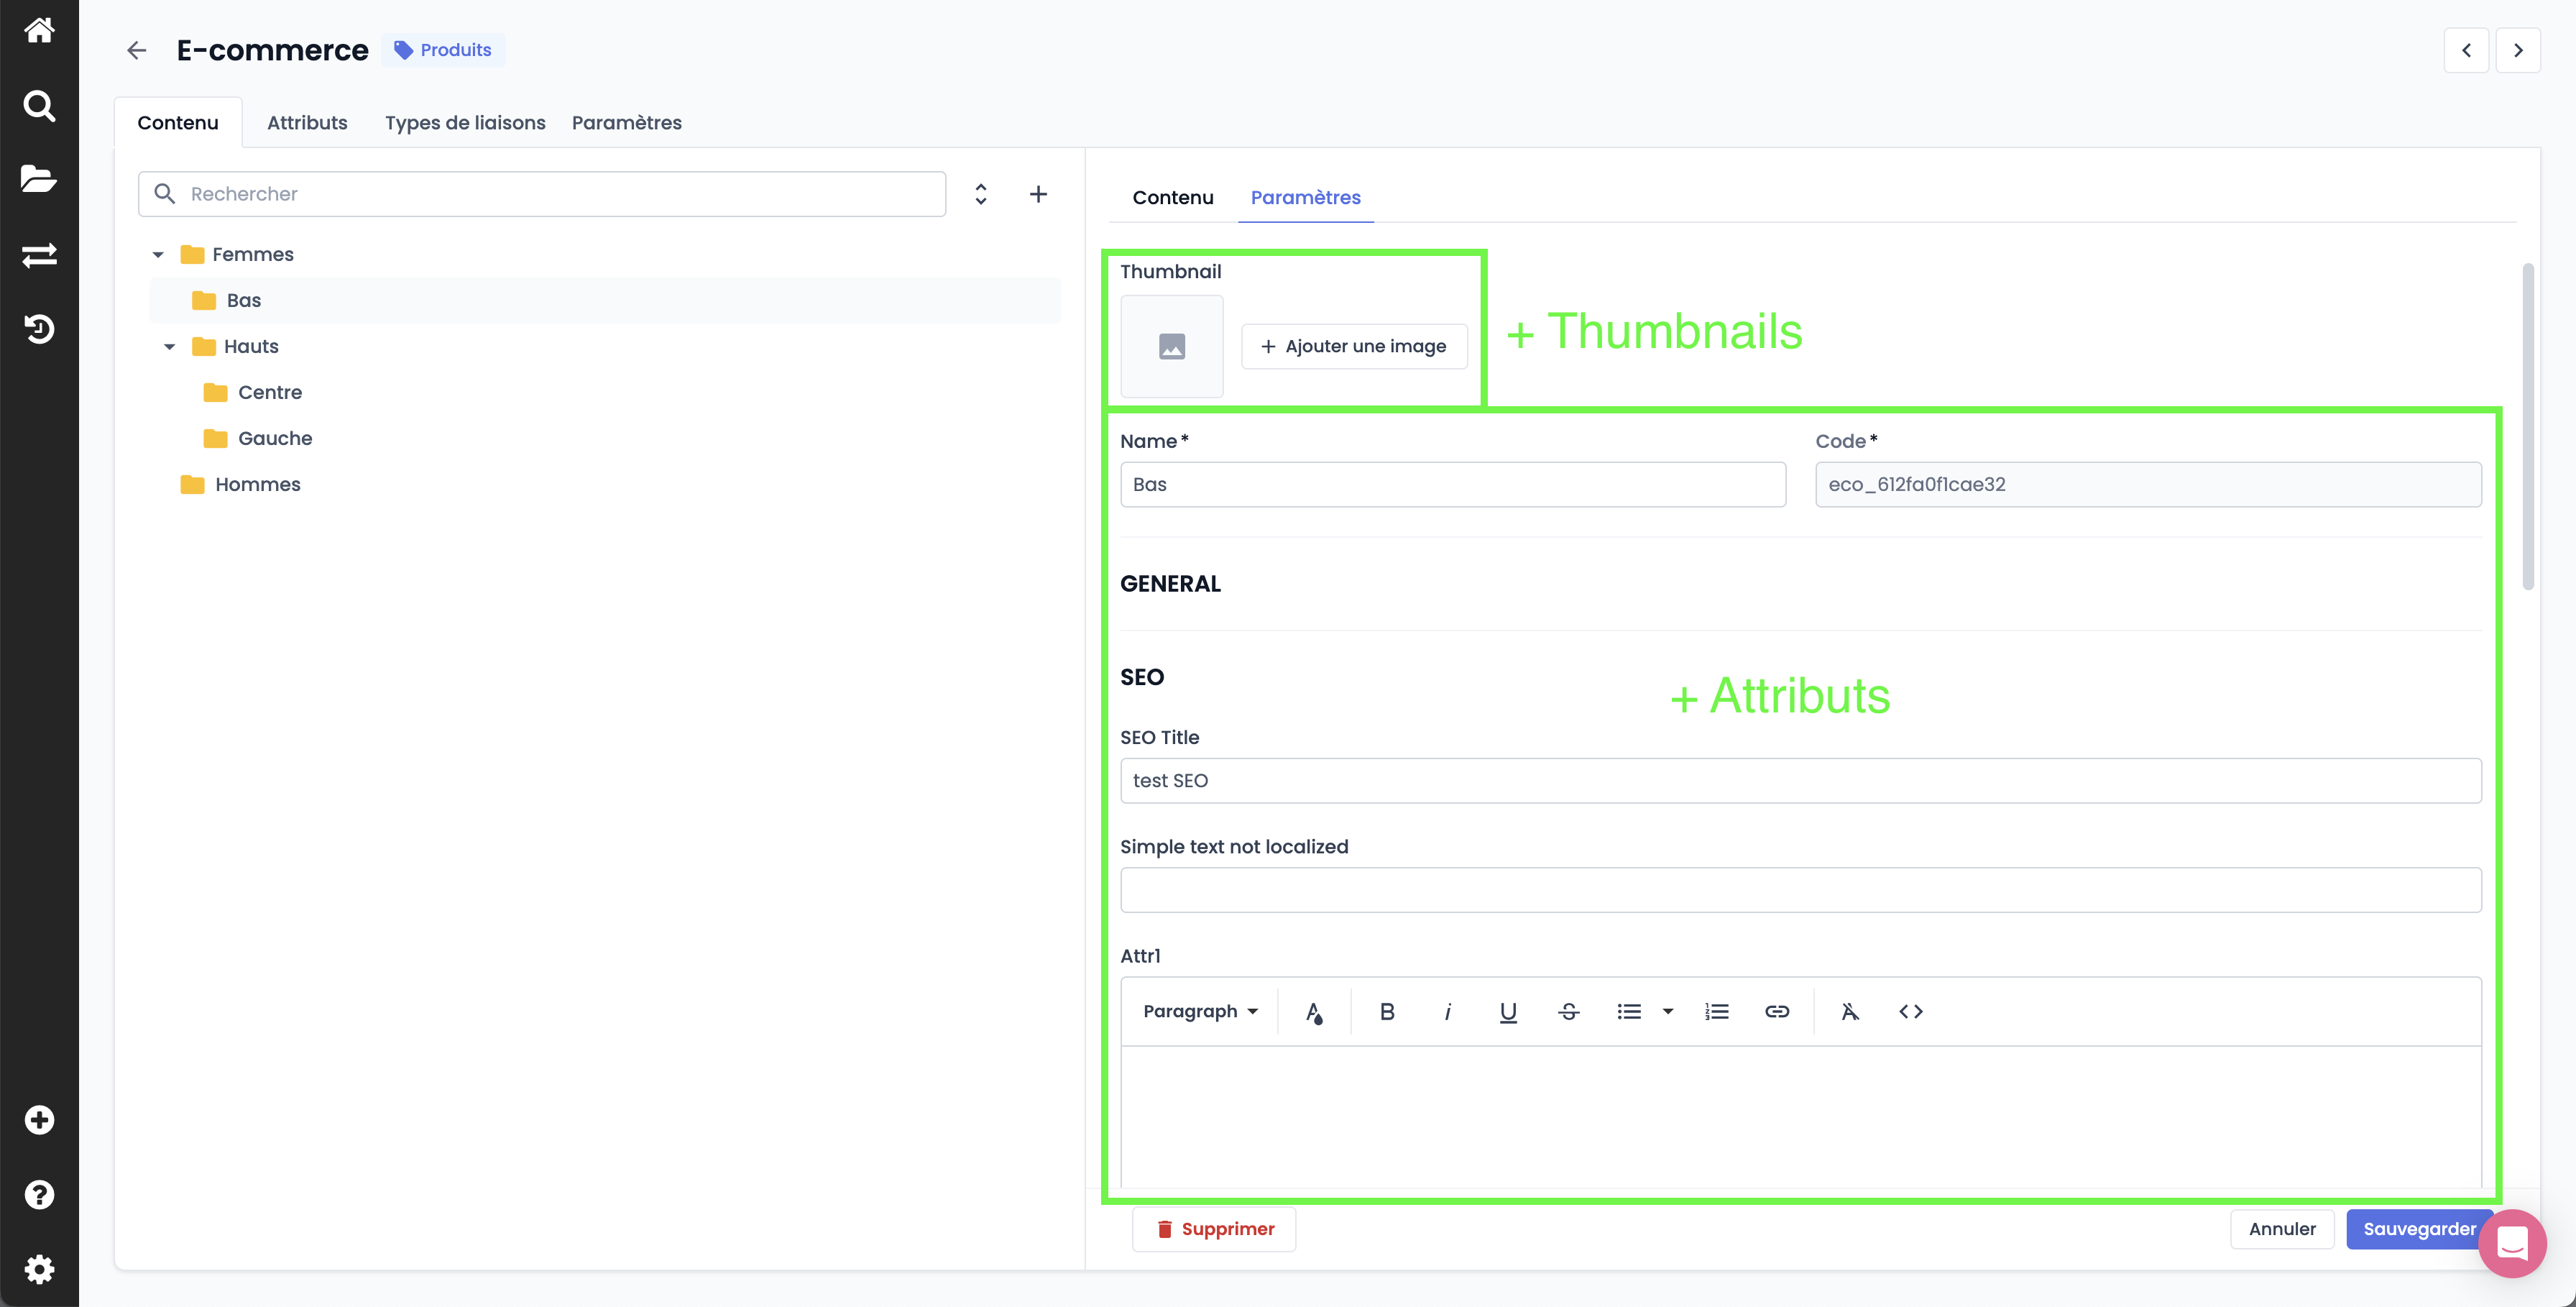
- Don't forget to click the Save button at the bottom of the page to save your changes.
Summary
Architecture
- Each channel includes dedicated classification nodes,
- Each classification node can contain child nodes and content,
- Each node can be configured (code, name, type),
- Nodes can be moved and reorganized using drag and drop. Child nodes and content are moved automatically.
Customization
- Only classification node names can be edited (not codes),
- Nodes can be enriched with attributes and illustrated with an asset from the DAM.
Best practices
- Segment content to make navigation easier,
- Technical limit: a classification can contain up to 10,000 child nodes and 1,000 pieces of content.
Next Chapter
Now that you know how to manage classifications in a channel, let's discover how to Create Saved Search Lists.
Updated about 1 month ago