Creating and Managing Tags
Learning Objectives
- Create tags to indicate the status or stages of product sheets.
- Configure rules to apply tags.
- Learn best practices for managing tags.
Overview
Administrators can create and edit tags from the Quable PIM administration menu.
All Quable PIM users can access tags from product sheets, to take advantage of precise and context-specific messages based on the product sheet's status or stage.
Tags are visual indicators used to quickly signal the status or necessary actions on a product sheet. They appear in the top right corner of the product sheets and can be configured to apply automatically based on defined rules.
Tags are particularly useful for:
- Identifying product sheets that need attention.
- Visualizing key statuses of a product sheet to facilitate management.
- Automatically distributing product sheets to channels based on tag rules.
Good to knowSince data enrichment depends on the locale in which the user is working, the tag displayed may vary depending on the selected data language.
Create a Tag
1. Access the Tags Page
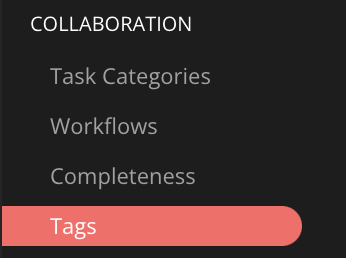
- From the administration menu, select Tags under the Collaboration section.
The page displays a list of existing tags with their details:
- Attached to: The object the tag is applied to.
- Name: The descriptive name of the tag.
- Document type: The type of document concerned.
- Default: Indicates whether the tag is applied by default.
- Description: A brief explanation of the tag.
2. Create a New Tag
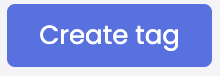
- Click the Create Tag button at the top right of the page.
- A form will appear with two sections:
- Information
- Rules
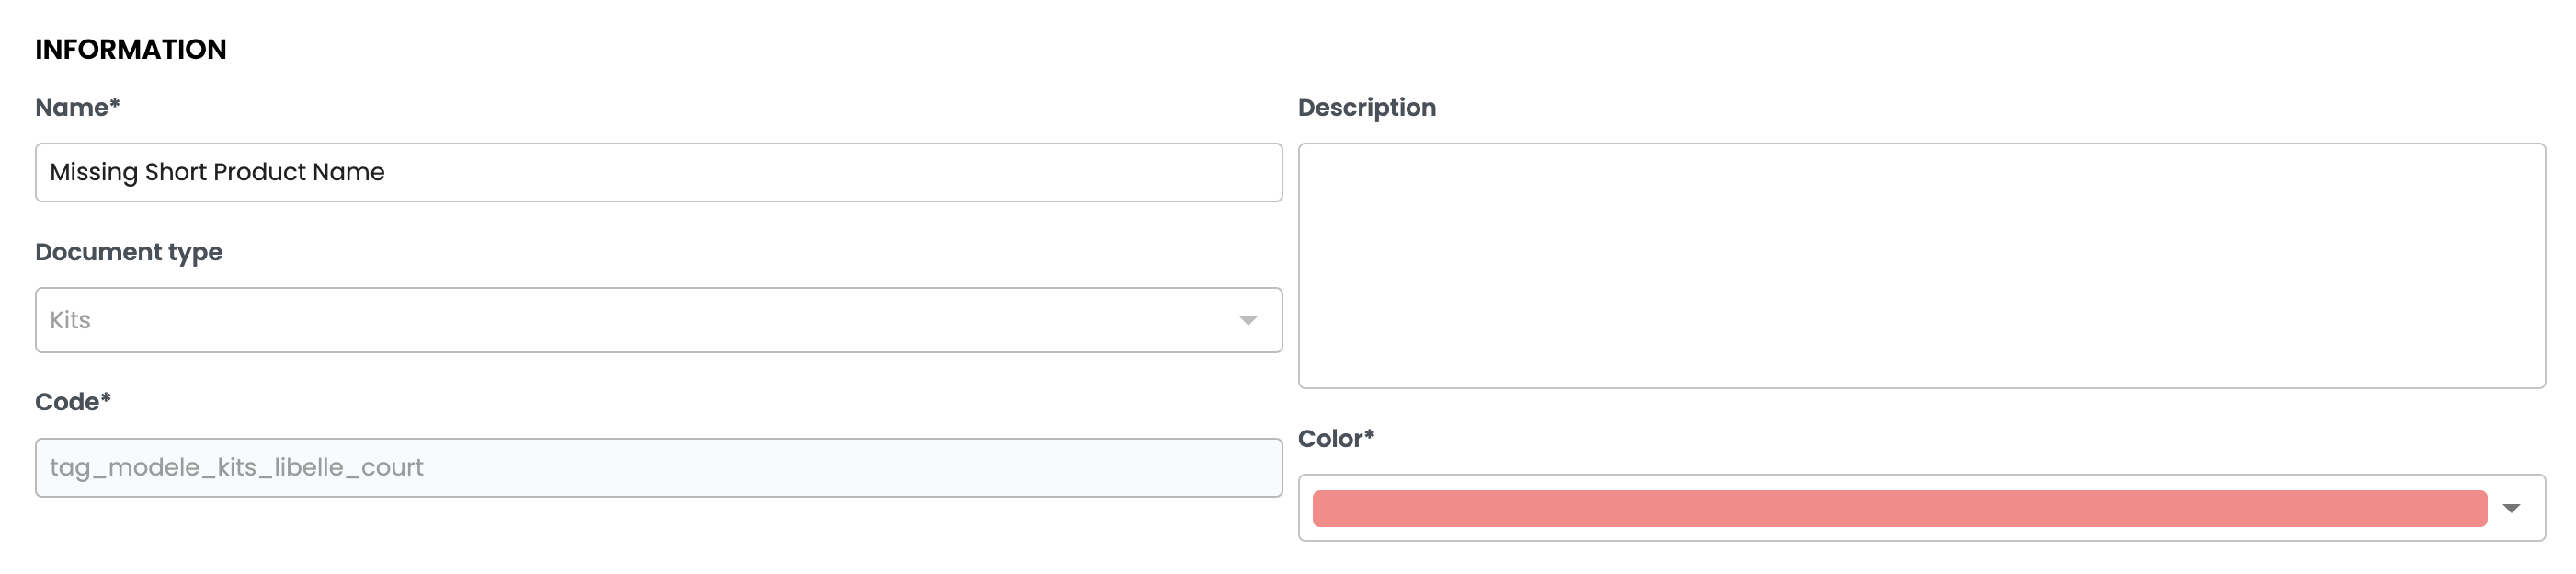
Fill in the Tag Information
In the Information section, complete the following fields:
- Name: Enter a clear and descriptive name (mandatory).
- Code: This code is automatically generated upon entry. It can only be modified during creation (mandatory).
- Description: Add a description to clarify the purpose of the tag (optional).
- Document type: Select the type of document that will use the tag (mandatory).
- Color: Choose a color to visually identify the tag (mandatory).
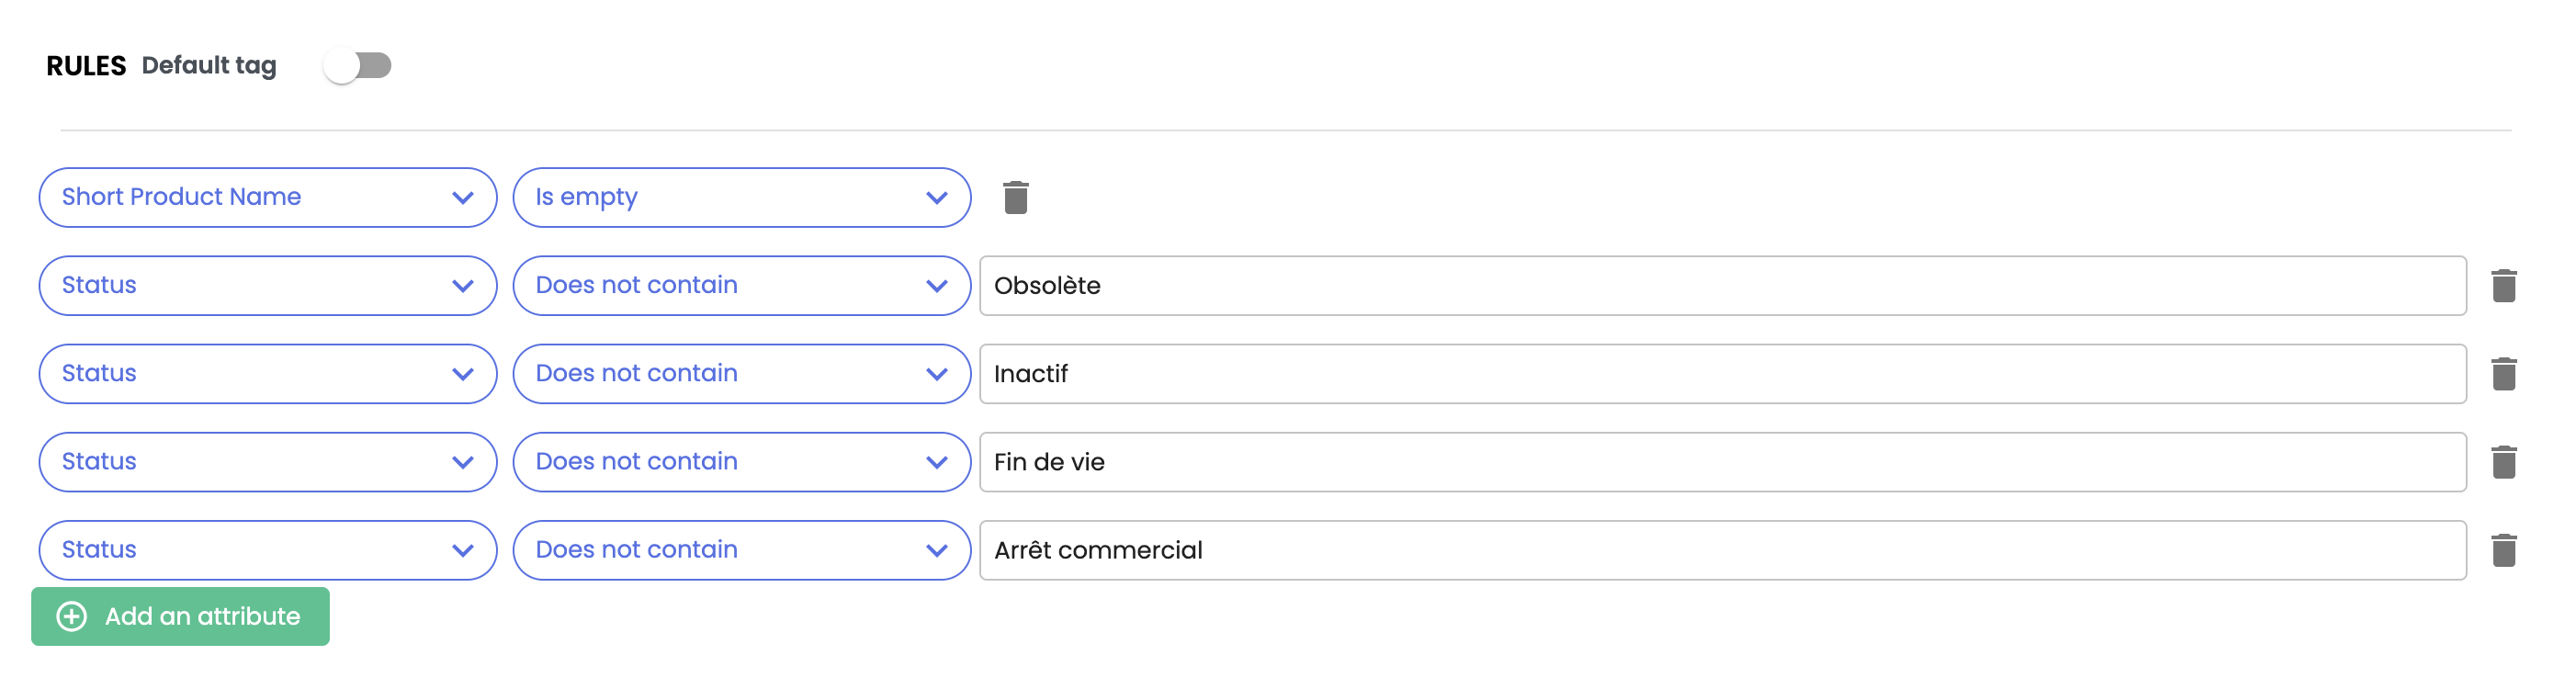
Configure the Rules
In the Rules section, define the conditions for the automatic application of the tag:
- Click Add an attribute.
- Select an attribute from the dropdown list.
- Define the conditions to apply the tag (e.g., a value range for a numeric field).
- Repeat the operation to add multiple conditions if necessary.
Good to know
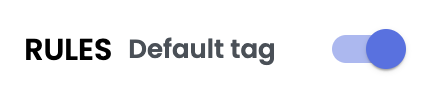
- Tags can be applied by default by enabling the Default Tag option. If this option is enabled, it is not possible to define additional rules. As soon as the first contributions are made, the default tag will disappear from the product sheet.
- Tags based on multiple-choice attributes are validated if at least one selected value meets the condition on the attribute.
Save the Tag
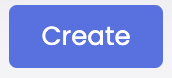
- Once the information and rules are completed, click Create to save the tag.
- If you wish to cancel, click Back.
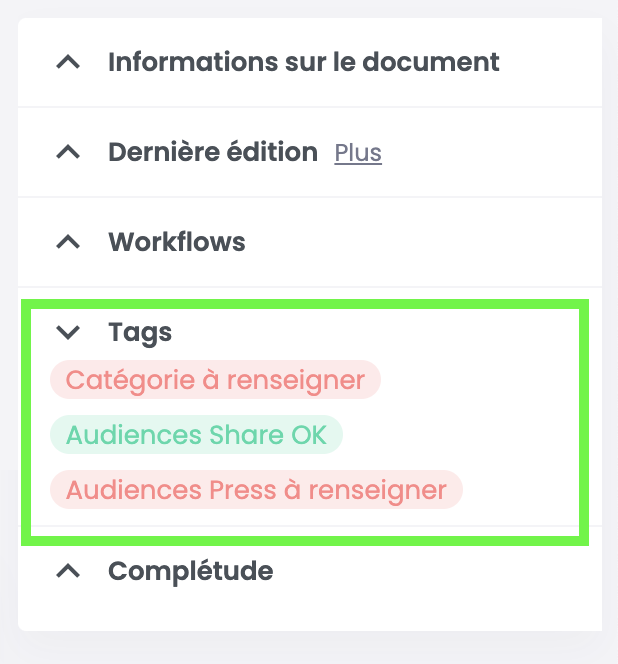
3. Tag on the Product Sheet
Once deployed, the tag will appear on the product sheet as follows:
Modify or Delete a Tag
1. Edit a Tag
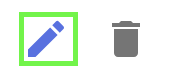
- Select an existing tag from the list and click Edit.
- Update the fields or rules.
- Click Save to apply changes or Back to exit without saving.
Good to knowChanges take effect immediately but may require recalculation (about 15 minutes) to apply the modifications.
2. Delete a Tag
- Select a tag from the list and click Delete.
- Or open it in edit mode and click Delete.

❗️ Irreversible action: Deleting a tag permanently removes it from Quable PIM and any associated product sheets.
Best Practices
- Use clear names for your tags to facilitate management.
- Check the selected attributes to ensure rule consistency.
- Avoid defining too many tags for the same document type (maximum 30 per DocType).
In summaryA tag is a visual indicator displayed in the top right corner of product sheets to signal a status or an action required.
Using Tags:
- Identify product sheets that need attention,
- Visualize key statuses to facilitate management,
- Configure rules to distribute product sheets across channels.
Create a Tag:
- Access the Tags section from the administration menu,
- Click Create a Tag to open a form with two parts:
◦ Information: Fill in the name, document type, color, and description.
◦ Rules: Add specific conditions to apply the tag.- Click Create to save.
Modify or Delete a Tag:
- Modify: Select a tag, update its fields or rules, then click Save.
- Delete: Click Delete to permanently remove the tag from the instance and any associated product sheets. (Irreversible action)
Best Practices:
- Use clear names and distinctive colors for tags.
- Ensure rule consistency.
- Limit tags to 30 per document type to avoid overload.
Next Chapter
Now that you know how to create and manage tags, let’s explore how to Create and Manage Workflows.
Updated 10 months ago