Configuring SSO SAML Authentication
Learning Objectives
- Understand SSO SAML authentication for user access management
- Configure and enable SSO authentication with an Identity Provider (IdP)
- Manage user account creation and define permissions
Overview
SAML authentication allows administrators to manage access to their company’s applications efficiently and securely. By centralizing authentication through an Identity Provider (IdP), it simplifies user management and reduces password-related risks (loss, reuse, phishing attacks).
With Single Sign-On, employees log in once to access all their business applications, enhancing user experience and reducing IT support requests related to login issues.
In summary, SSO authentication via SAML enables users to sign in once to access Quable and other company applications without entering multiple passwords. The key benefits of SAML authentication are:
- Fast and simplified login for users,
- Reduced password reset requests,
- Secure and proven authentication.
Good to know
- The SSO/SAML option requires a subscription. Contact your CSM for more details.
- Your domain must be verified before enabling SSO.
- Once SSO/SAML is enabled, users with an email address from your domain will only be able to log in via SSO. Google logins will still be possible through Social Login.
Enabling SSO Authentication
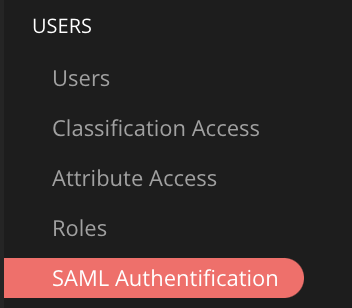
- From the administration menu, go to Users > SAML Authentication,
- Enable the SSO option using the dedicated toggle switch,
- Once enabled, configuration fields will appear.

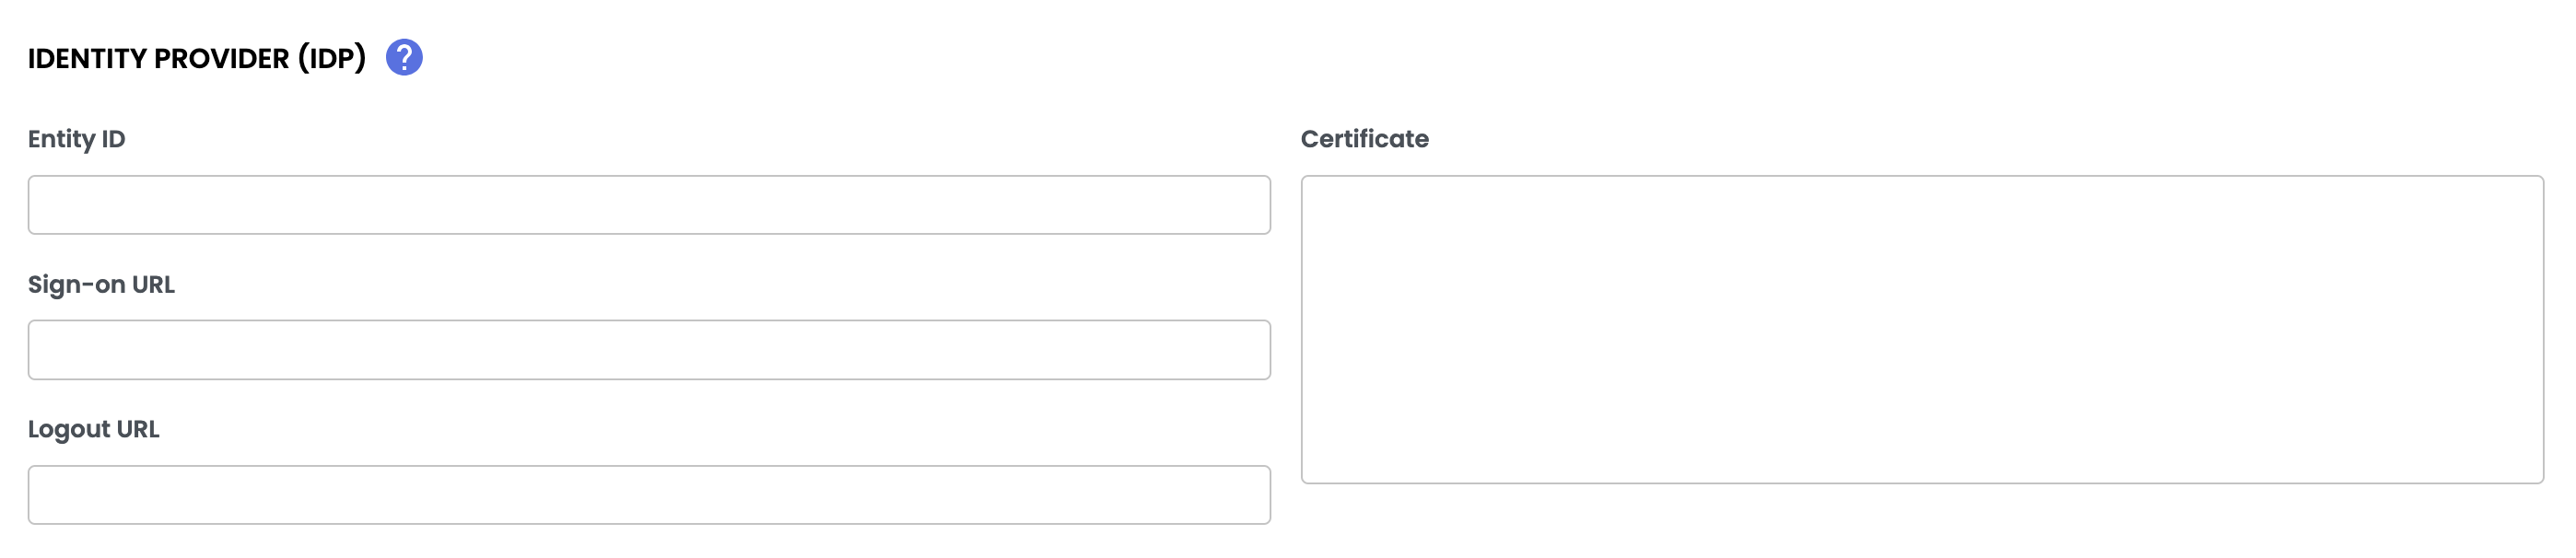
Configuring the Identity Provider (IdP)
The Identity Provider (IdP) handles user authentication and sends the required information to Quable.
Enter the details provided by your IdP:
- Entity ID
- Sign-On URL
- Logout URL
- IdP Certificate
Good to knowThe IdP certificate must include:
-----BEGIN CERTIFICATE-----
(certificate content)
-----END CERTIFICATE-----
Configuring the Service Provider (SP)
Quable acts as a Service Provider (SP). The following details are automatically generated:
- Entity ID:
https://instance_name.quable.com/api/sp/metadata - ACS URL:
https://instance_name.quable.com/api/sp/acs - Logout URL:
https://instance_name.quable.com/api/sp/logout

Managing User Account Creation
You can define how Quable handles new users logging in via SSO.
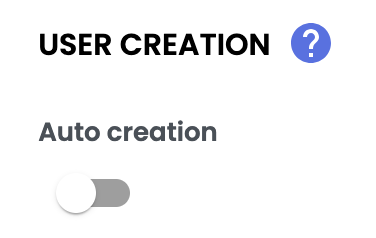
Enabling or Disabling Automatic Account Creation
- Disabled ❌ → Access is denied to non-existing users,
- Enabled ✅ → An account is automatically created upon first login.
LimitationsThe number of user accounts you can add without additional cost is limited and depends on your Quable subscription plan. Contact your CSM for more details.
Required Information in the SAML Token
When an account is automatically created, the IdP must transmit the following fields:
- firstname
- username
Configuring New Users
- Define default languages,
- Assign a role to manage permissions,
- Configure the timezone and other necessary information.
Validating the Configuration
- Verify all entered information,
- Click Update to save the configuration,

SSO is now enabled!
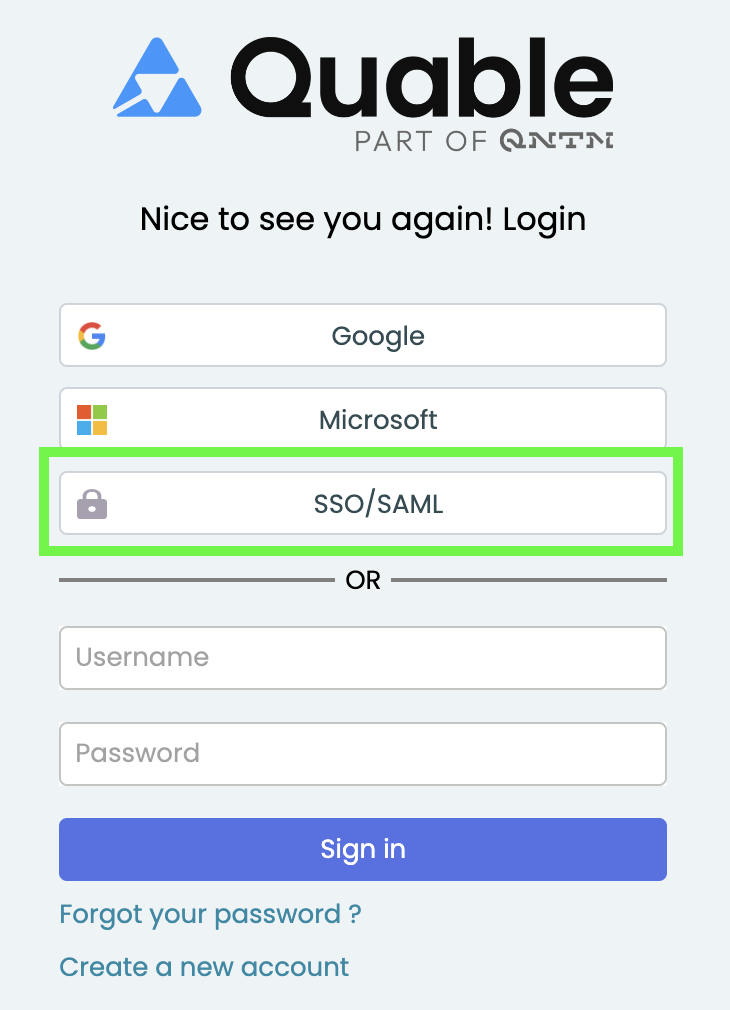
Login Page
Once the SSO feature is deployed, the login page displays a new SSO/SAML access button.
SummarySAML (Security Assertion Markup Language)
SSO (Single Sign-On)
- Enabling SSO SAML
- Feature requires a subscription
- Configuring the Identity Provider (IdP): entity ID, login/logout URL, certificate.
- Verify certificate format (BEGIN CERTIFICATE / END CERTIFICATE).
- Configuring the Service Provider (SP): automatically provided.
- Enter these values in your IdP to establish the connection.
- User Account Management
- Enable/disable automatic account creation upon first login.
- If enabled, the IdP must transmit email, first name, and username.
- Configure languages, roles, and time zones before validation.
Next Chapter
Congratulations! You have completed the "Configuring SSO SAML Authentication" course. Continue your learning journey with the next module in the Administrator Training.
Updated 10 months ago