Using and Managing Widgets from the Dashboard
Learning Objectives
- Interpret and interact with data displayed through widgets
- Learn how to configure, organize, and interact effectively with widgets
- Enhance teamwork and information sharing
- Manage and maintain an organized dashboard
1. Use Widgets on the Dashboard
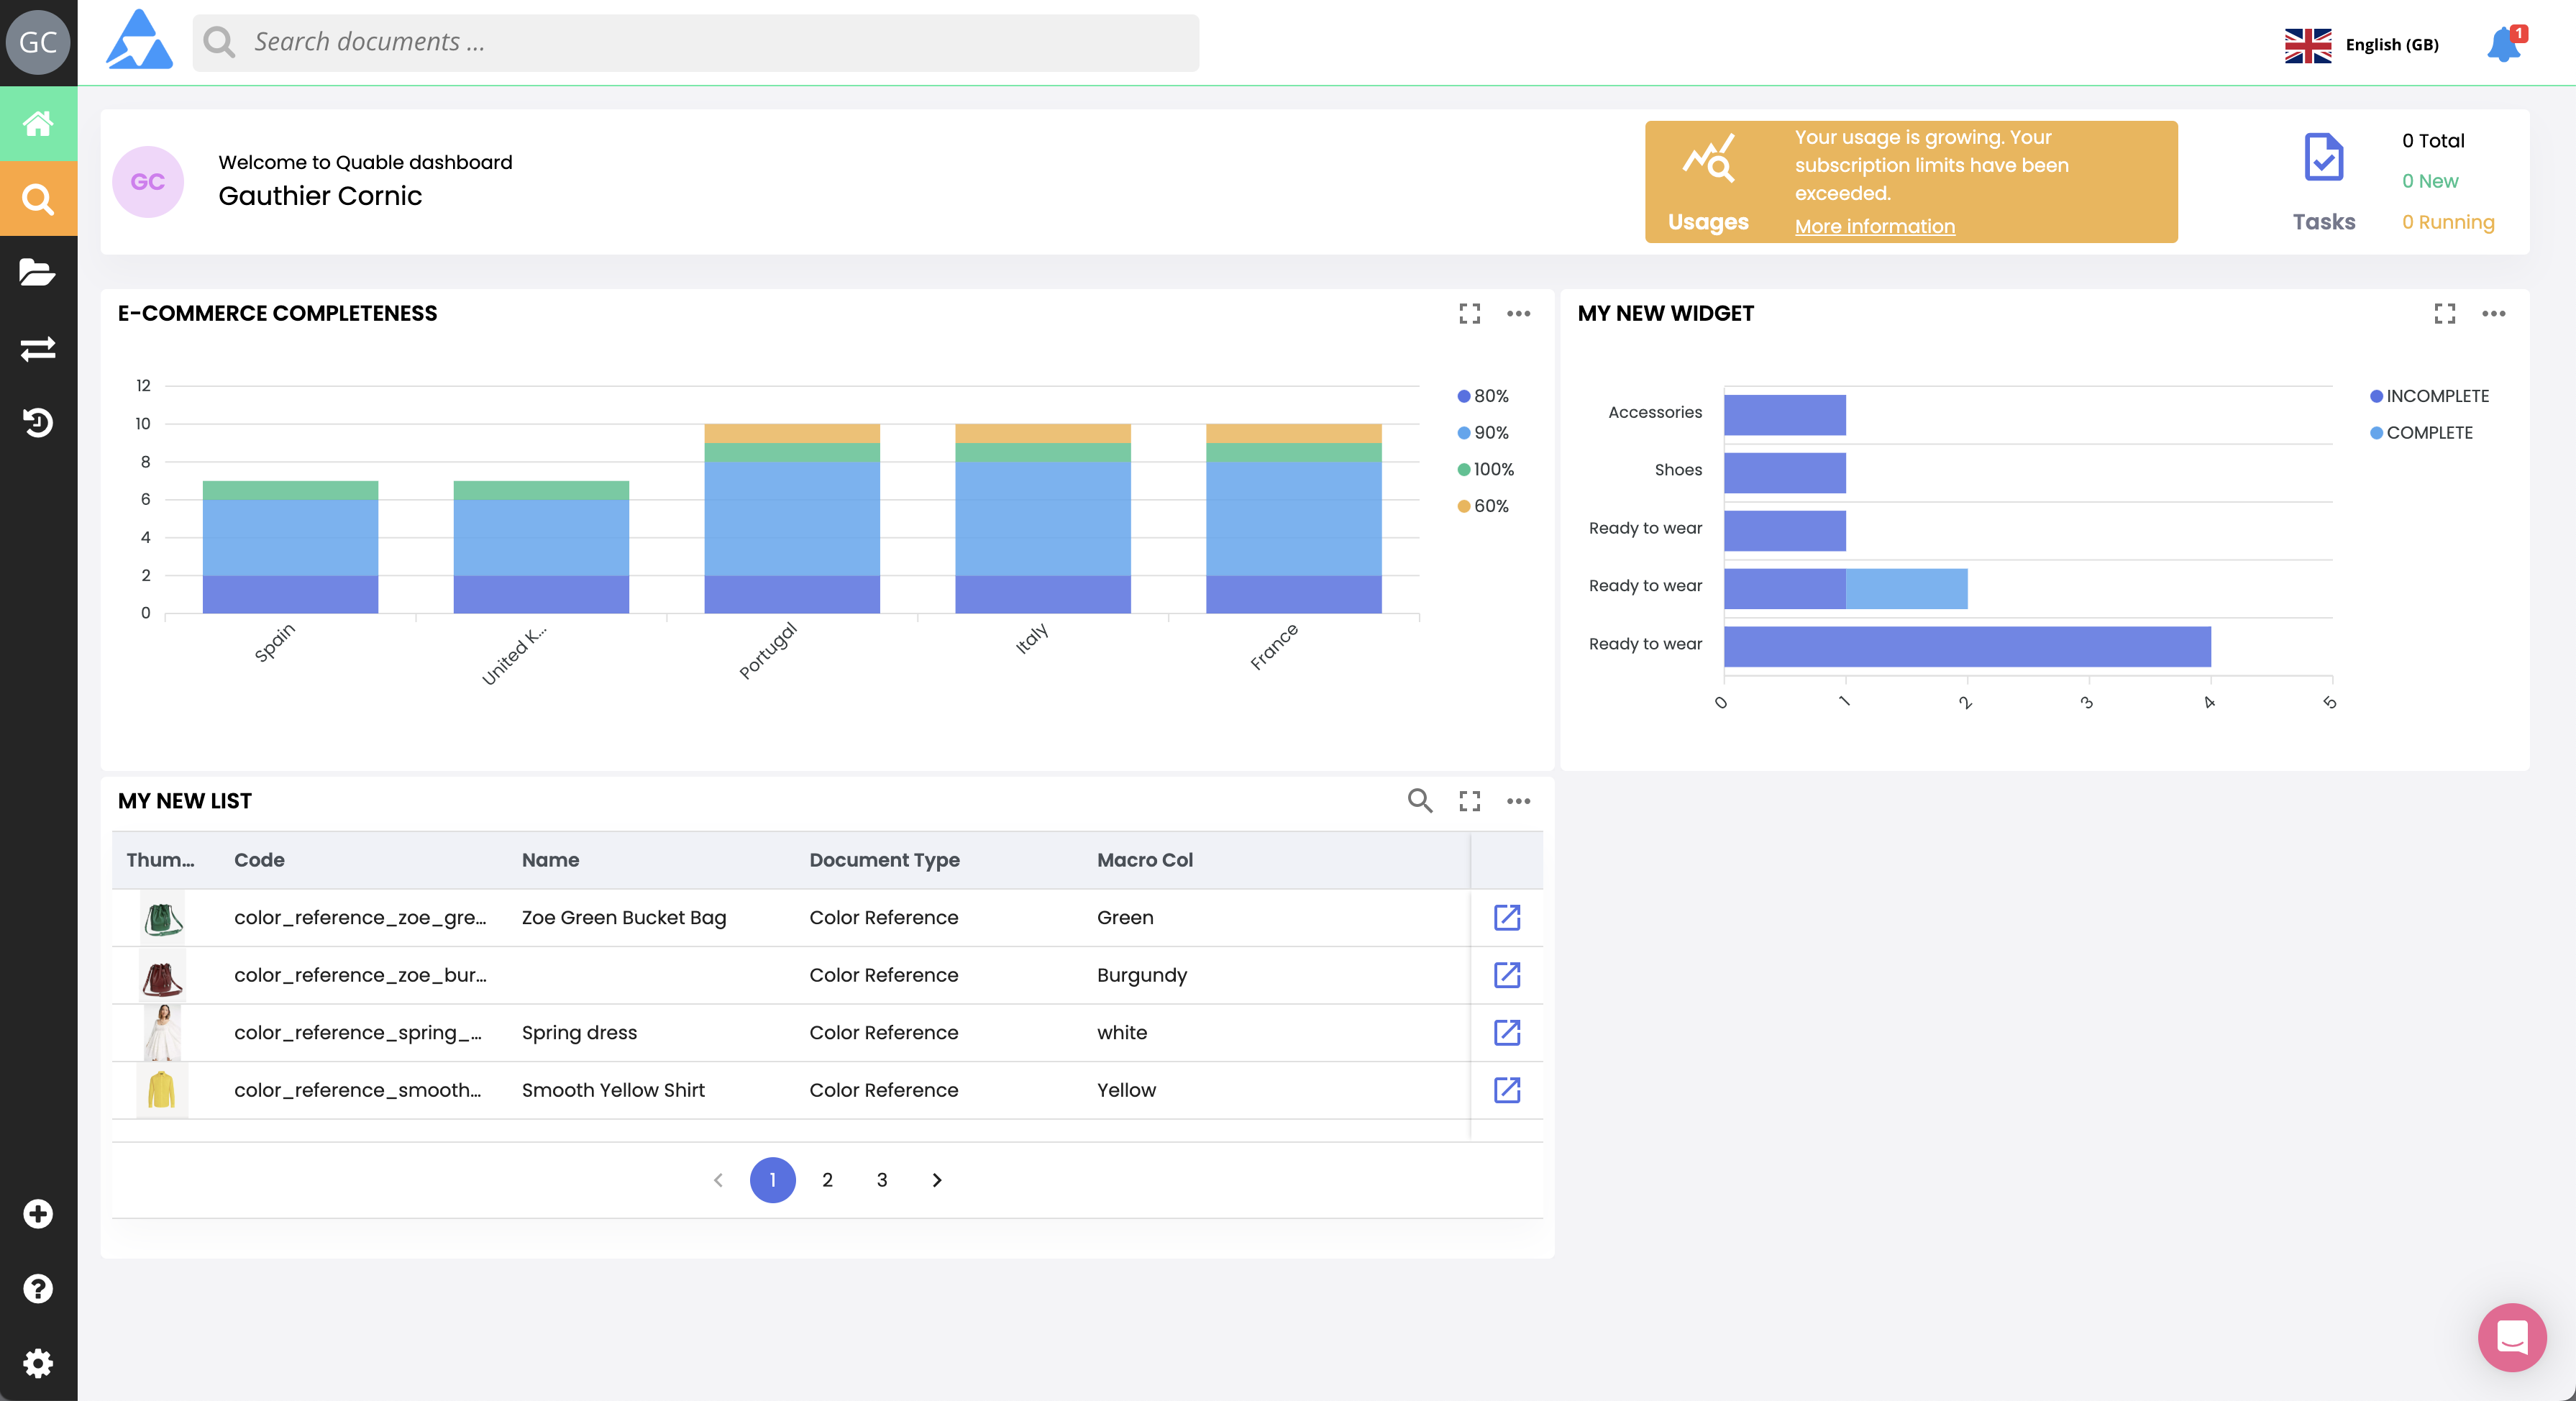
Once your widget is created, it will automatically appear on your PIM dashboard.
- Number of widgets: You can add as many widgets as needed. However, to ensure good performance, we recommend not exceeding 20 widgets on the dashboard.
- Organization: Easily modify the order of widgets on the dashboard using drag-and-drop.
- Automatic updates: Widgets are dynamic. The displayed information automatically updates as product records are enriched.
a. List Widget
The list widget allows you to quickly access product records.
- Double-click on an item in the list to open the record in the same tab.
- Or click the Open icon at the end of the row to open it in a new tab.

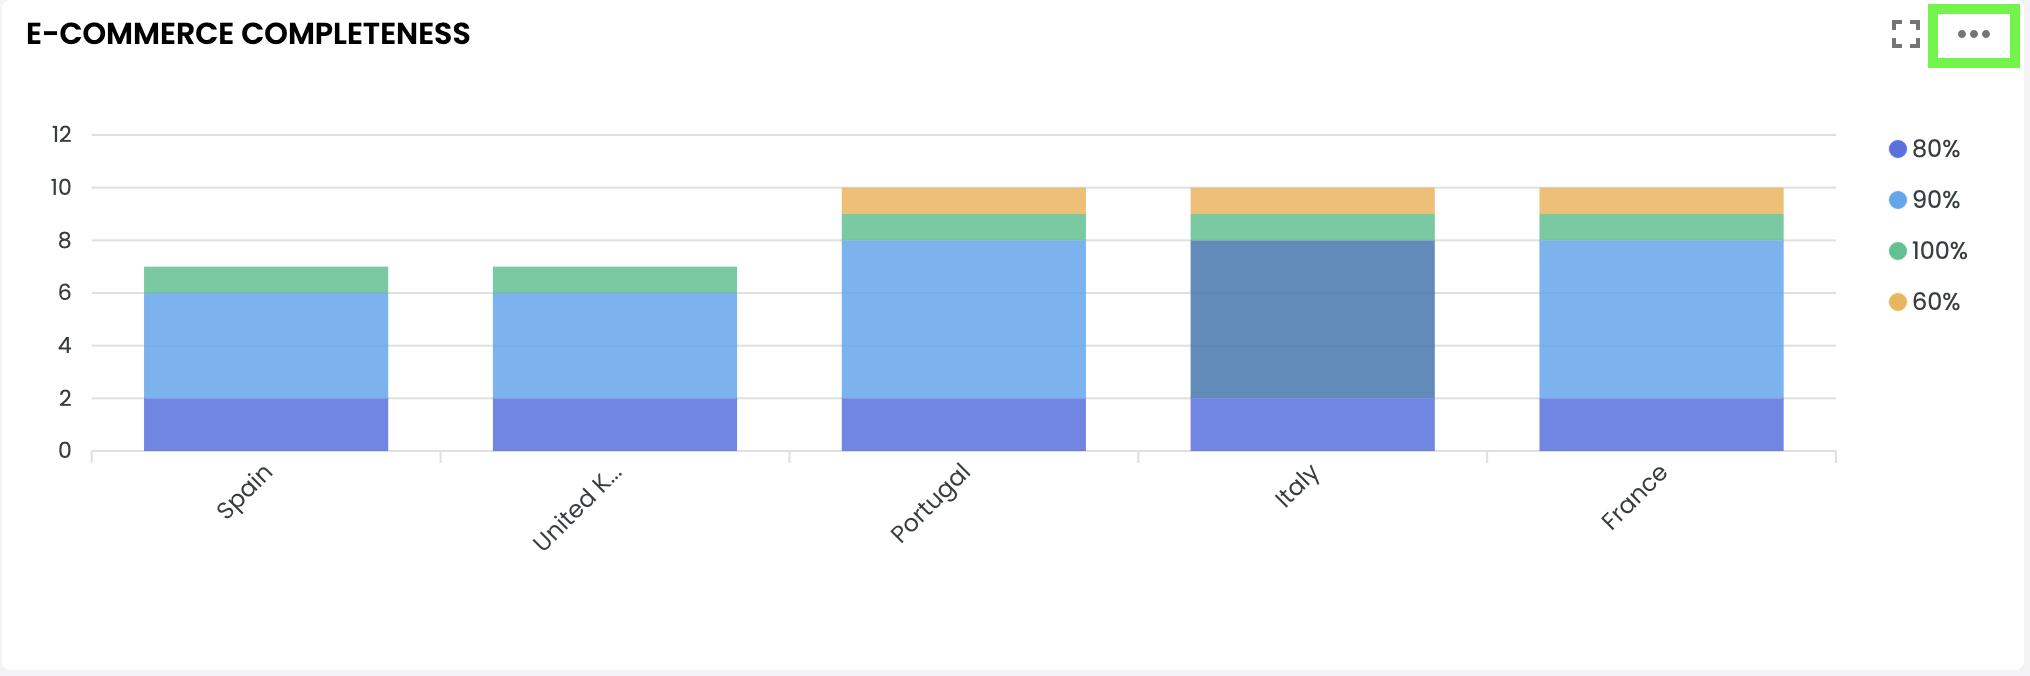
b. Graph Widget
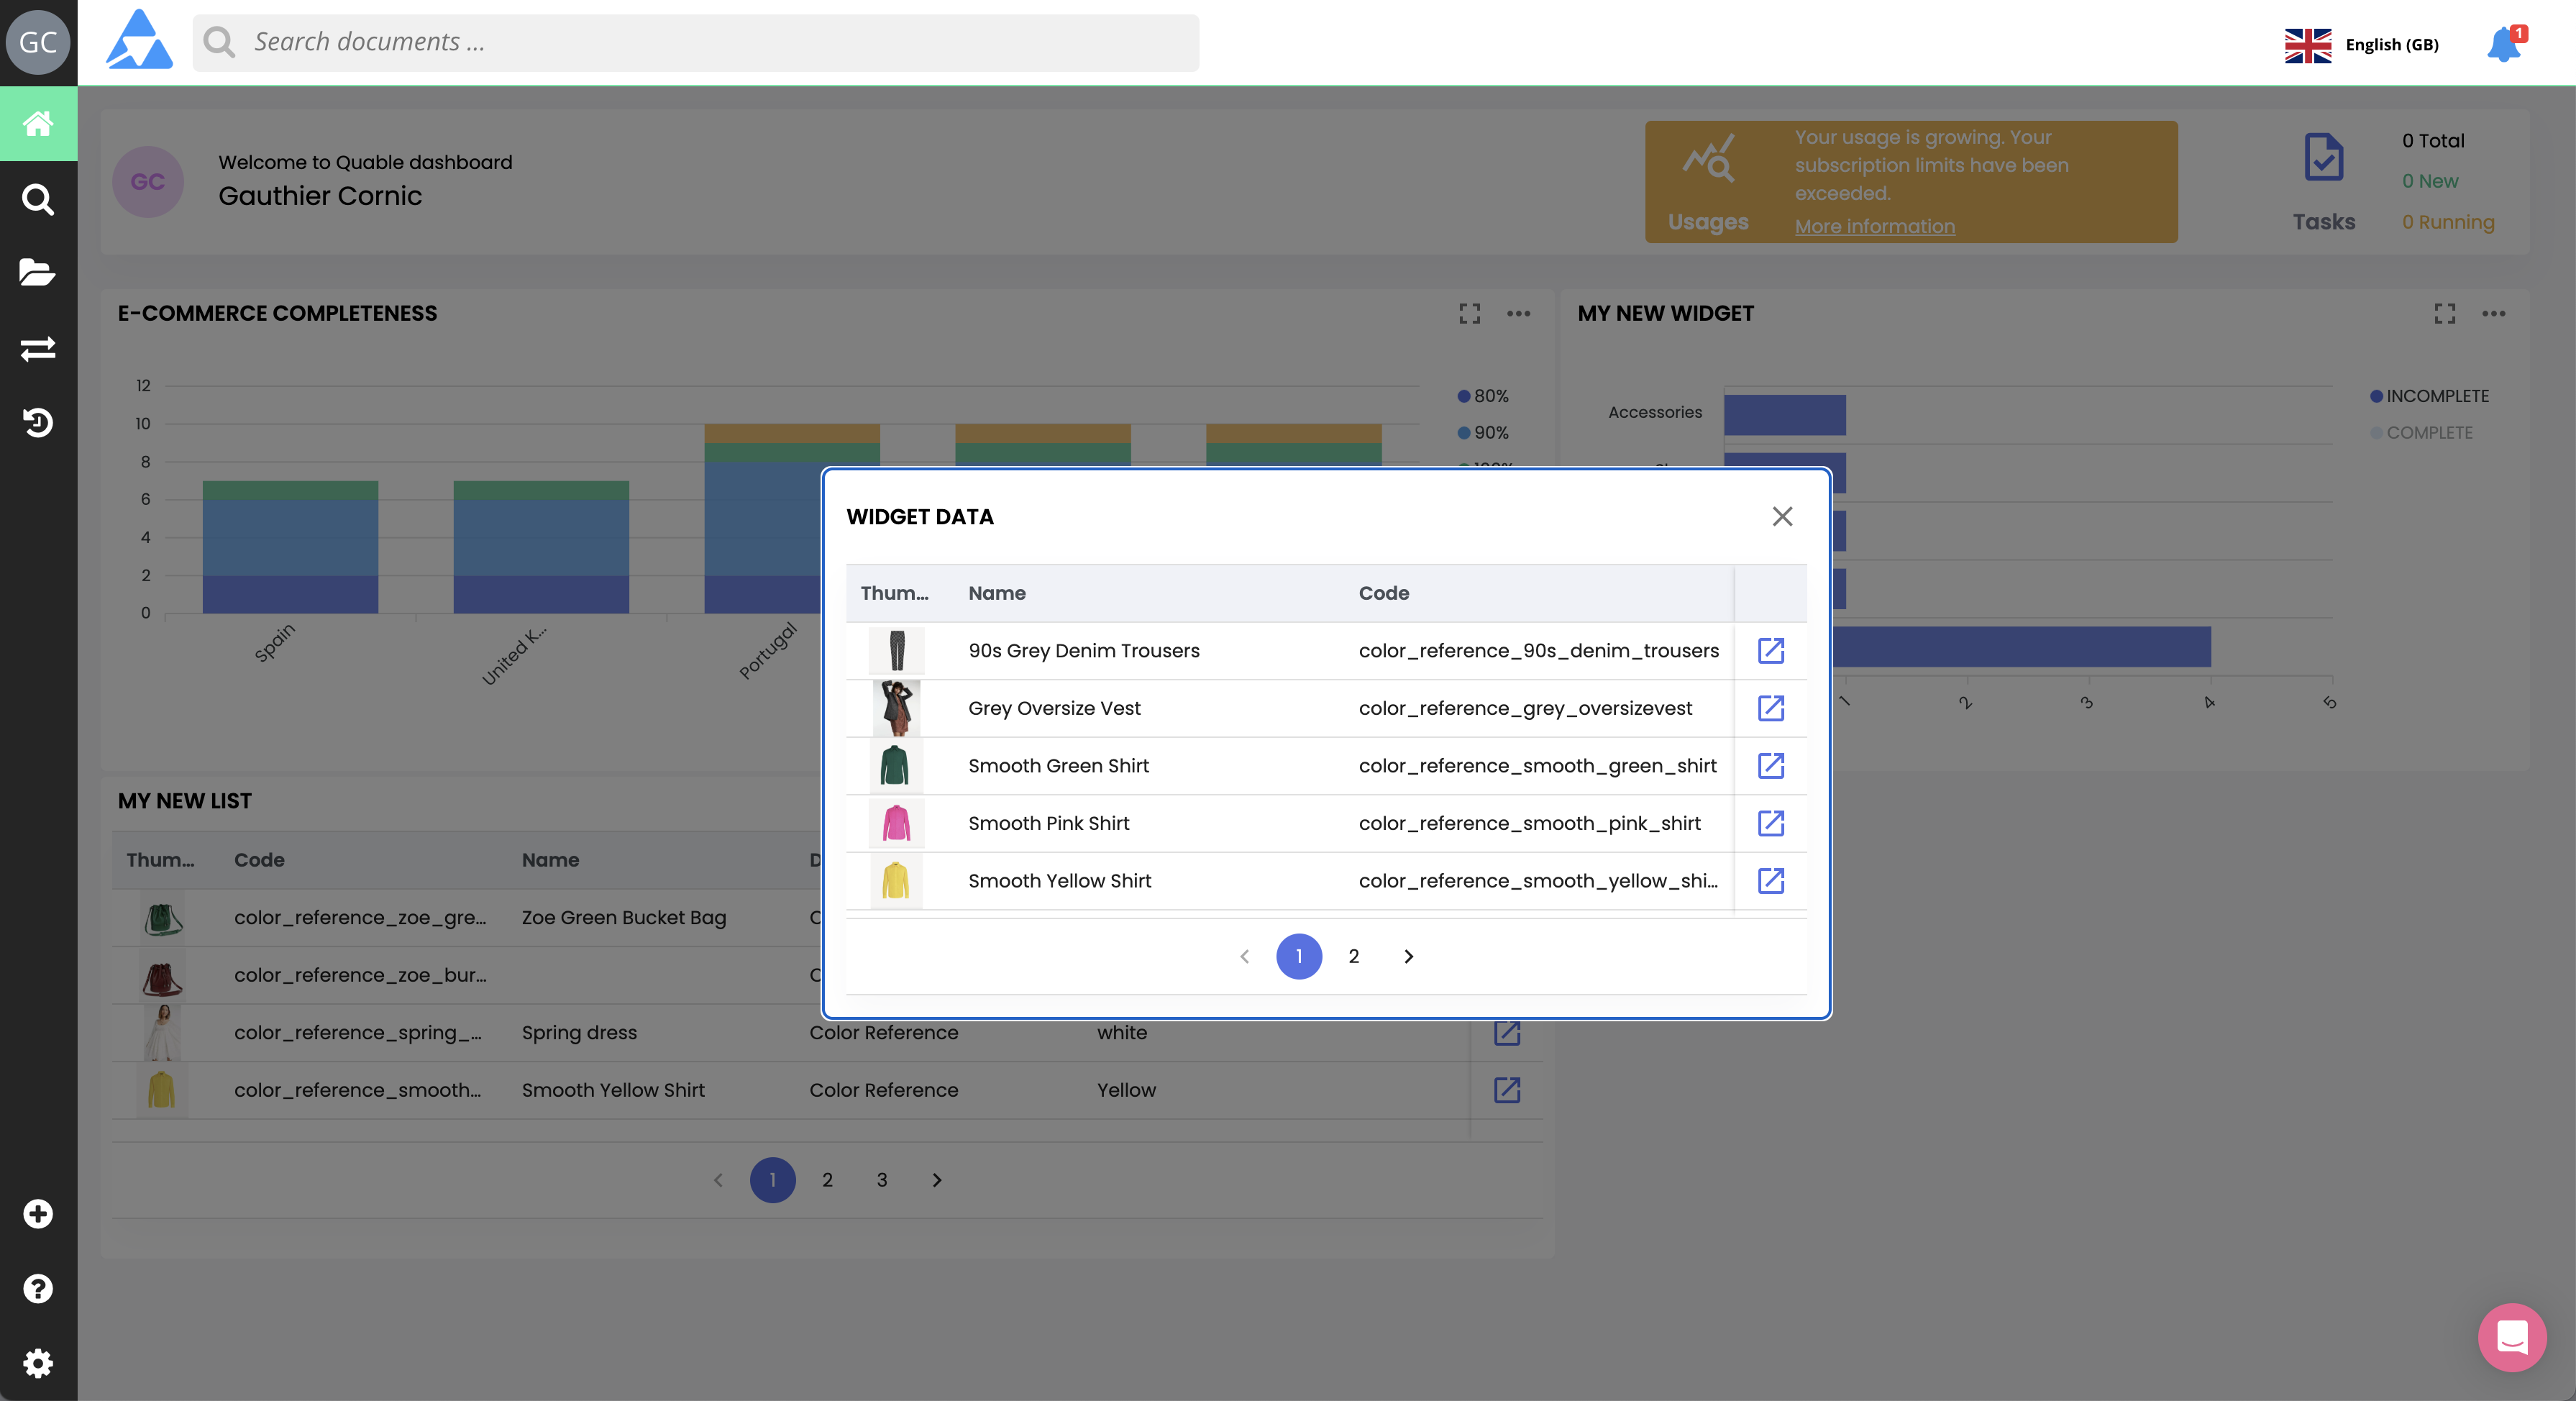
The graph widget provides a visual representation of your data and includes interactive options:
- Interact with the graph: Click on a block in the graph to display a detailed list of associated product records. This list works like the list widget described above.
-
Interact with the legend:
-
Hover over an item in the legend to highlight the corresponding block in the graph (here 100%).
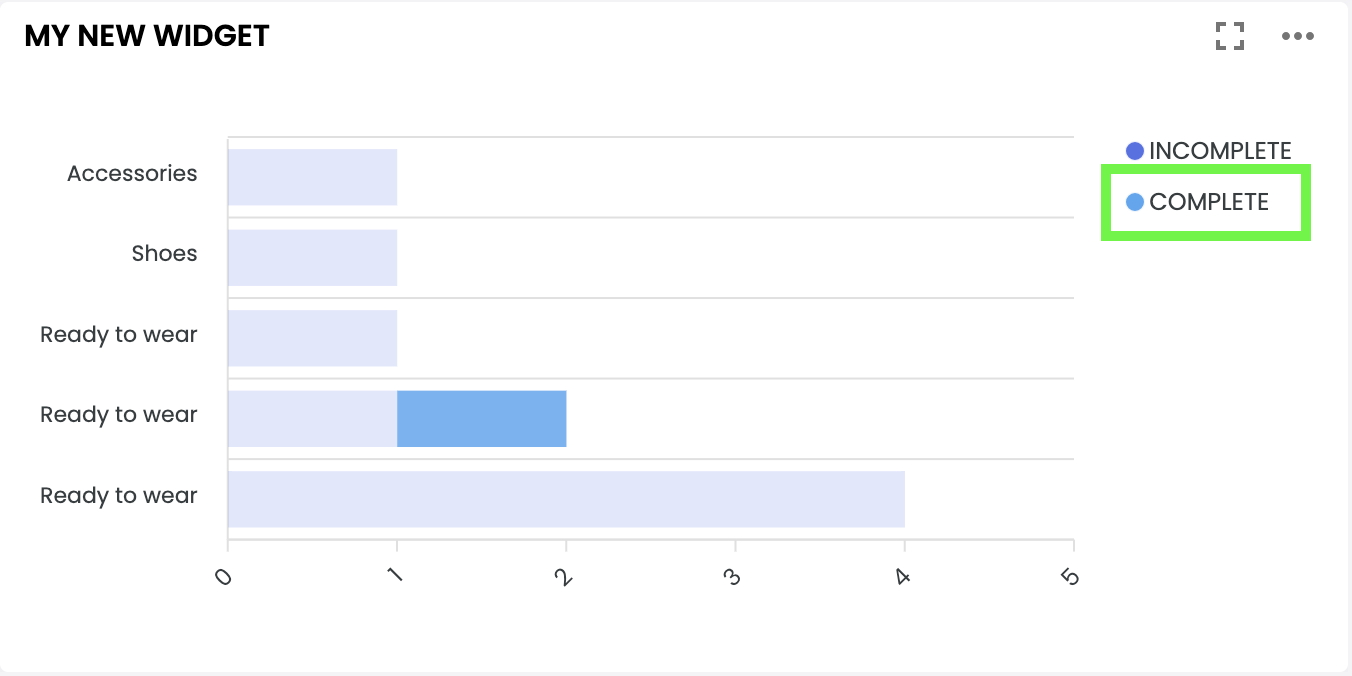
-
Click an item in the legend to hide it in the graph (here 100%).
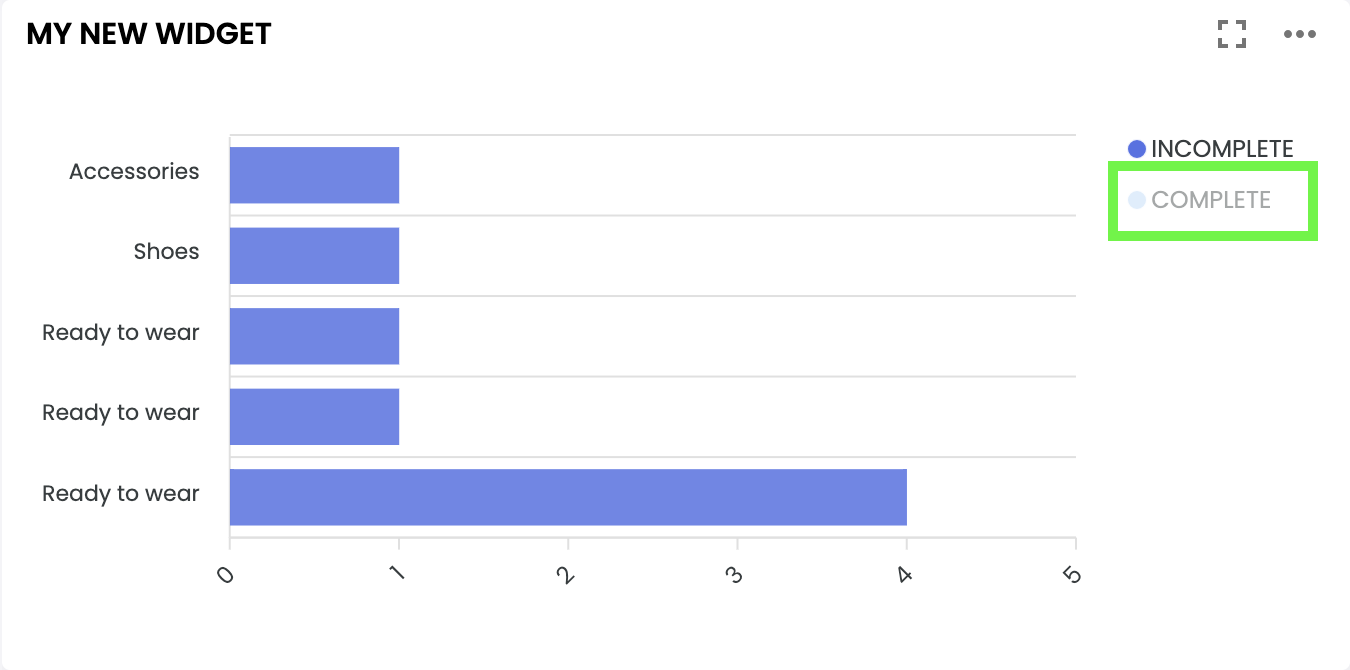
-
2. Manage Widgets
Now that you know how to create and use customized widgets tailored to your business needs, let’s explore the different actions you can perform on widgets directly from the Dashboard.
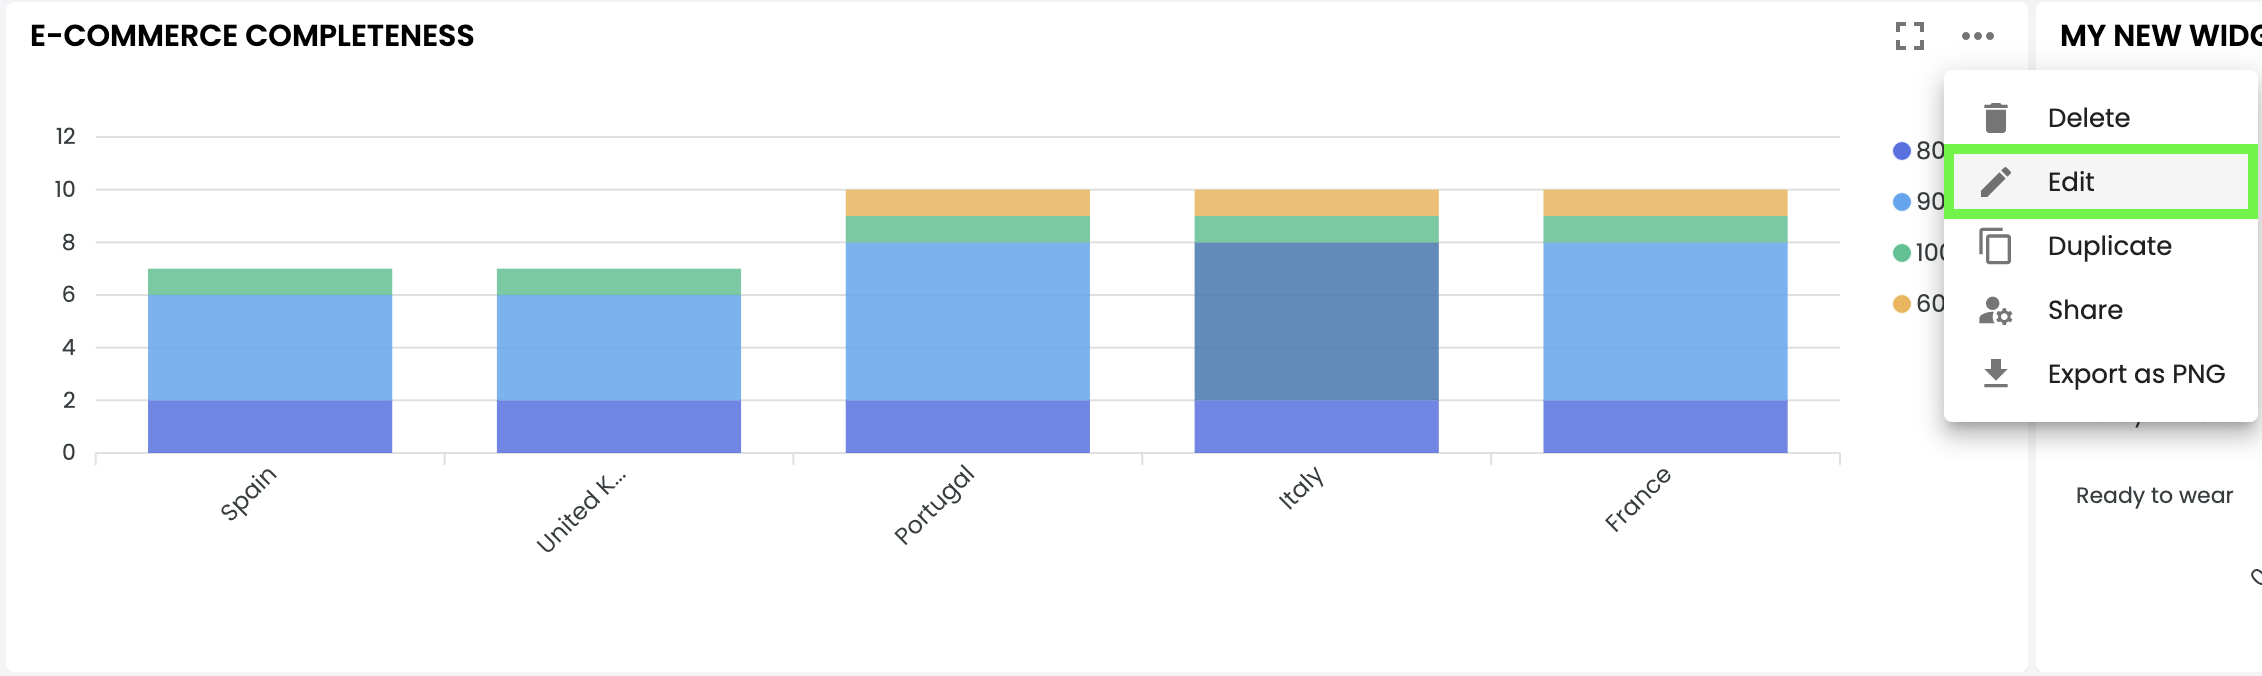
The … in the top right corner of a widget provides access to these actions. Let’s go over the available options.
a. Edit a Widget
Click Edit to reopen the widget configuration window. You can adjust all the settings defined during its creation.
- Change the graph type: If the initial graph type (e.g., a bar graph) is no longer suitable, select another format that fits your needs.
- Adjust displayed data: Modify the data used by the widget if the initially configured data (such as the completion rate) is no longer relevant.
- Rename the widget: Redefine the widget’s name as per your preferences. You can also translate the widget name into different languages: switch to another interface language first, then rename the widget before saving to personalize its name in each language.
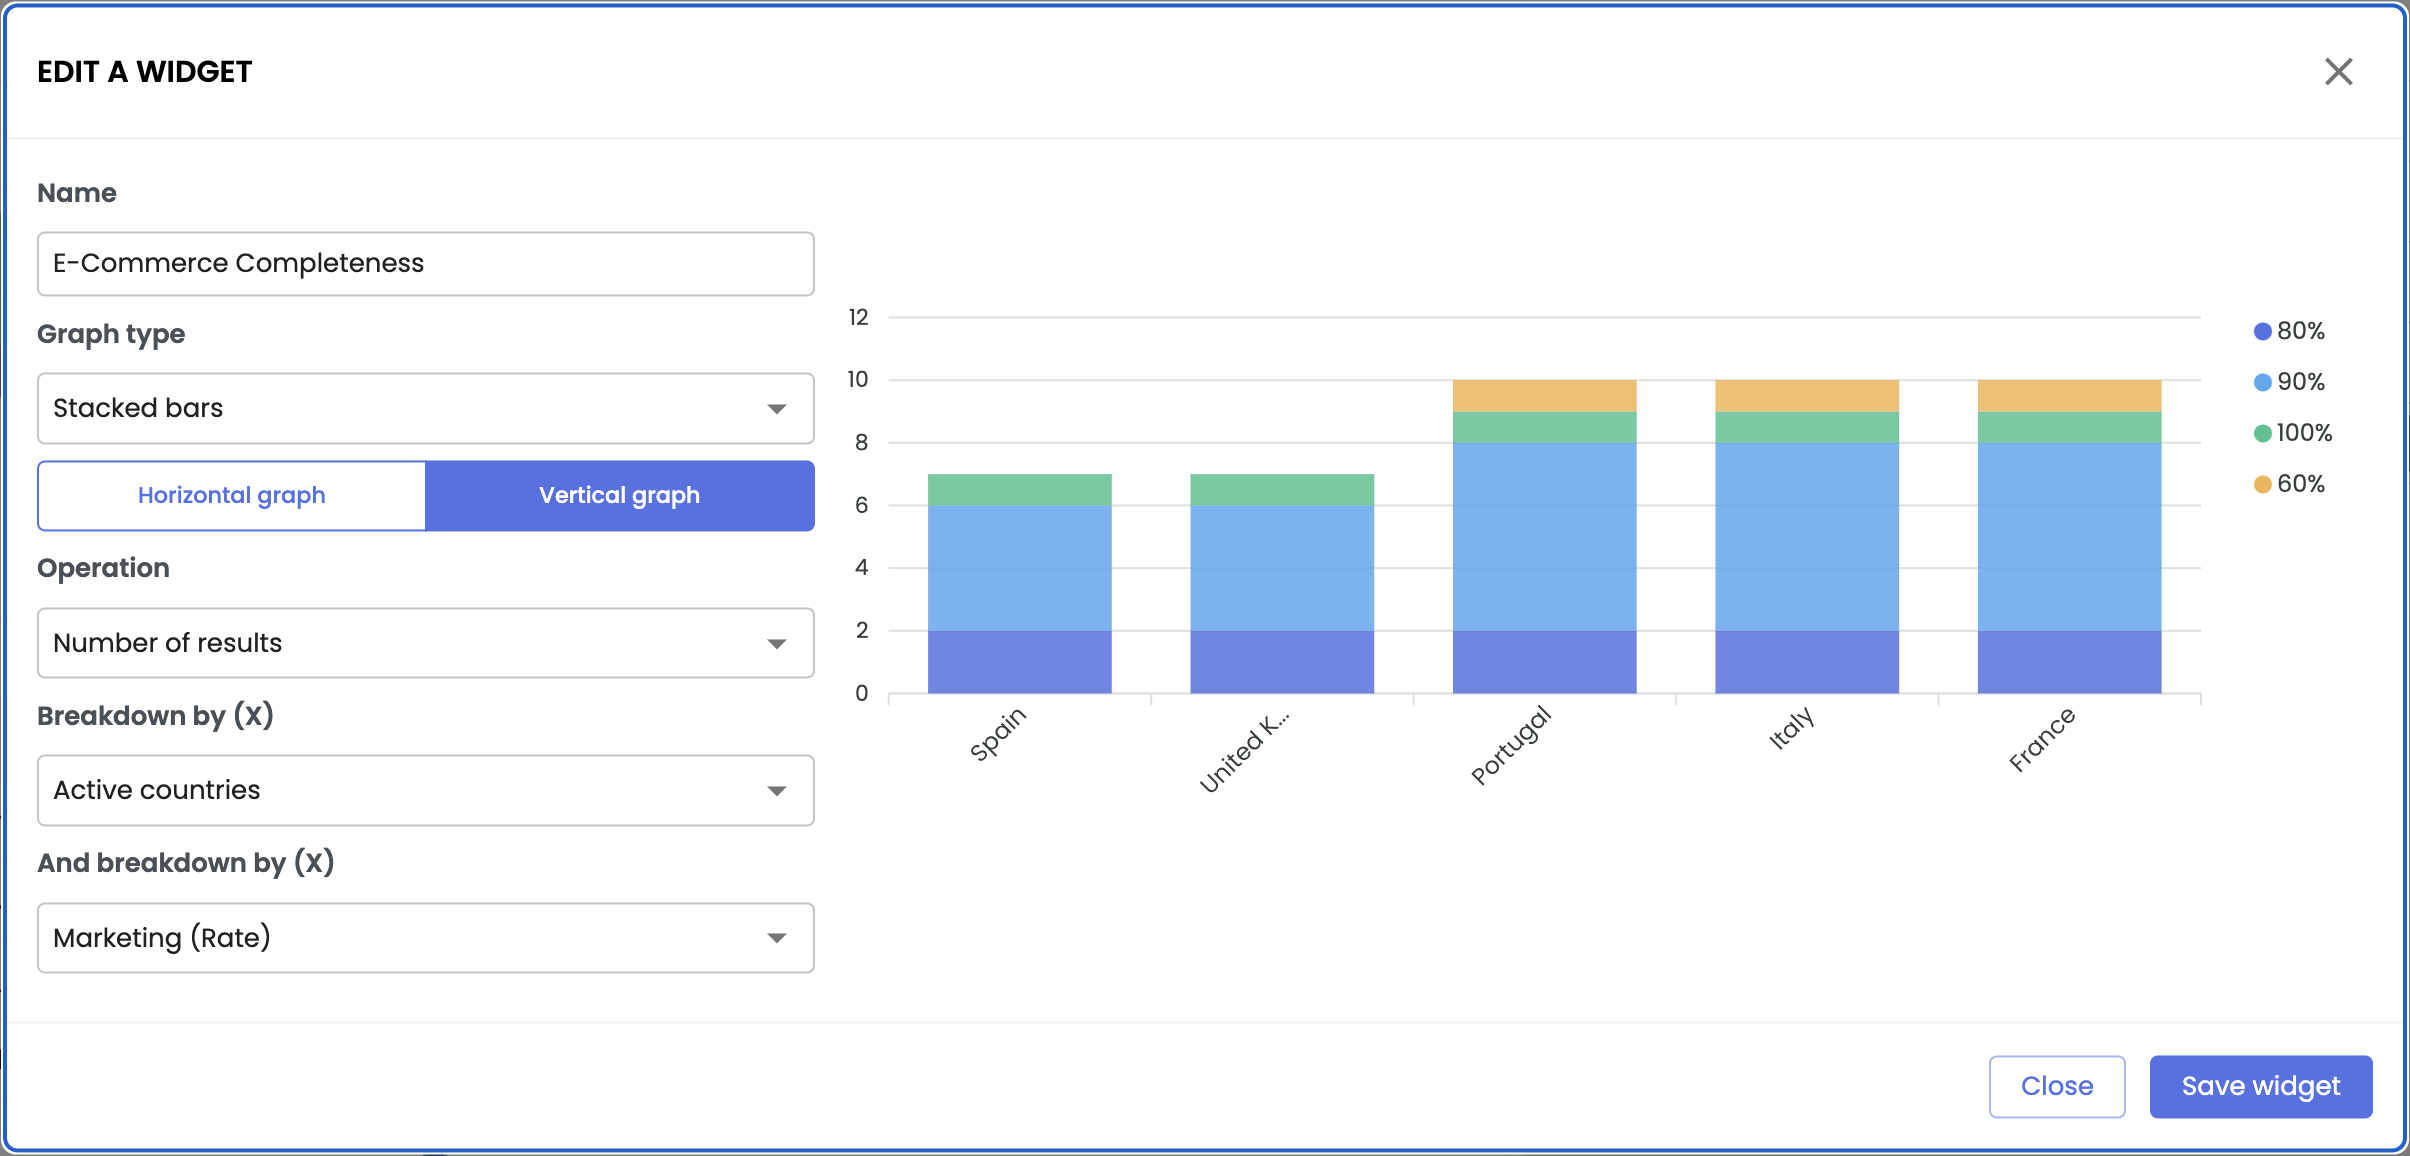
Once you finish your modifications, click Save Widget to apply them.
Good to knowIt is not possible to modify the data set (the set of product records) defined in the Advanced Search page on which the widget is based. If you need to base your widget on a different data set, create a new widget from the Advanced Search.
b. Duplicate a Widget
Use the Duplicate action to create an exact copy of an existing widget. The duplicated widget will have the same name as the original, followed by COPY. It will automatically be placed at the bottom of your Dashboard.
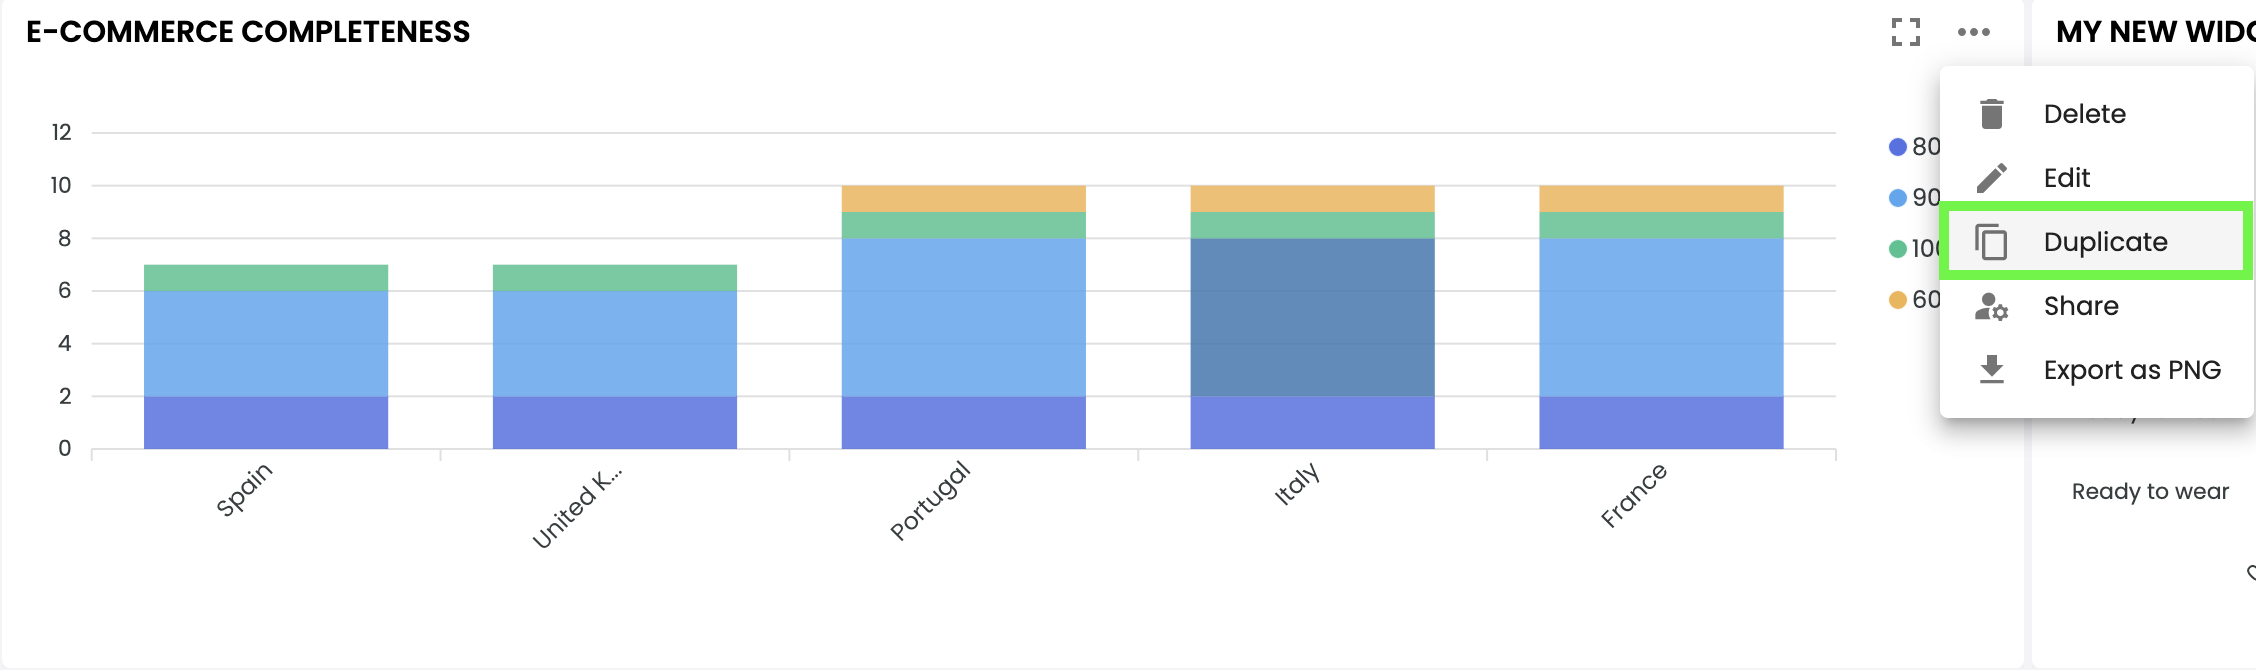
Why duplicate a widget? To save time! Instead of recreating a widget from scratch via the Advanced Search page, you can duplicate an existing widget and edit it to suit your needs.
Reposition the widget on the Dashboard after duplication: move the new widget to the desired location by dragging and dropping it directly onto the dashboard.
Good to knowThe product data set of the duplicated widget is identical to that of the original. It cannot be modified.
c. Share a Widget
Use the Share action to copy an existing widget to another user’s dashboard who has a user account on the PIM. This feature is especially useful for administrators, advanced users, or business leads.
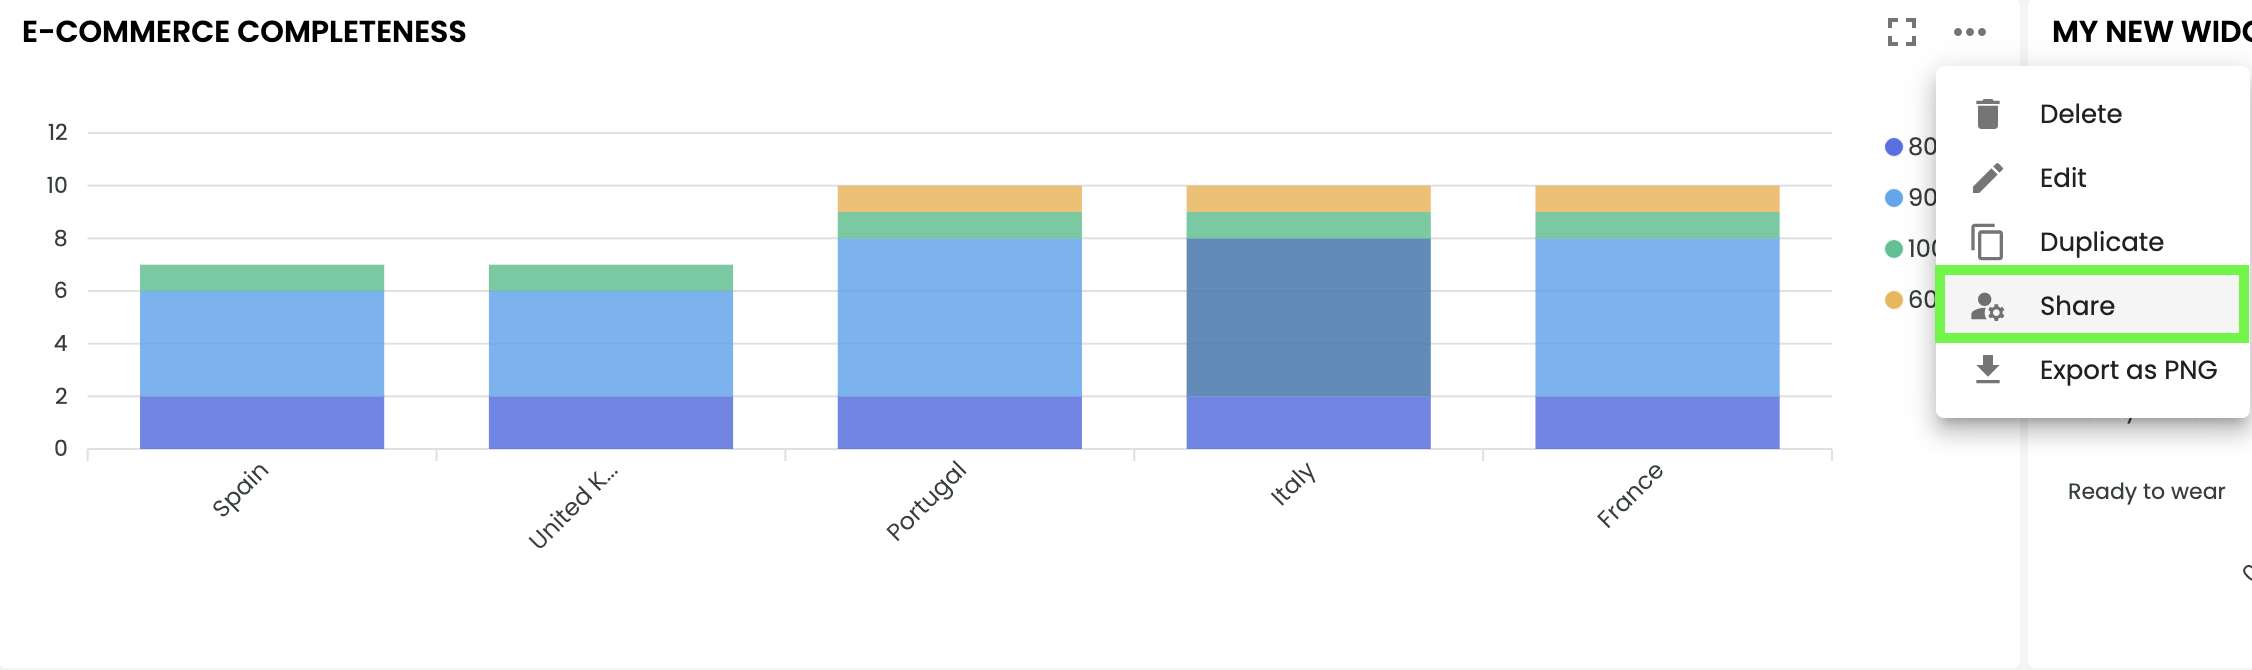
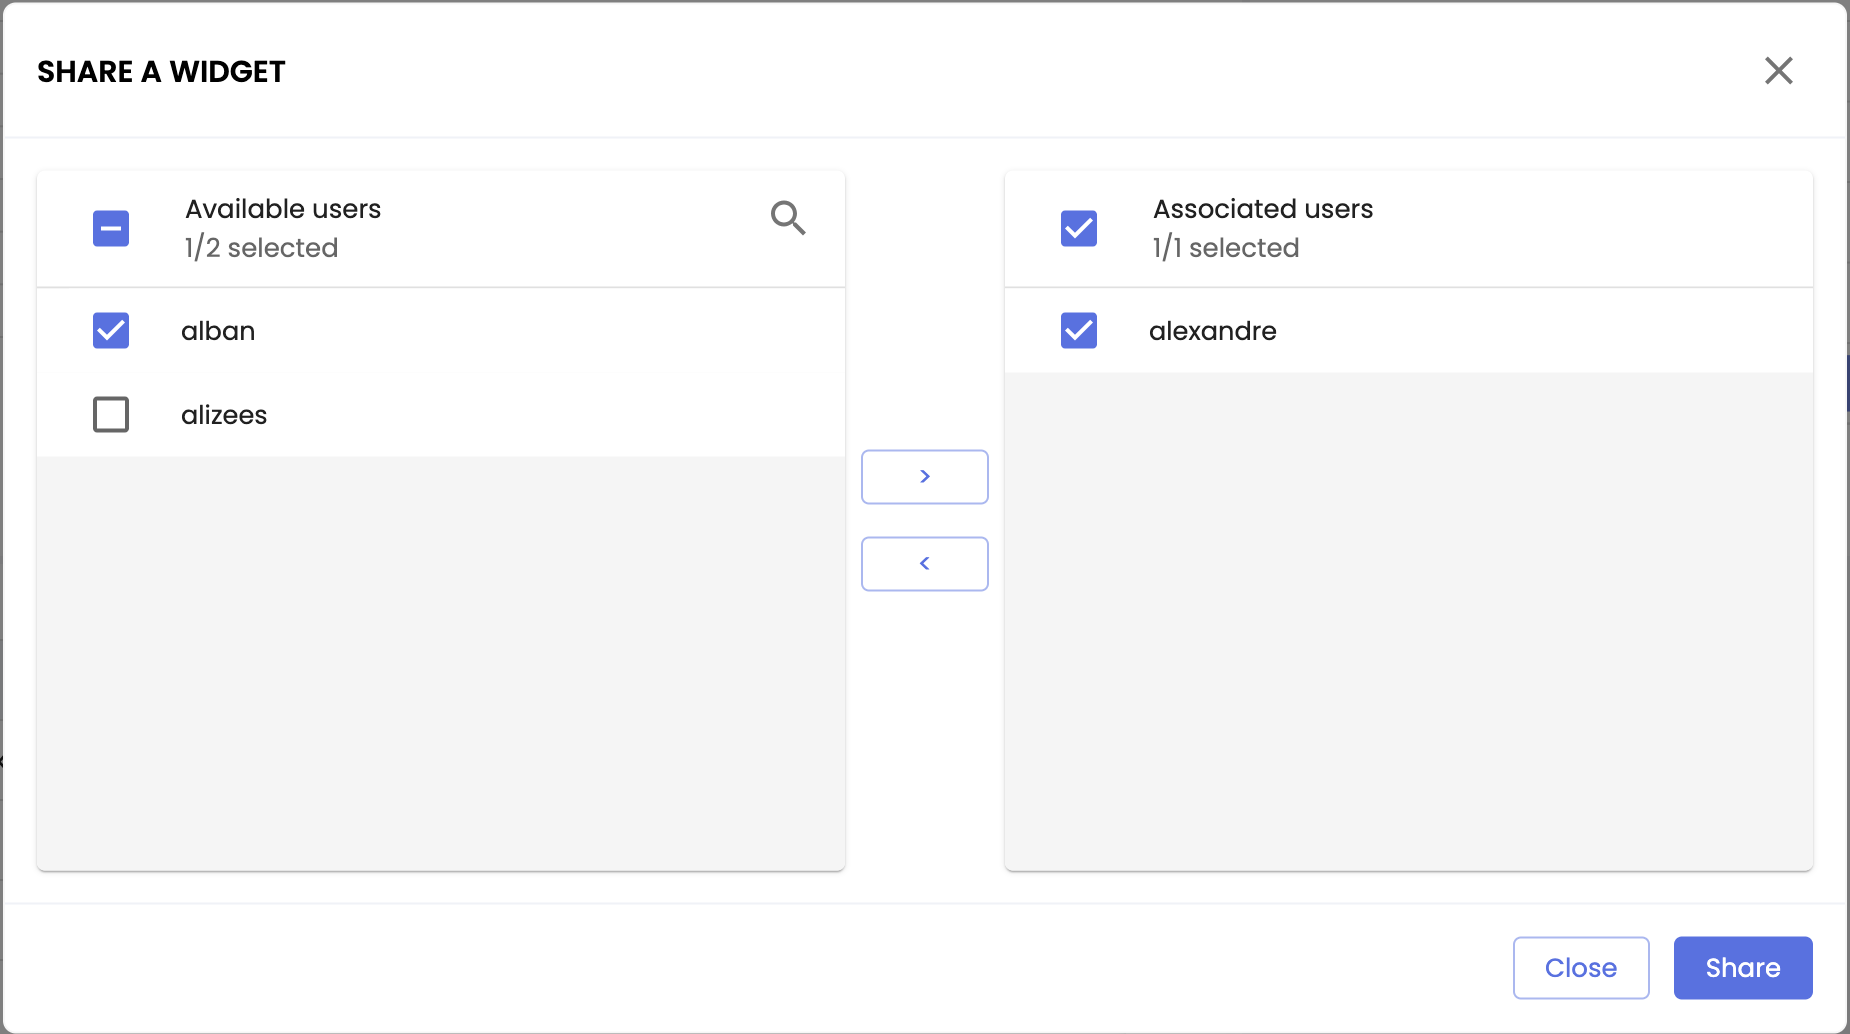
- Click Share
- Select the user accounts to share the widget with by checking the corresponding boxes, then move them from the available users section to the associated users section.
- Click Share to confirm
Create widgets tailored to the specific needs of teams and share them directly on the dashboards of the relevant collaborators. They can then view the essential data for their business area from their own space, without even having to create the widgets!
Good to know
- Once shared, the widget becomes independent on the collaborators’ dashboard. Any modifications made to the source widget will not be reflected on the shared copies.
- The reverse is also true: changes made to the shared copies of a widget will not be reflected on the source widget.
d. Other Actions
- Export a widget: Select the Export as PNG option to generate and download a snapshot of the widget in PNG format, reflecting its current state. This feature is ideal for including visuals of your data in reports or presentations.
- Delete a widget: Use the Delete action to permanently remove the widget from your dashboard. Please note that this operation is irreversible.
Summary
- Using widgets:
- Widgets allow for quick and efficient management of product sheets through direct actions from the dashboard.
- Widget data updates dynamically as product sheets are enriched.
- List widget: Quickly access product sheets by double-clicking or using the Open icon.
- Graph widget: Click on blocks to display associated sheets or interact with the legend to highlight or hide elements.
- Actions available on widgets:
- Edit: Modify the graph type, displayed data, or widget name. Note that you can translate the widget name by switching the interface language before renaming it.
- Duplicate: Save time by copying a widget, adapting it, and then repositioning it on the dashboard. Note that the product sheets of a duplicated widget remain the same as the original.
- Share: Transfer a widget to another user's dashboard to facilitate team collaboration. Note that widgets become independent after sharing.
- Export: Download a widget as a PNG image for reports or presentations.
- Delete: Remove a widget permanently (irreversible action).
- Best practices:
- Display a maximum of 20 widgets on the dashboard for optimal performance.
- Organize widgets by dragging and dropping on the dashboard.
Next Chapter
🎉 Congratulations! You have completed the "Control Data Quality" module. Continue your learning by exploring the next module in the Contributor Training.
Updated 10 months ago