
Create Saved Search Lists for Distribution
Save, edit, or delete a dynamic selection to create standalone lists within distribution channels.
Learning objectives
- Understand the difference between a manual selection and a dynamic selection.
- Master individual item addition and dynamic selection creation using filters.
- Automate the distribution of products or assets without manual intervention.
- Manage and optimize your catalog within classifications.
1. Create a Manual Selection
Manual mode is ideal when your selection does not follow a strict logical rule, but rather a precise editorial or marketing choice.
-
In your channel, go to the Content tab and select your classification, then go to the Content section.
-
Click the Add products button to create a new list,

-
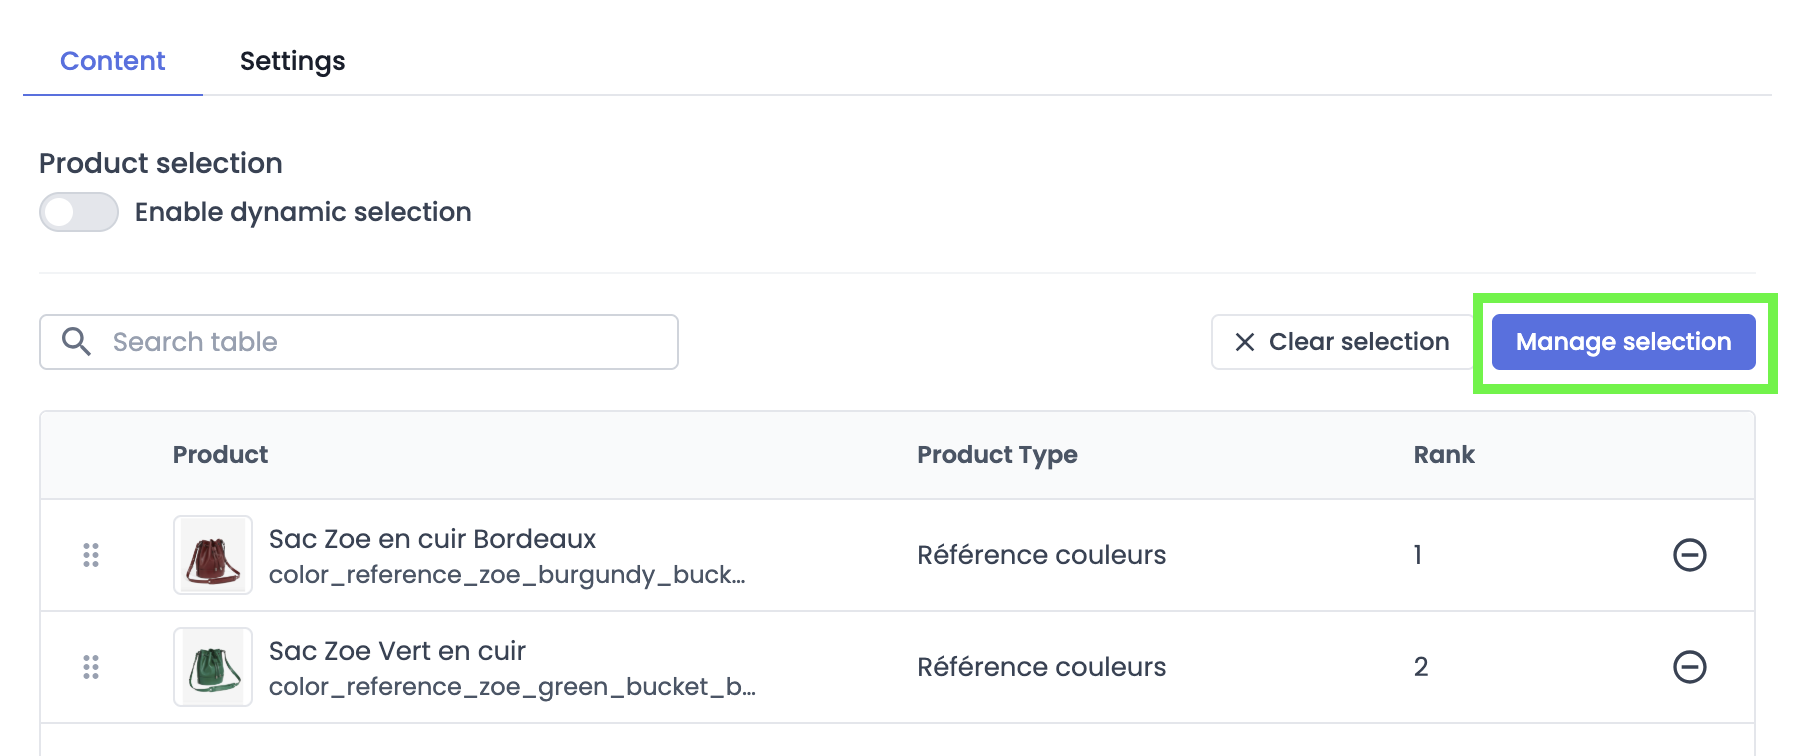
or click Manage selection to edit an existing list by adding or removing items.
-
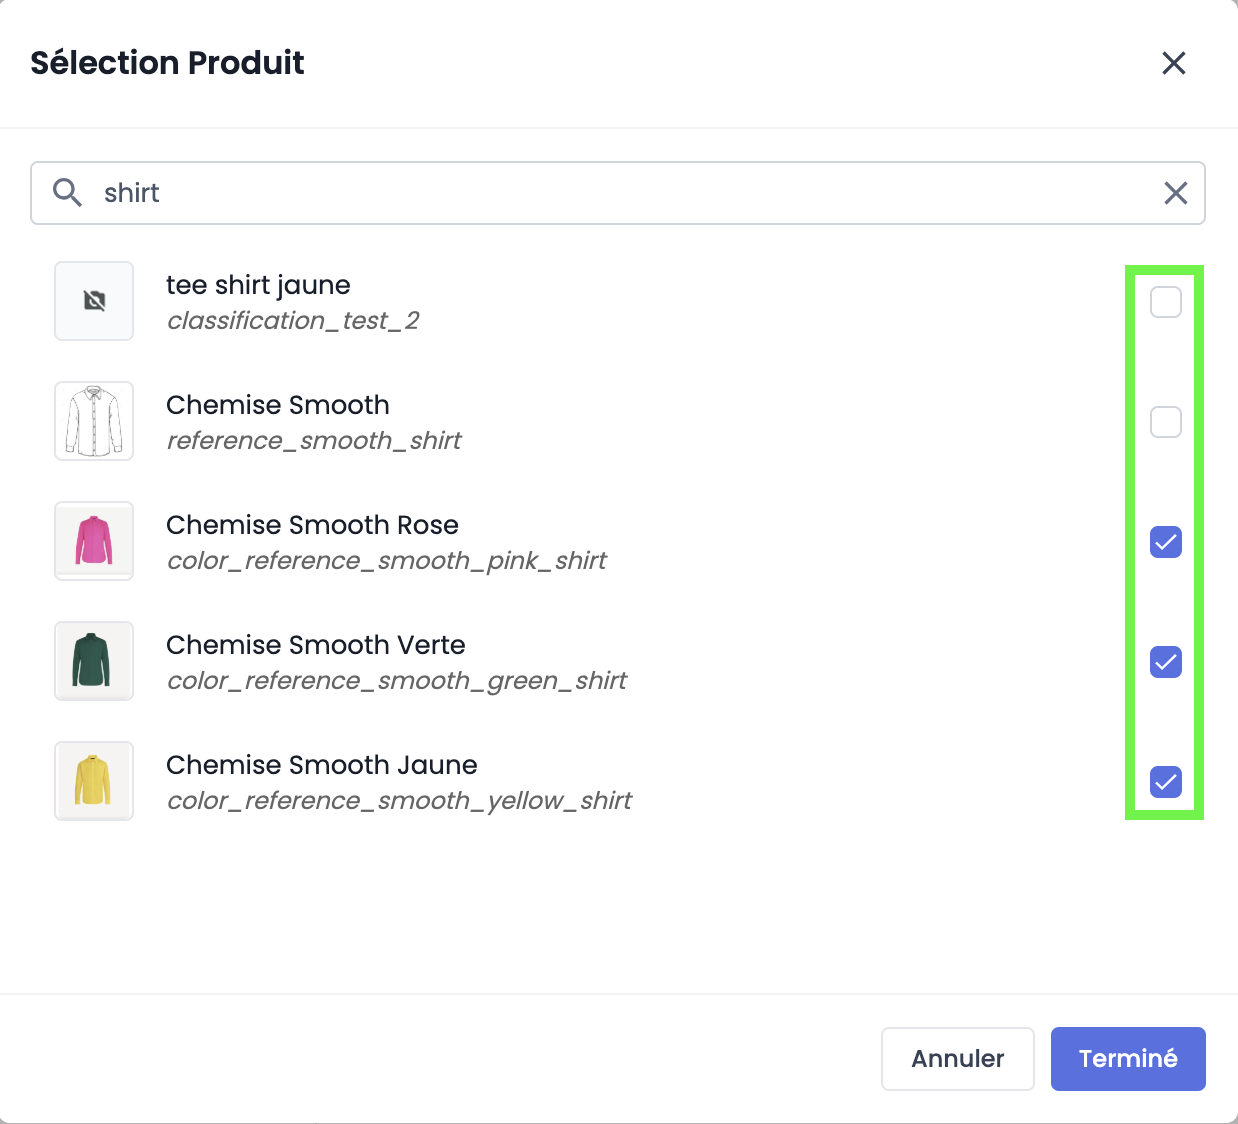
Check or uncheck products to add or remove them, then click Done.
-
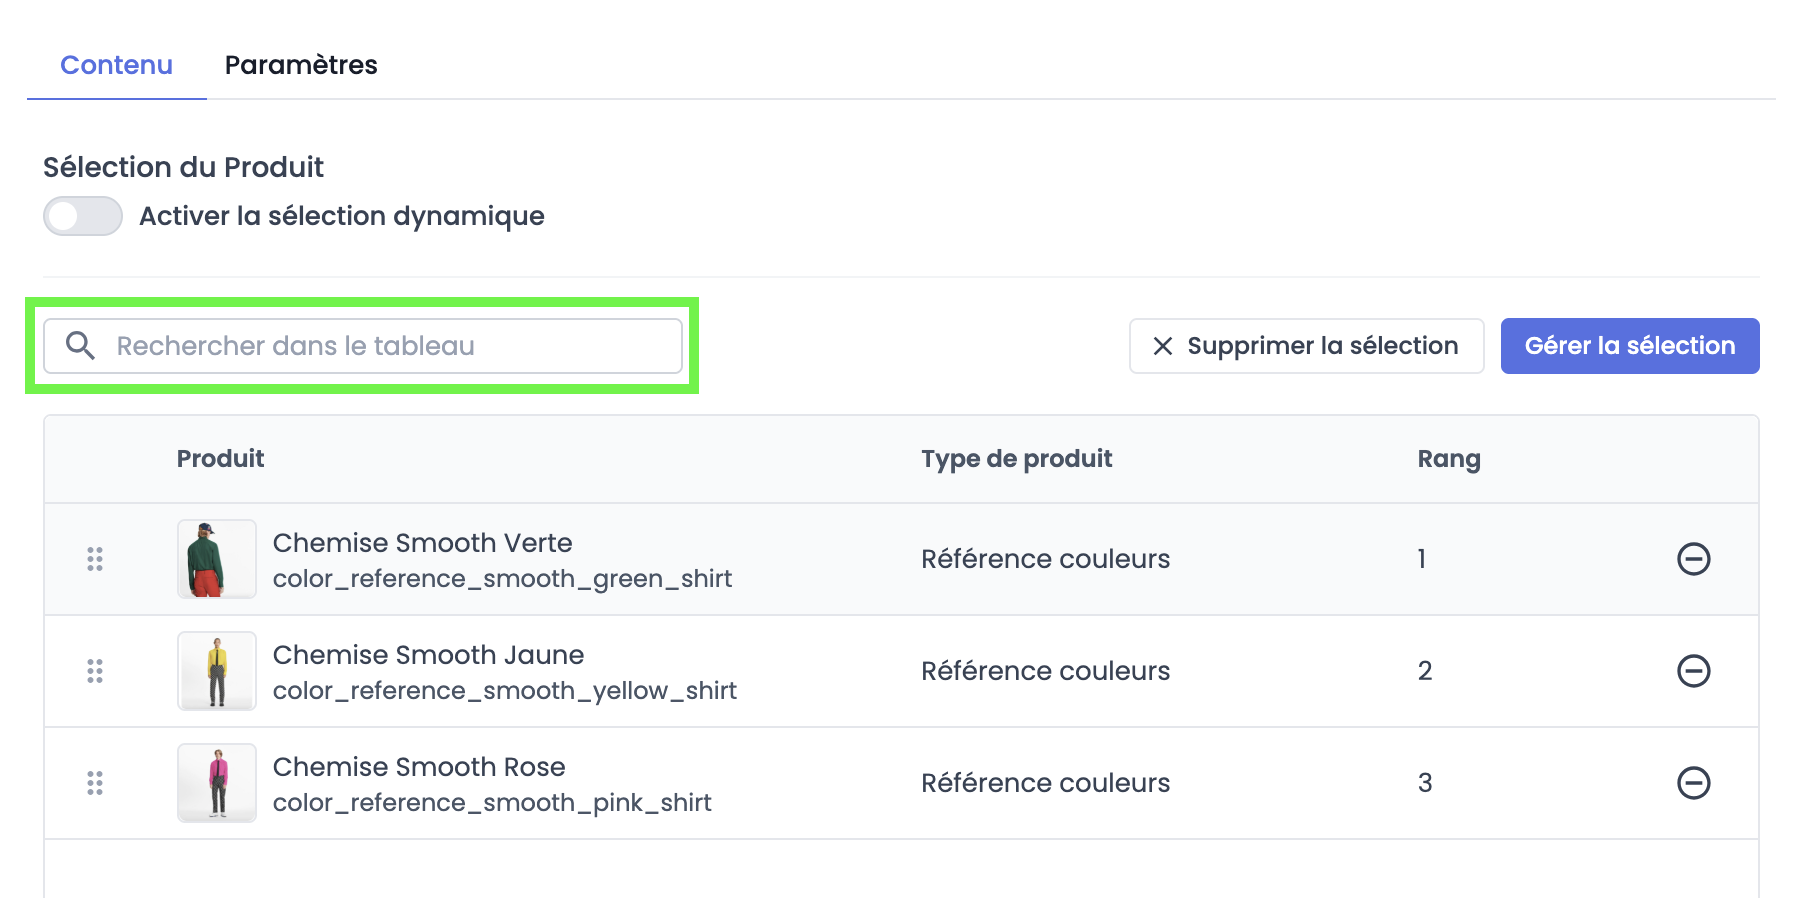
To find a specific item in your selection, use the search bar: type the first 3 characters, the name, or the code to display a content item.
Warning!If you switch from Dynamic mode to Manual (or vice versa), your current selection will be reset irreversibly.
Good to know
- Items appear in the order they are added. This order determines their position in the list.
- You can reorder items using simple drag and drop in the list.
- To remove an item, uncheck its checkbox.
- Manual selections are static: items can only be added, removed, or modified manually.
When to choose Manual mode?
Here are three situations where manual mode is particularly useful:
- Exclusivity: You create a “special selection” page. Products are not linked by a technical category, but by an editorial or marketing preference.
- VIP Launch: You need to distribute only 5 specific products for a preview launch.
- Ad hoc selection: An external channel requires a very heterogeneous assortment that does not fit into any of your standard classification rules.
2. Create a Dynamic Selection
Unlike manual mode where you pick products one by one, Dynamic mode acts as an intelligent filter: you define criteria and the system automatically returns everything that matches within a single data language.
Thanks to Saved Dynamic Selections (SDS), your distribution channels become autonomous and update according to your business rules.
How to proceed?
-
Go to the Content tab of your channel.
-
Select a node in your classification.
-
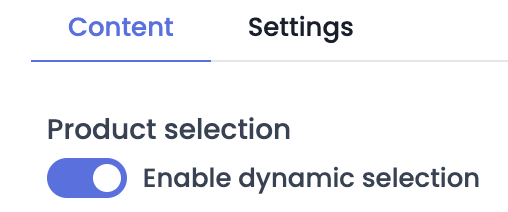
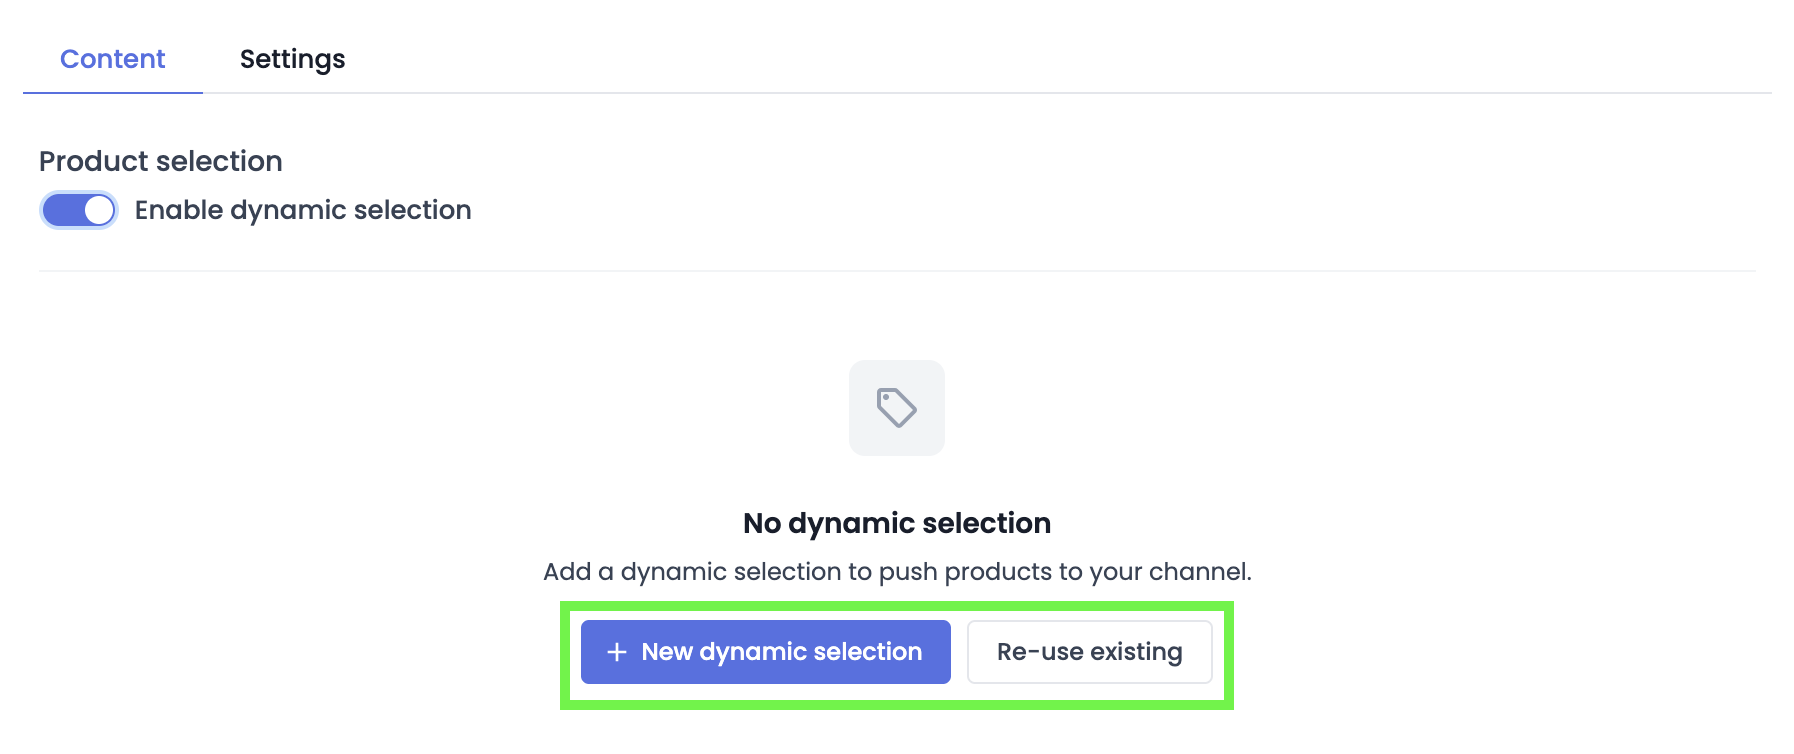
Toggle Enable dynamic selection.
-
Click New dynamic selection to create a new list (or Reuse existing items to pick from already existing selection lists).
-
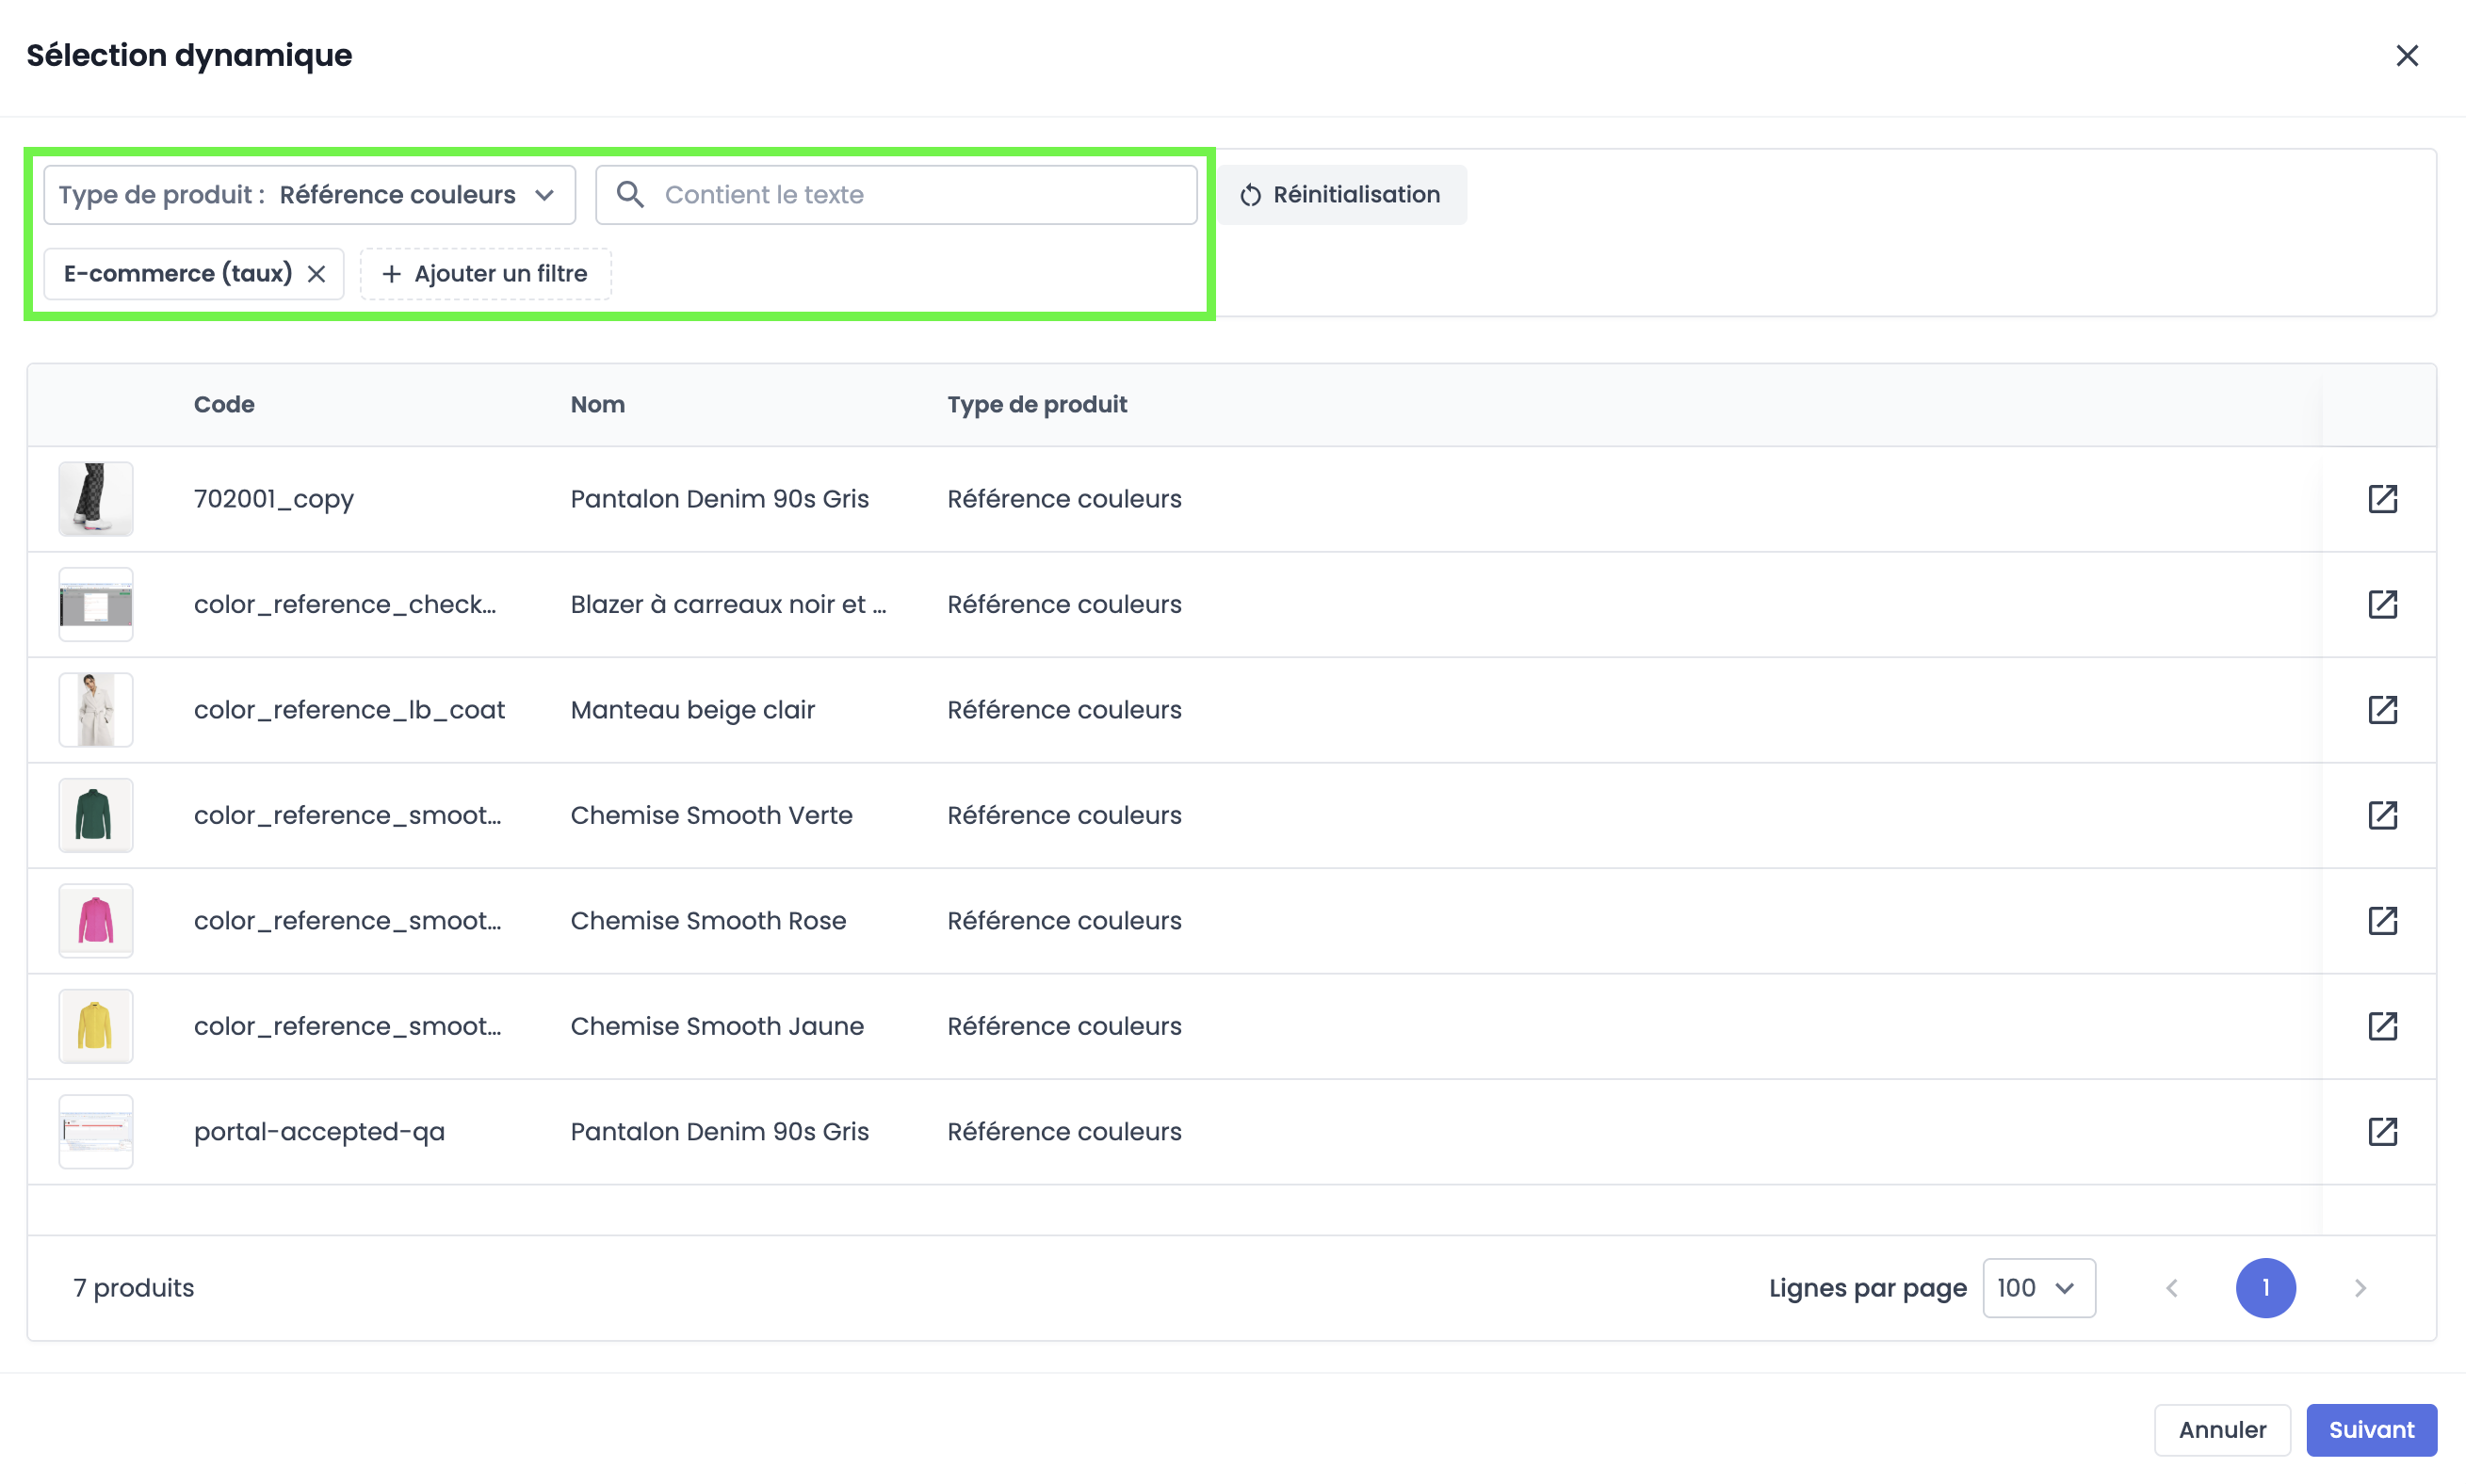
The SDS engine is based on advanced search behavior. You can combine an unlimited number of criteria to refine your distribution.
-
Object type: Choose whether you target Products or Assets.
-
Product type: Filter by family (e.g. Shoes, Electronics).
-
Combined filters: Add conditions based on your attributes (e.g. Color = Blue AND Material = Cotton).
-
Warning
- If you switch from Manual mode to Dynamic (or vice versa), your current selection will be reset irreversibly. Make sure to review your strategy before changing it!
- Within a single classification, dynamic selections can only use a single data language across all search filters.
Save a Dynamic Selection (SDS)
A dynamic selection can remain local (specific to a single classification) or become a Saved Dynamic Selection (SDS) to be reused elsewhere.
To create a reusable SDS:
-
From the home page: Click Manage Saved Dynamic Selections, then “New Dynamic Selection”.

-
From a classification: When creating a dynamic selection within a classification, enable the toggle This dynamic selection can be reused.
What is the benefit? Once saved, this rule appears in your library. You no longer need to rebuild the same filters for each channel.
-
Reuse: Use the Re-use existing button to pick from your SDS library.
-
Global update: If you modify the filters of an SDS from the central management page, the change is reflected everywhere this selection is used. This is a major time saver for catalog updates.
SDS Management and Maintenance (Edit / Remove)
The lifecycle of your selections is flexible:
-
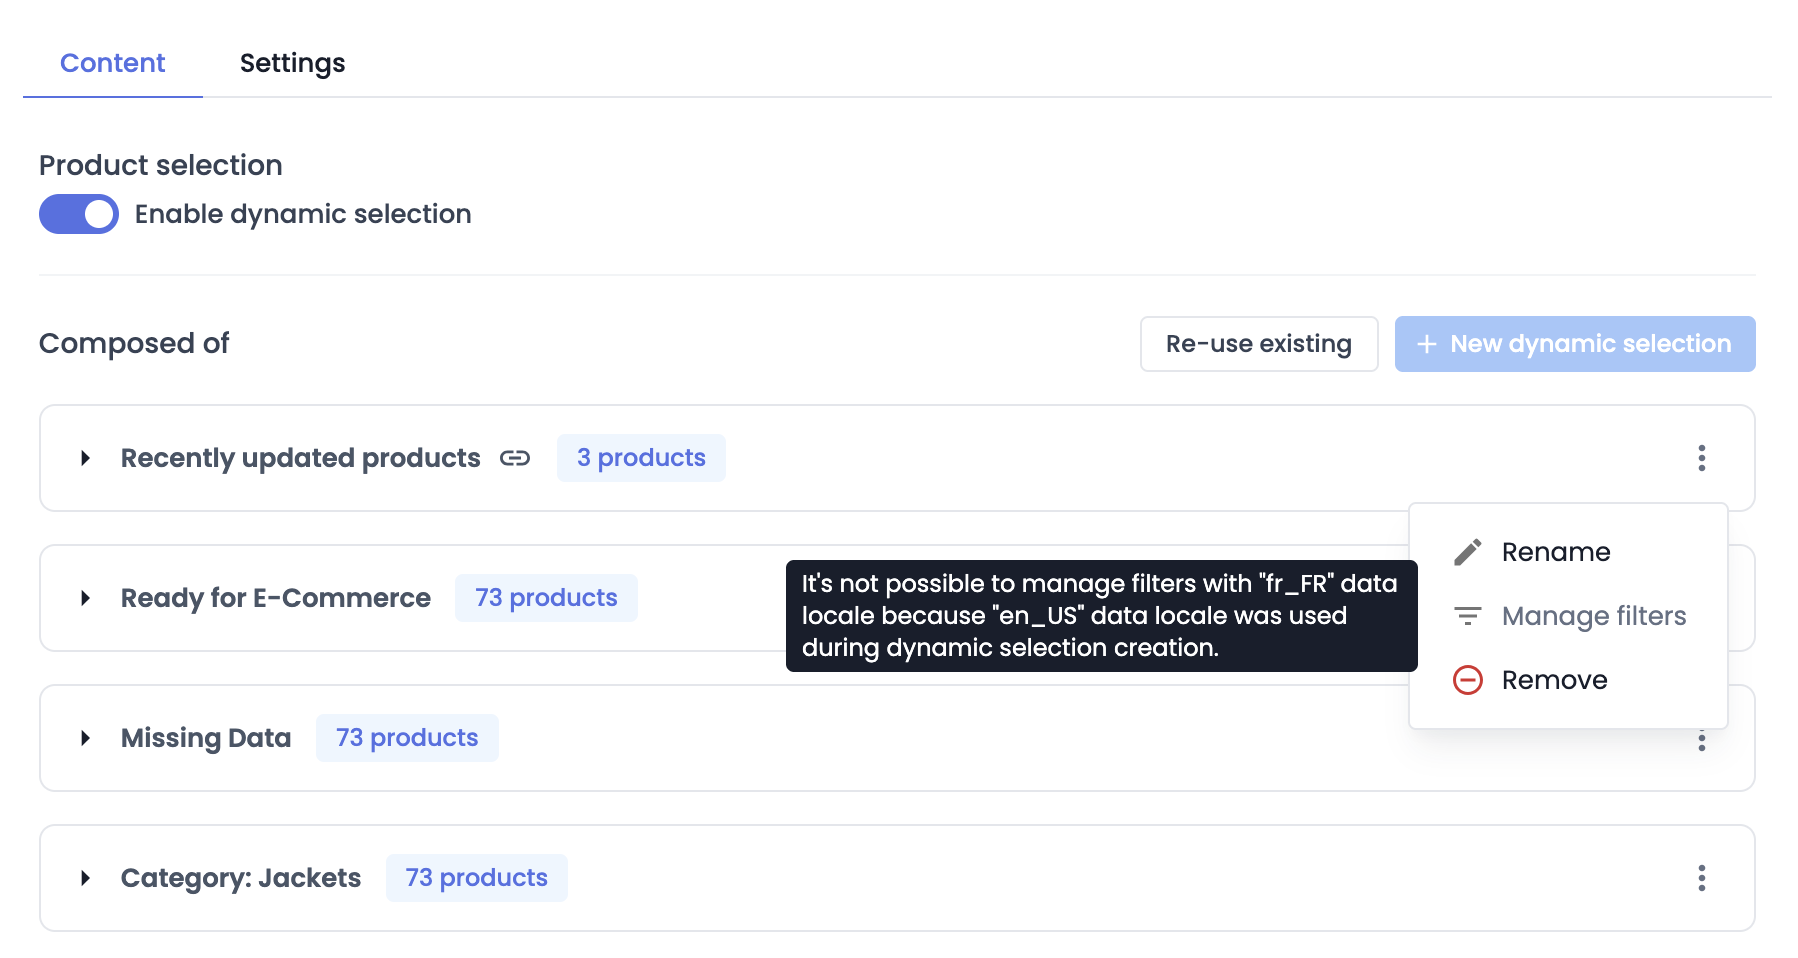
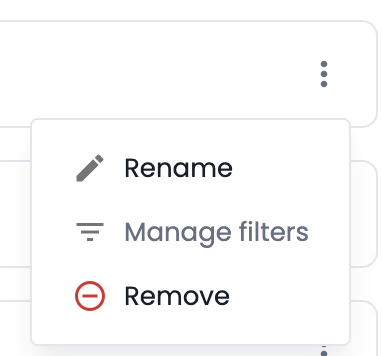
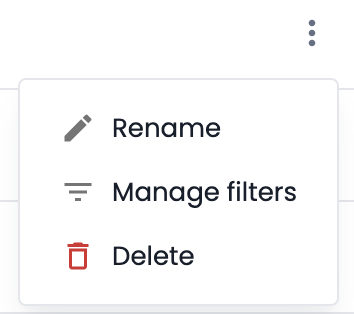
Rename: For better clarity in your list.
-
Manage filters: To adjust selection precision. When the working data language differs from the SDS language, selection creation buttons are disabled, an error message is displayed, and a tooltip explains the blocking reason.
-
Remove vs Delete:
-
Remove from a classification: disconnects the SDS from a category (it remains in your library).
-
Delete from the SDS management page: permanently removes the selection from all your channels.
-
Use cases: Why automate?
Automation via SDS addresses concrete business needs:
| Business need | SDS solution |
|---|---|
| Share new arrivals | Automatically distribute all products created less than 30 days ago. |
| Promote discounted products | Select all items with an active “Sales” attribute. |
| Product consistency | Group all products tagged with a specific attribute for a seasonal collection. |
| Time to market | Automatically include products whose product sheet is 100% complete. |
Summary
Manual selections advantages:
- Control: You choose exactly what is published down to each product.
- Simplicity: A search engine (min. 3 characters) and checkboxes.
- Precision: Ideal for small selections, marketing highlights, or special operations.
Dynamic selections advantages:
Time saving: No need to manage products individually.
Reliability: Avoid omissions; the system applies your rules automatically.
Flexibility: Update a rule once and it applies across all channels.
Saved selections:
Accessible from the Channel home page or the Content tab of a classification.
- Create a filtered dynamic selection,
- Then save it and reuse it across all channels.
Warning! Dynamic selections can only be used within a single data language.
Next Chapter
Now that you know how to create saved search lists, let's discover how to Manage Distributed Data and Content in a Channel.
Updated 4 months ago