Creating and managing the structure of asset sheets
Learning objectives
- Understand the role of attributes in the structure of asset sheets.
- Know how to create, organize, and manage the hierarchical levels of asset sheets.
- Learn how to add and configure attributes based on business needs and best practices.
Overview
In the DAM, asset sheets attributes carry essential information: each attribute corresponds to specific data related to the asset. This may include technical specifications (weight, dimensions, format) or usage rights (author name, copyright, rights duration).
Attributes are the foundation of an asset sheet: they define the characteristics of the asset and serve as the structure for storing its information. We will now walk through how to create and manage the attributes used in asset sheets.
Creating and configuring levels
Hierarchical levels are used to structure the attributes of your assets into sections.
These levels are displayed on the asset sheet as follows:
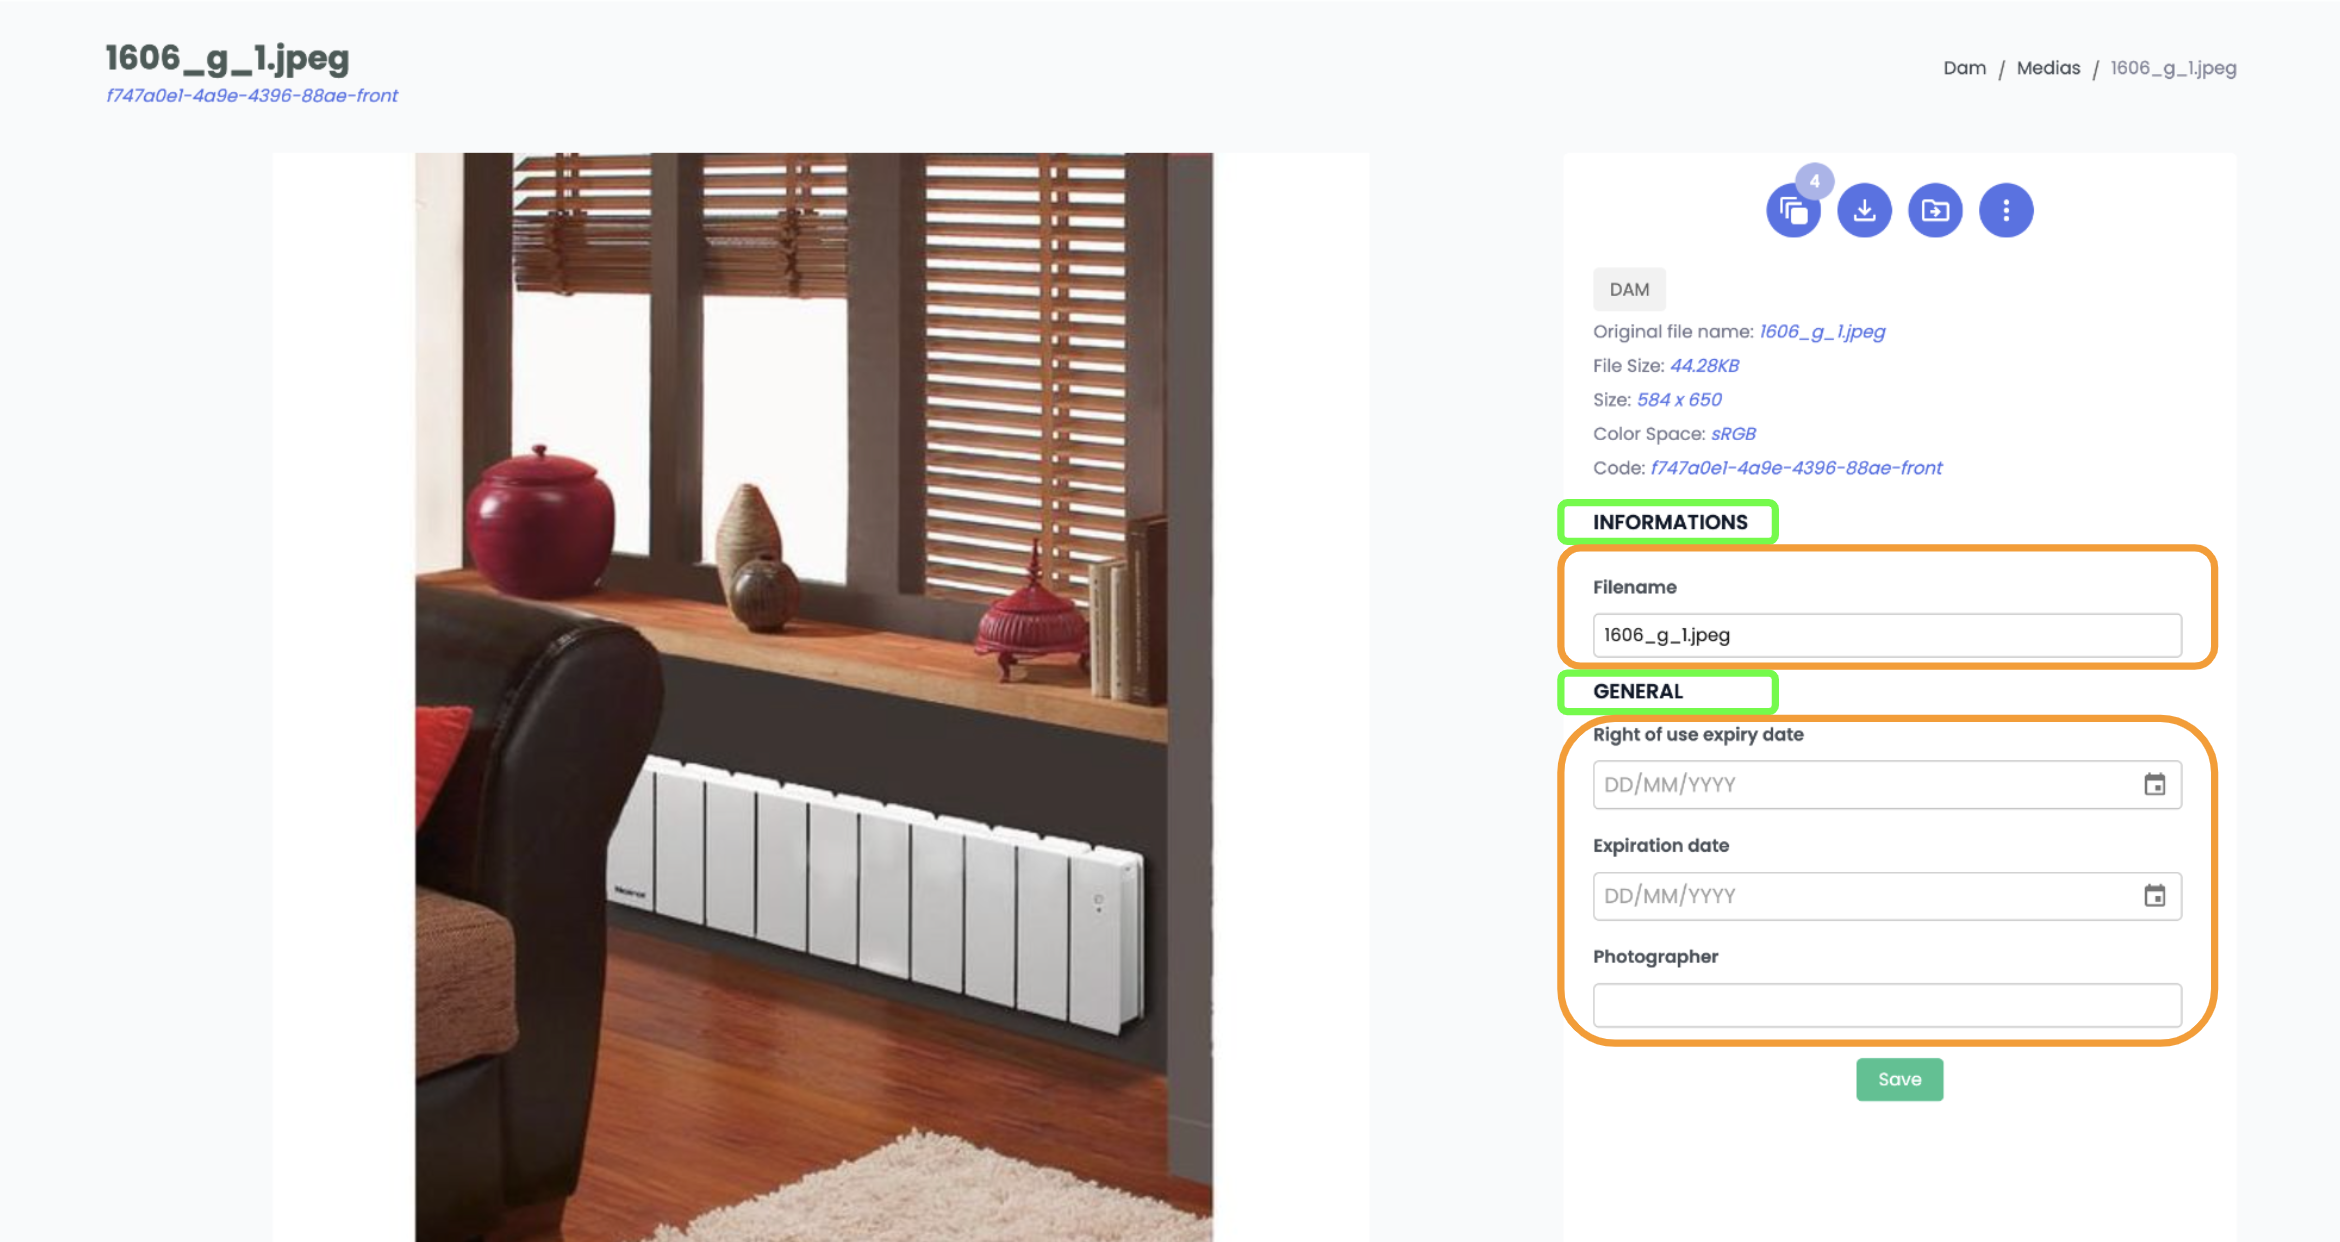
- 🟢 In green, sections are used to group attributes
- 🟠 In orange, attributes are used to input data
Good to know
- Asset sheets have only one tab and only one category
- However, asset sheet can contain multiple sections and attributes.
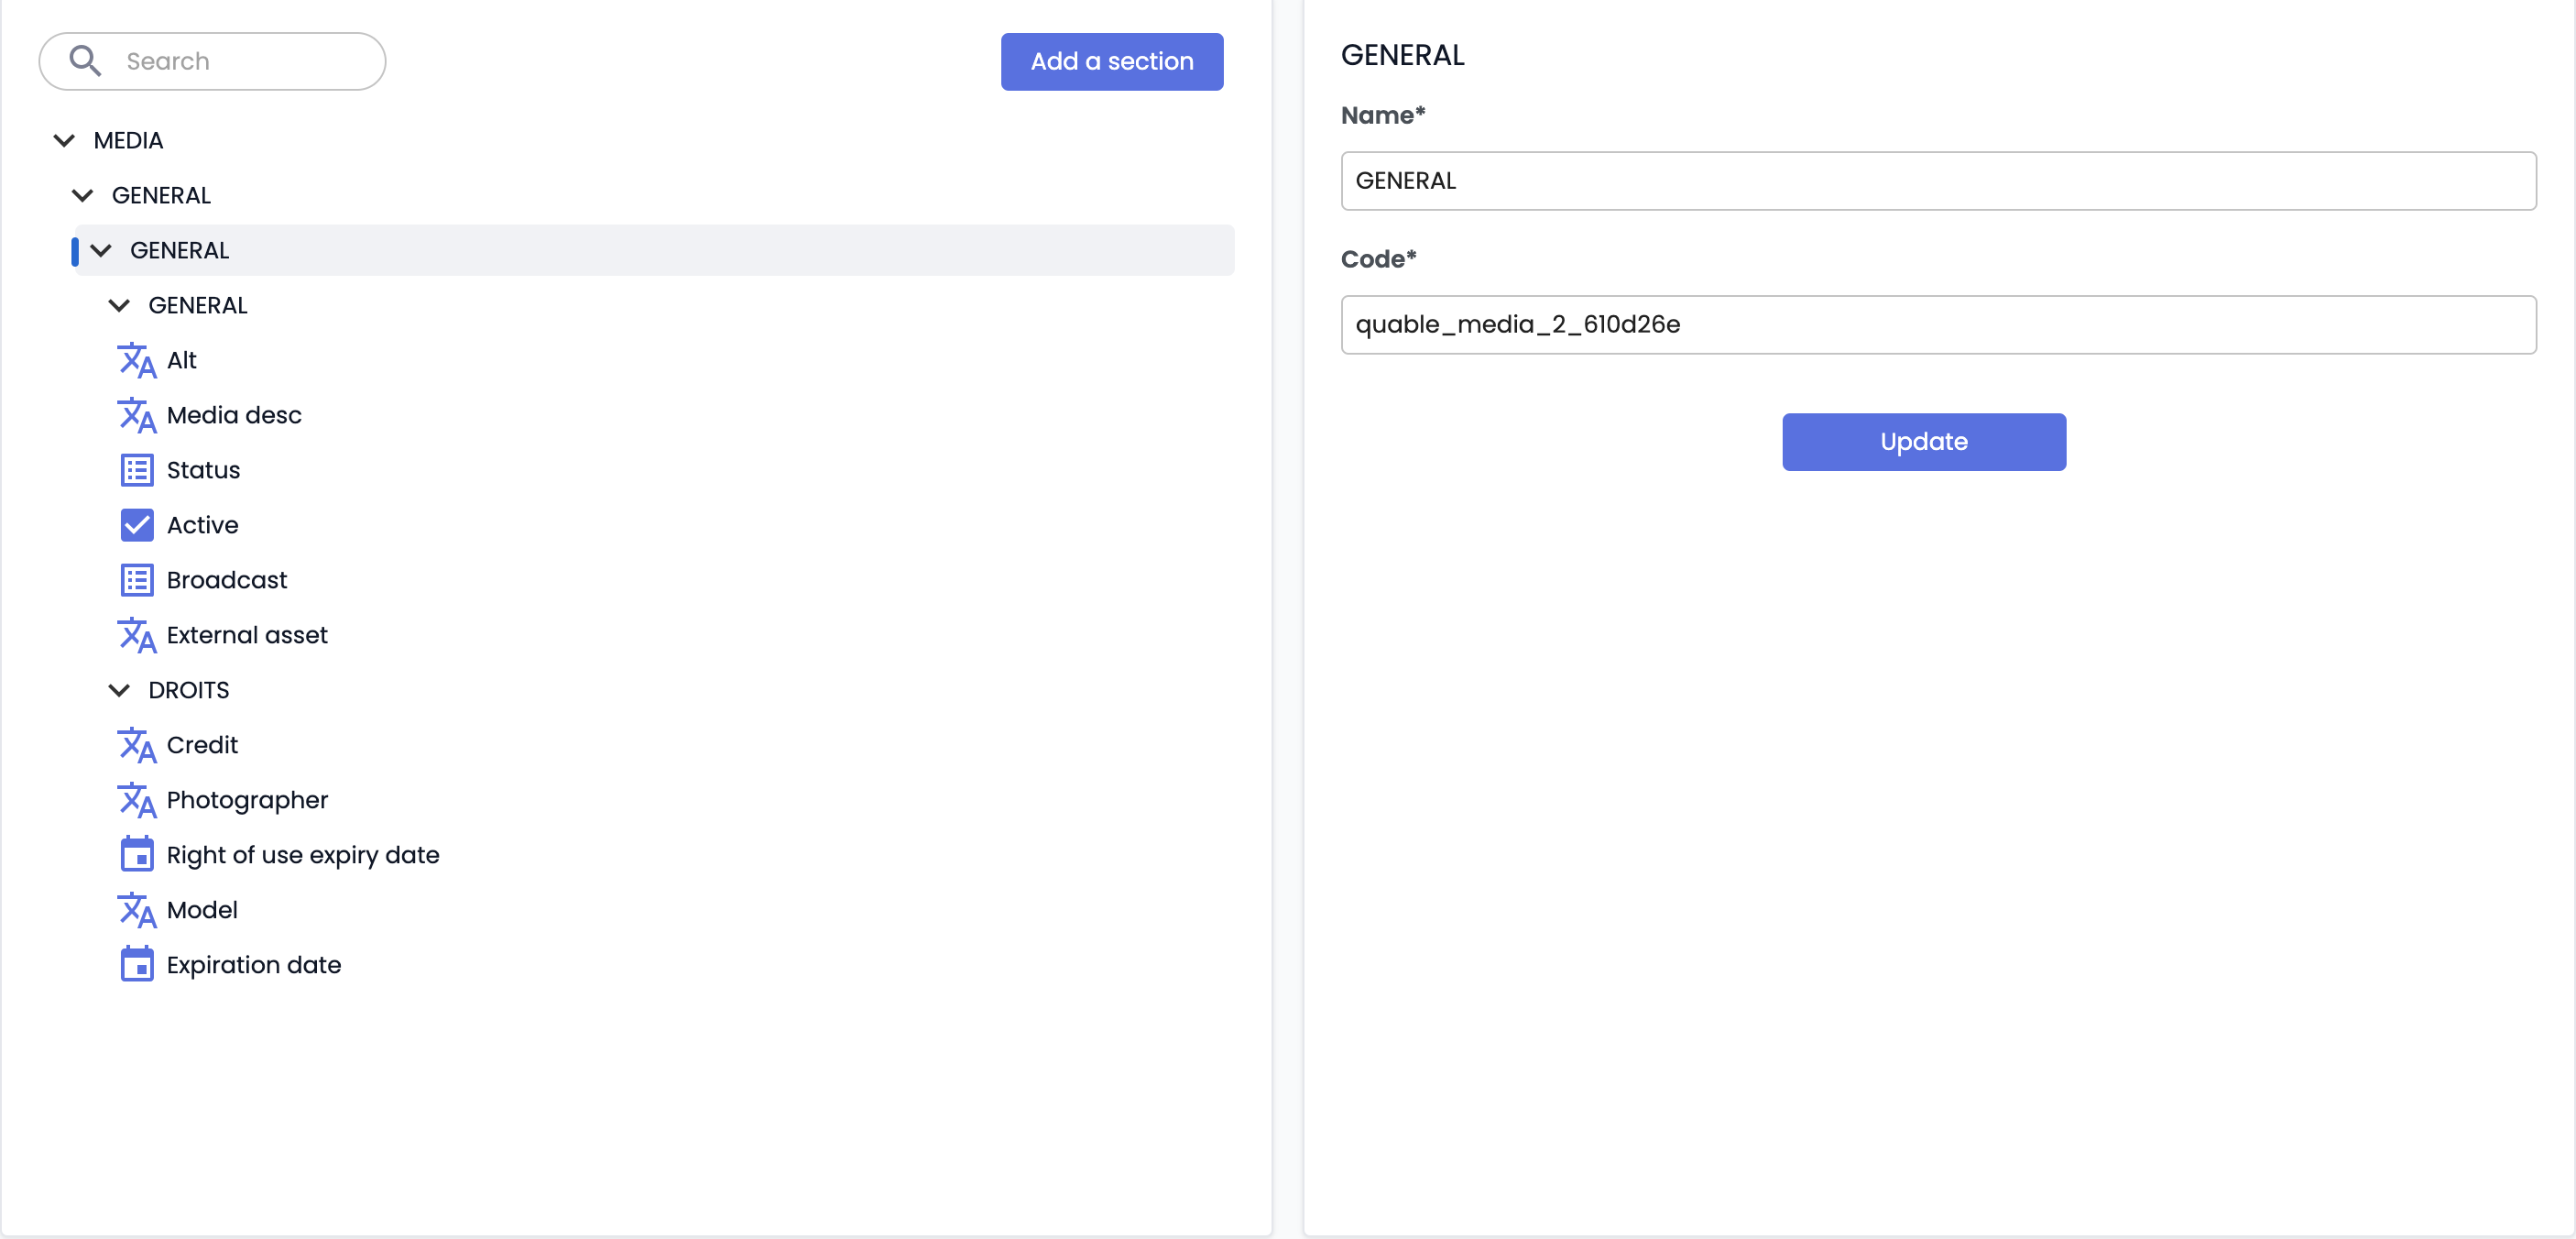
Adding sections:
In the structure of asset sheets, the first two levels of the hierarchy can be renamed. However, they do not impact the asset sheets. It is not possible to add additional tabs or categories to the asset sheet structure.
Only the last levels, Sections, are visible on the asset sheet.
The hierarchy is organized as follows:
- Level 2: Defines a category within the tab. Selecting it allows adding a level 3 section.
- Level 3: Defines a section within the category. Selecting it allows adding attributes.
- Level 4: Defines the attributes.
To add new sections:
- Click on level 2 in the hierarchy,
- Click the Add section button:
-
Define:
- Name: Enter a clear name,
- Code: Make sure it follows naming rules (only letters, numbers, underscores, and dashes are allowed),
-
You can reorganize levels via drag-and-drop to change their position.
Best practices
- All 5 hierarchy levels are mandatory, and attributes must always be placed in a section.
- Structure sections based on business needs: put the most used information in the first sections to reduce search time and improve the user experience.
- Avoid placing too many attributes in a single section: this can slow down loading and clutter the interface. Create additional sections to better organize data.
- Use consistent hierarchical codes when naming levels with a clear naming convention.
Creating and managing attributes
Attributes define the specific data contained in your asset sheets.
Adding an attribute
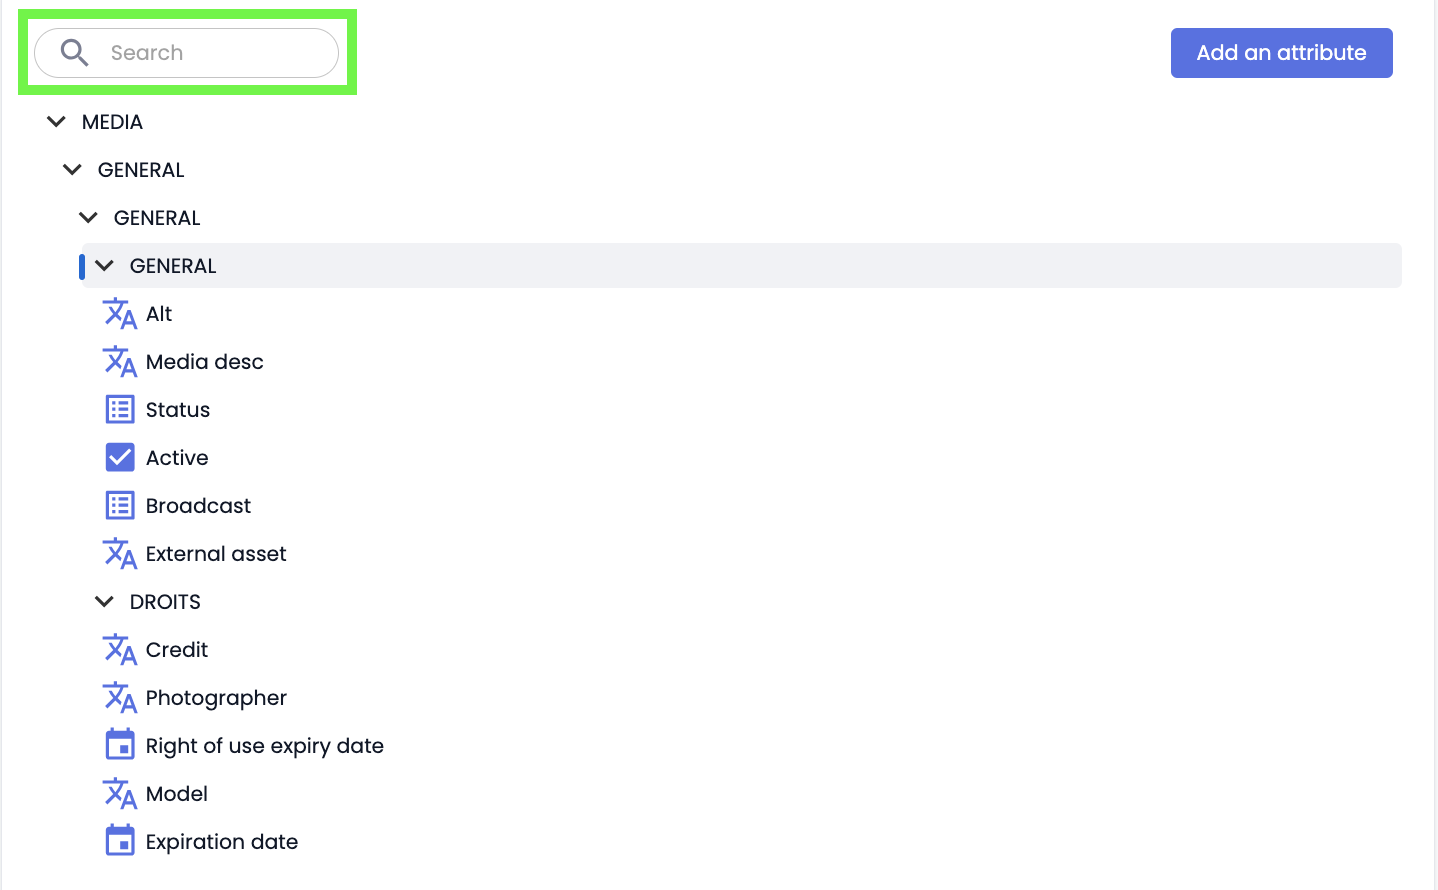
- Select a section: In the hierarchy, click on the last level where you want to add an attribute.
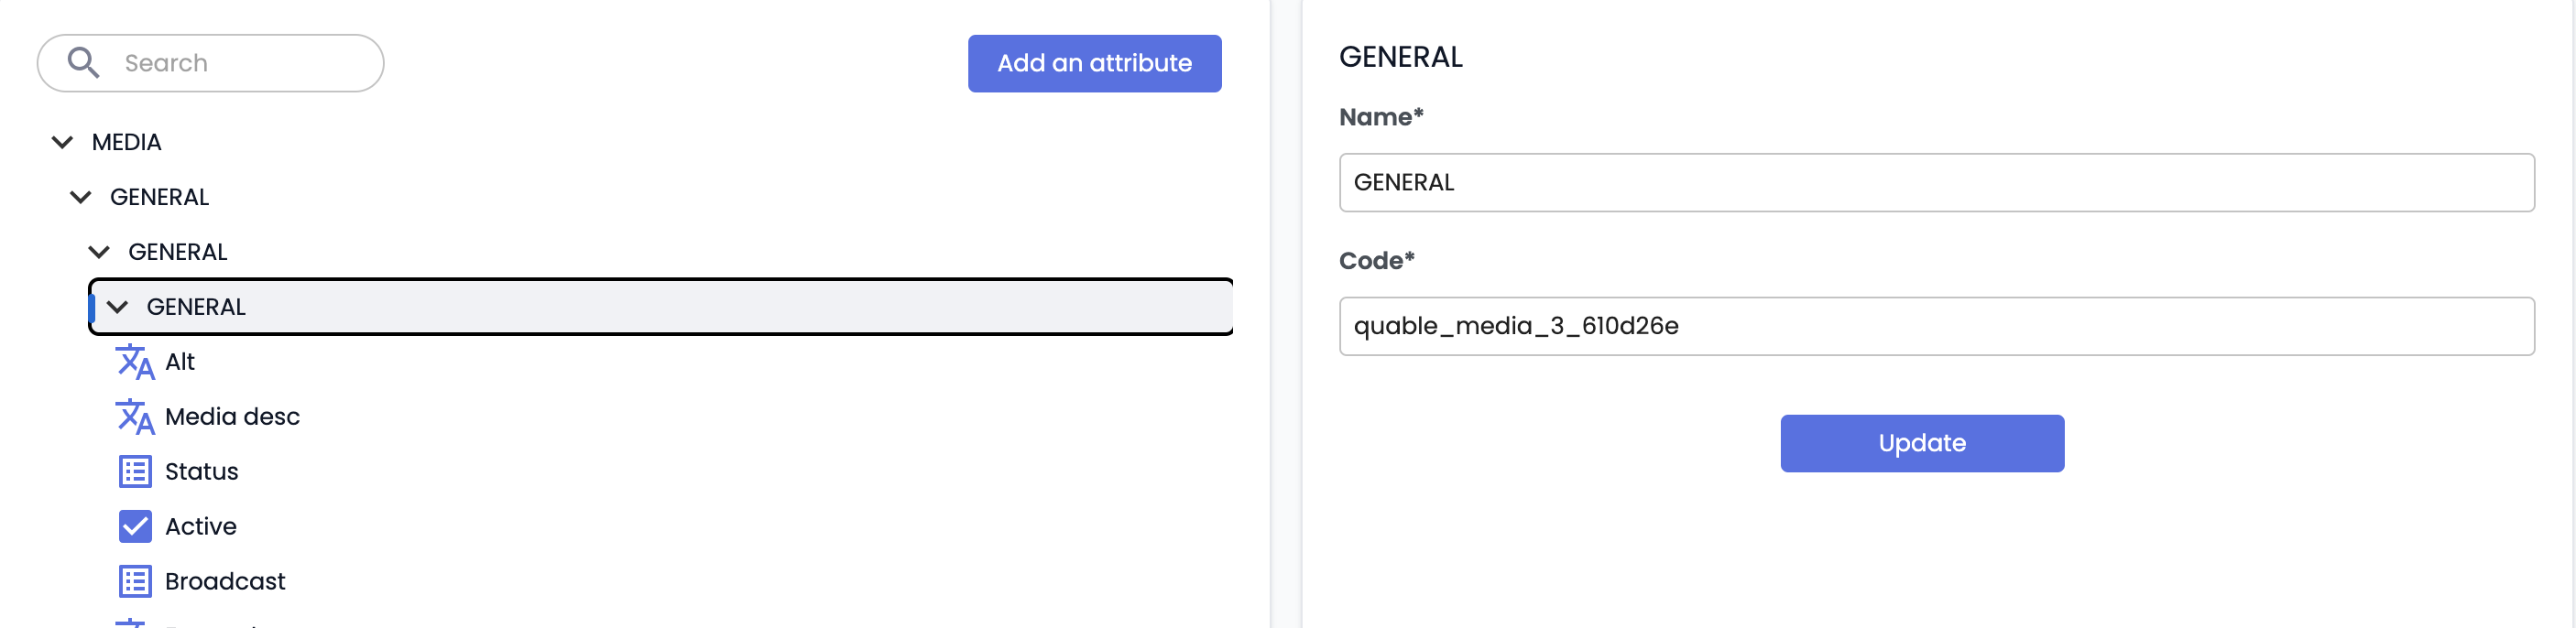
- Add an attribute: Click on Add attribute in the right panel.

-
Configure the attribute:
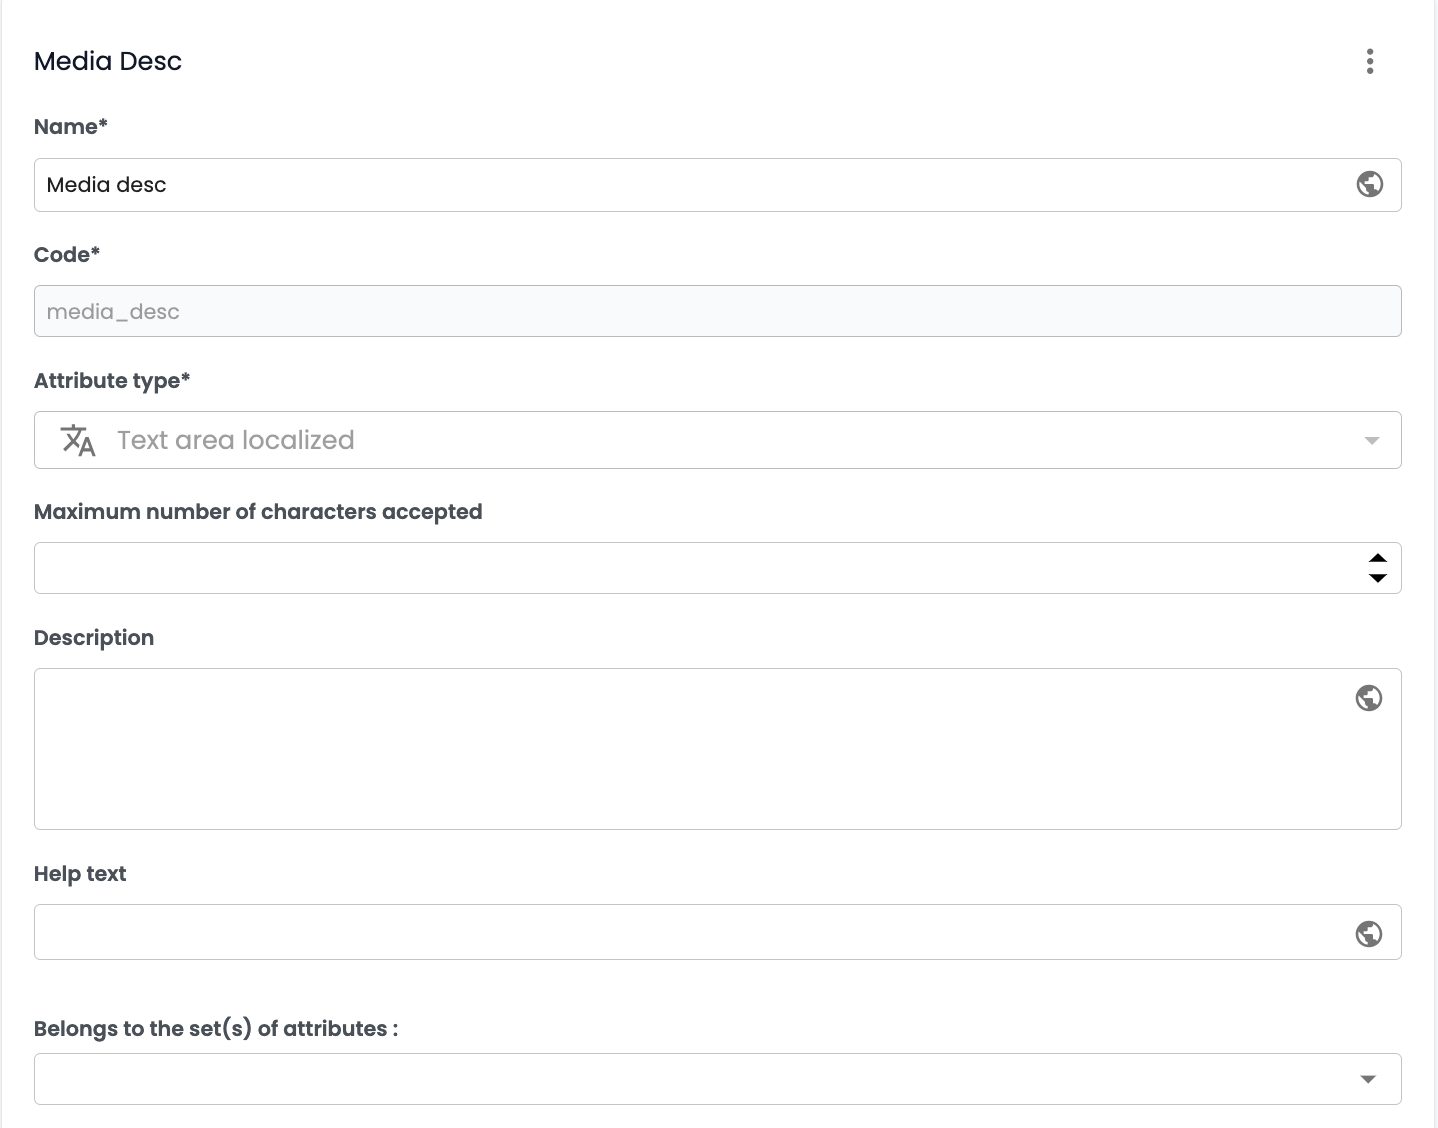
- Name (required): Descriptive name of the attribute.
- Code (required): Automatically generated or edited. The code must be unique (no duplicates allowed).
- Attribute type (required): Choose from the available types (text, date, checkbox, etc.).
- Description (optional): Add a description of the attribute.
-
Optional properties:
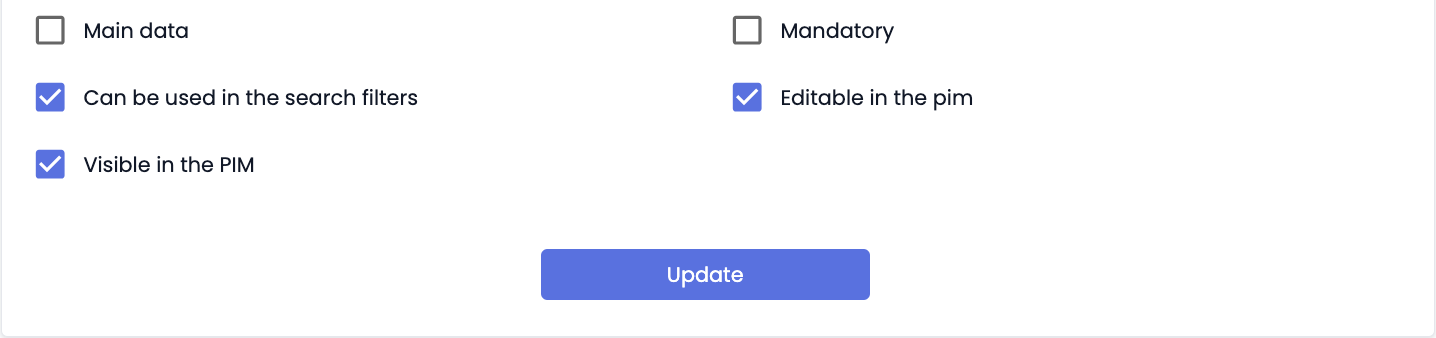
- ⚠️ Main data: has no impact on asset sheets. It is not necessary to use it.
- Mandatory: makes the attribute required to save the sheet. The attribute is marked with an asterisk next to the label on the product sheet.
- Usable in search filters: allows using the attribute data in advanced search filters.
- Editable in the PIM: the attribute can be modified on the asset sheet. If not checked, the field will be greyed out on the product sheet.
- Visible in the PIM: the attribute is displayed and visible on the asset sheet.
-
Save: Click Add to confirm.
Good to knowTranslation: Translate the attribute label into multiple languages if needed using the localization function. This allows adapting attribute labels to the display language of the PIM.
Good to know
- Avoid unnecessary attributes to limit data management complexity. Make sure each attribute meets a specific need and is used in your business processes.
- Add help text for complex or specific attributes to help users understand them without needing to consult documentation.
- Check attribute access rights: Some sensitive attributes (e.g. price, confidential codes) may require restricted visibility. These attributes will be visible or hidden depending on the specific rights assigned to users. For more information, see Managing user access rights
Editing or deleting an attribute
-
To edit:
- Select the attribute in the hierarchy
- Edit its properties in the right panel
- Click Edit to confirm
Good to know
- The attribute code and type are final and cannot be changed after creation.
- Attributes <document_type_code>_name and <document_type_code>_description must not be deleted, but can be hidden by unchecking the "visible in the PIM" option.
-
To delete the attribute:
- Select the attribute in the hierarchy
- Click the three dots ⁝ in the top right corner of the right panel
- Click Delete attribute to remove it
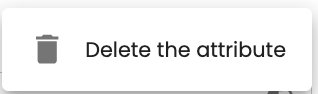
❗️ Irreversible action: Deletion permanently removes the attribute from the document type and deletes the values it carried on product sheets.
Practical tips
-
Organization: Use descriptive names to make it easier to navigate and identify data on a product sheet.
-
Code creation rules: Use only allowed characters (letters, numbers, underscores, and dashes) to avoid issues caused by special characters.
-
Limits: Adhere to the following limits:
- 10,000 attributes max per Quable instance,
- 2,000 attributes per asset sheet.
-
Documentation: Successful PIM deployment requires mastering data management processes. Consult the functional documentation for detailed information on attributes: Quable Documentation.
-
Use the search bar at the top of the Attributes page to quickly locate an attribute in your data structure.
SummaryOrganizing hierarchical levels
- Tab (level 1) and category (level 2) levels are required but invisible on asset sheets.
- Structure sheets into sections (level 3).
- Configure and rearrange these levels using drag-and-drop.
Creating and managing attributes
- Add attributes within a section (level 3) of a product sheet.
- Configure each attribute (name, type, visibility, localization, etc.).
- Avoid unnecessary attributes and respect the limits (2,000 attributes max per asset sheet).
Editing or deleting attributes
- Attributes can be edited later, except for code and type.
- Attribute deletion is irreversible and erases associated data.
Best practices
- Simplify navigation by organizing data based on business needs and placing key information in the first tabs.
- Check attribute access rights for your users.
Next chapter
Now that you know how to create and manage the structure of asset sheets, let’s discover how to structure links between product and asset sheets.
Updated 10 months ago