Creating and Managing Workflows
Learning Objectives
- Understand the concept of a workflow and its role in product sheet management.
- Learn how to create and configure a workflow tailored to business needs.
- Know how to manage and optimize steps and transitions to ensure a smooth process.
Overview
A workflow is a sequence of logical steps that ensures product sheets follow a structured process.
For example: contribution -> validation -> distribution.
Each step may include specific actions or validations, assigned to roles (specific contributor groups).
Workflows help to:
- Ensure a clear and consistent tracking of product sheets,
- Identify significant steps,
- Assign responsibilities to the right contributors.
Limitation
- Progression within a workflow requires manual intervention from contributors. To move from one step or state to another, click directly on the workflow step from the product sheet.
- Transitions between steps are not automated.
Creating Workflows
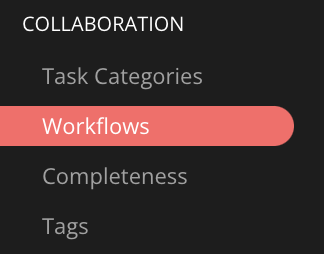
1. Access the Workflow Page
- From the administration menu, click on Workflows under the Collaboration section.
- If workflows exist, a list will be displayed with their details:
- Name and Code: Workflow identifier.
- Document Type: Documents involved in the workflow.
- Click on Create workflow at the top right to create a new one.

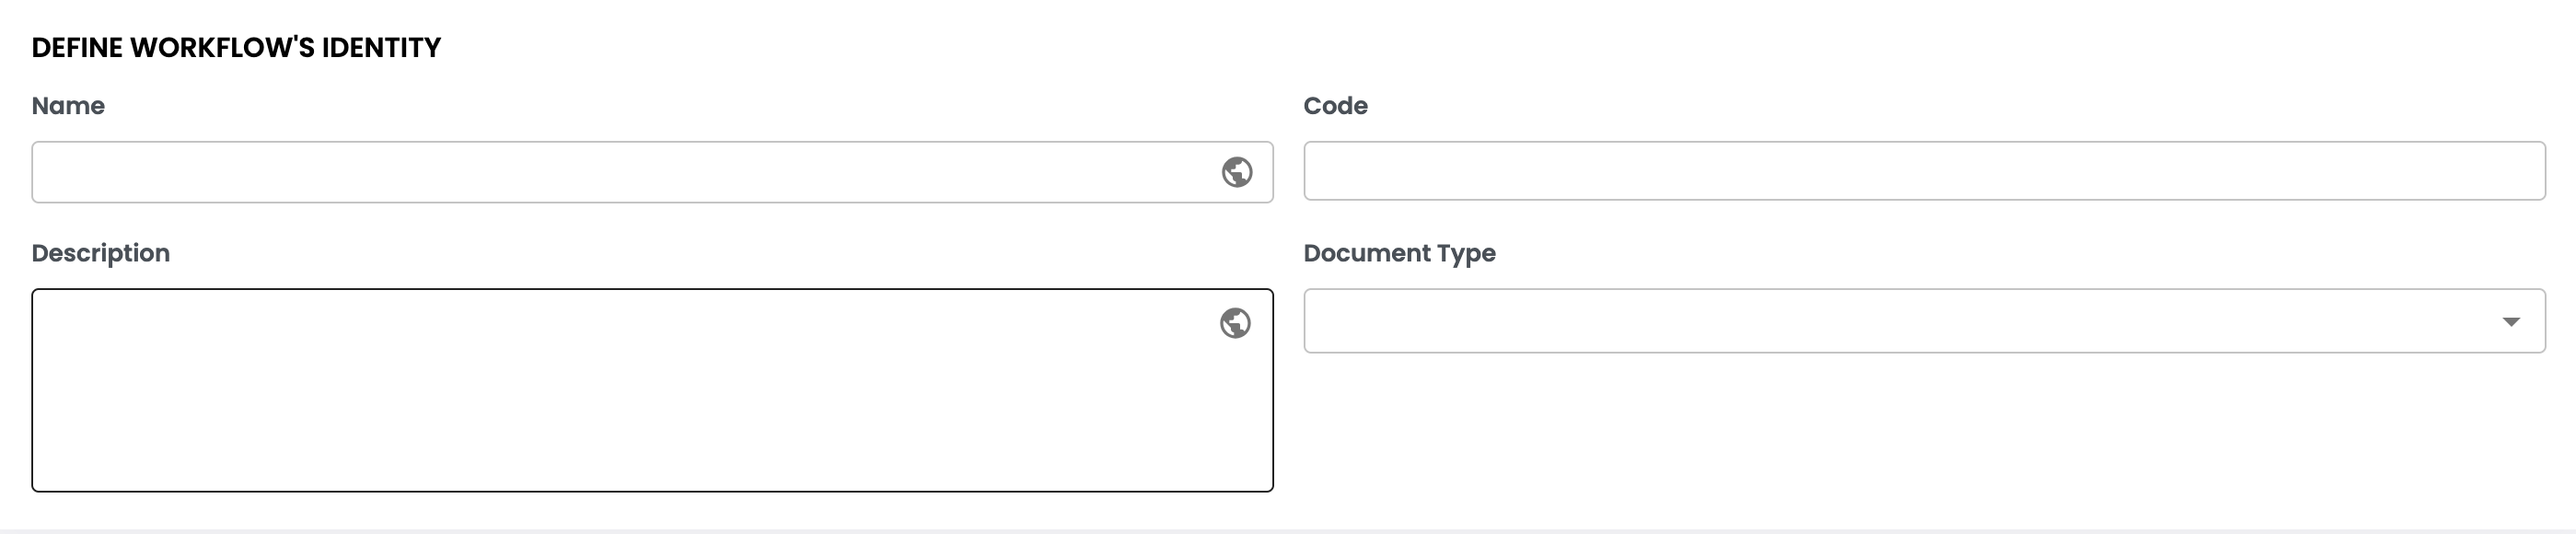
2. Define the Workflow Identity
- Fill in the required fields:
- Name: Descriptive title of the workflow.
- Code: Automatically generated but modifiable during creation.
- Document Type: Select the document type involved.
- Add a description (optional).
- Click on the 🌍 icon to enter translations in multiple languages, if needed.
Good to know
- Each workflow is exclusively associated with a document type.
- A single document type can, however, have multiple workflows associated.
3. Configure the Steps
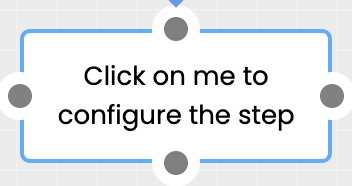
Add the First Step
- Click on a step to open the step properties.
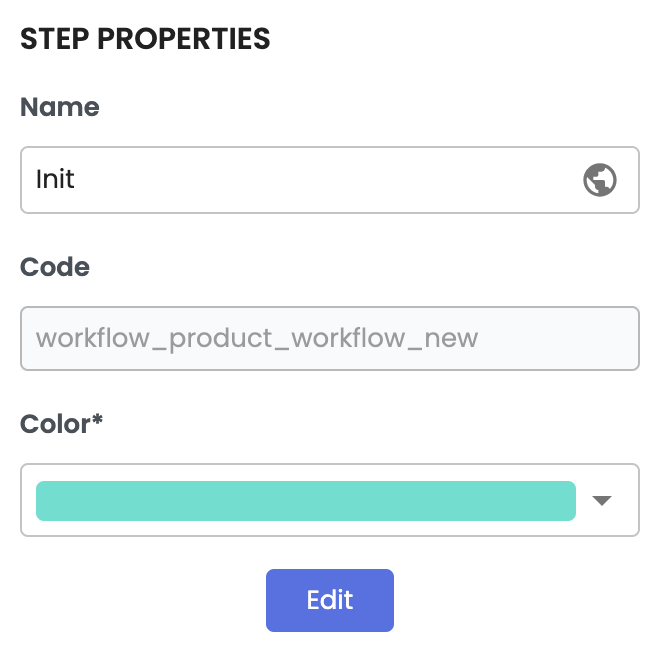
- Fill in the following information:
- Name: Clear and meaningful name for the step, as it will appear on the product sheet.
- Code: Automatically generated (non-editable after creation).
- Color: Select a color (or enter a hex code).
- Click on Edit to save.
Add Additional Steps
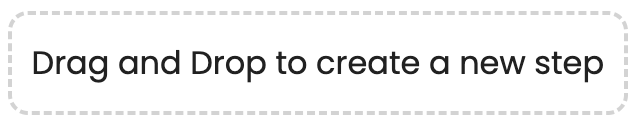
- Drag a box from the right sidebar to the gray panel.
- Complete the same information as for the first step.
- Repeat the process for each additional step.
Good to know
- Collaborate with your business teams to define the key steps of the workflow based on expected contributions.
- Add as many steps as necessary to accurately reflect the essential states of your business process.
- End the workflow with a final step dedicated to validation, distribution, or completion of the product sheets.
Add Transitions Between Steps
- Click on one of the points of a step and draw a line to another step.
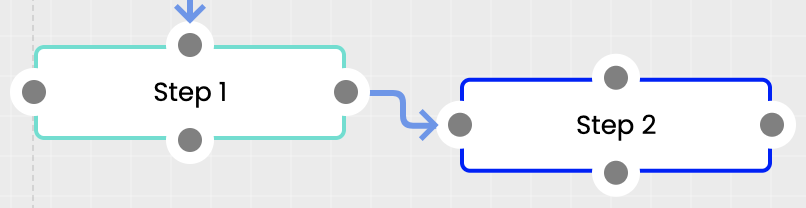
-
Click on the line to configure the transition:
- Name: Give a clear title to the transition.
- Code: Automatically generated.
- Roles: Assign the roles authorized to validate the transition. If no role is defined, all users can validate.
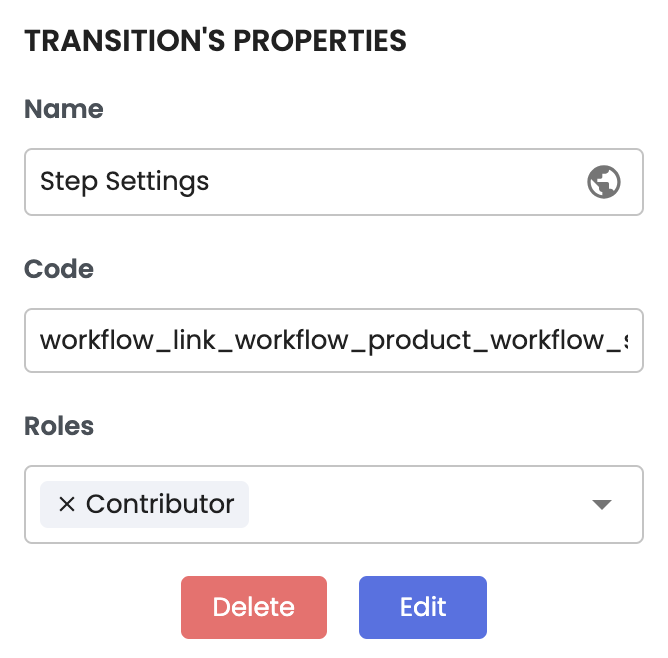
-
Click on Edit to save.
Good to know
- You can create a workflow with branches, but it is recommended to keep it simple and consistent.
- Assigning roles to transitions restricts workflow progression to contributors assigned to those roles.
4. Save the Workflow
Click on Create to save the workflow.

Good to knowAn error message when saving the workflow could be caused by:
- Incomplete steps: Make sure all required information is filled out for each step.
- Incomplete transitions: Verify that the transitions contain all required data.
- Illogical branches: Check the consistency of transitions to ensure a smooth workflow logic.

5. Workflow on the Product Page
Once deployed, the workflow will be displayed on the product sheet as follows:
Edit or Delete a Workflow
Edit a Workflow
- Select an existing workflow from the list.
- Click on the Edit icon.

- Update the information, steps, or transitions.
- Click on Save to save or Back to cancel.
Delete a Workflow
- Select a workflow and click on Delete.

- Confirm the deletion in the dialog box.
❗️ Irreversible Action: Deleting will permanently remove the workflow and its links to the product sheets.
Practical Tips
- Plan your workflows: Identify the necessary steps before configuring them.
- Name your steps and transitions clearly to ease understanding.
- Assign validation roles precisely to avoid errors.
- Keep it Stupid Simple: Limit the number of unnecessary steps and transitions to keep your workflows simple and efficient.
In summaryA workflow is a series of defined steps to structure the lifecycle of product sheets (e.g., contribution, validation, distribution). Each step is associated with specific actions and roles to ensure tracking and consistency.
- Creating a Workflow
- Access the Workflows section from the administration menu.
- Fill in the necessary information: name, code, document type, description.
- Configuring Steps
- Add and configure steps with a name, code, and color.
- Link the steps with configurable transitions (name, code, roles).
- Best Practices
- Collaborate with your business teams to define steps and transitions.
- Keep your workflows simple and logical for better efficiency.
- Use clear names to facilitate understanding.
- Limitations
- Transitions in a workflow require manual action.
- Progression between steps is not automated.
Next Chapter
Congratulations! You have completed the "Create and Manage Workflows" course. Continue your learning by exploring the next module of the Administrator Training.
Updated 10 months ago